Posts in Knitting
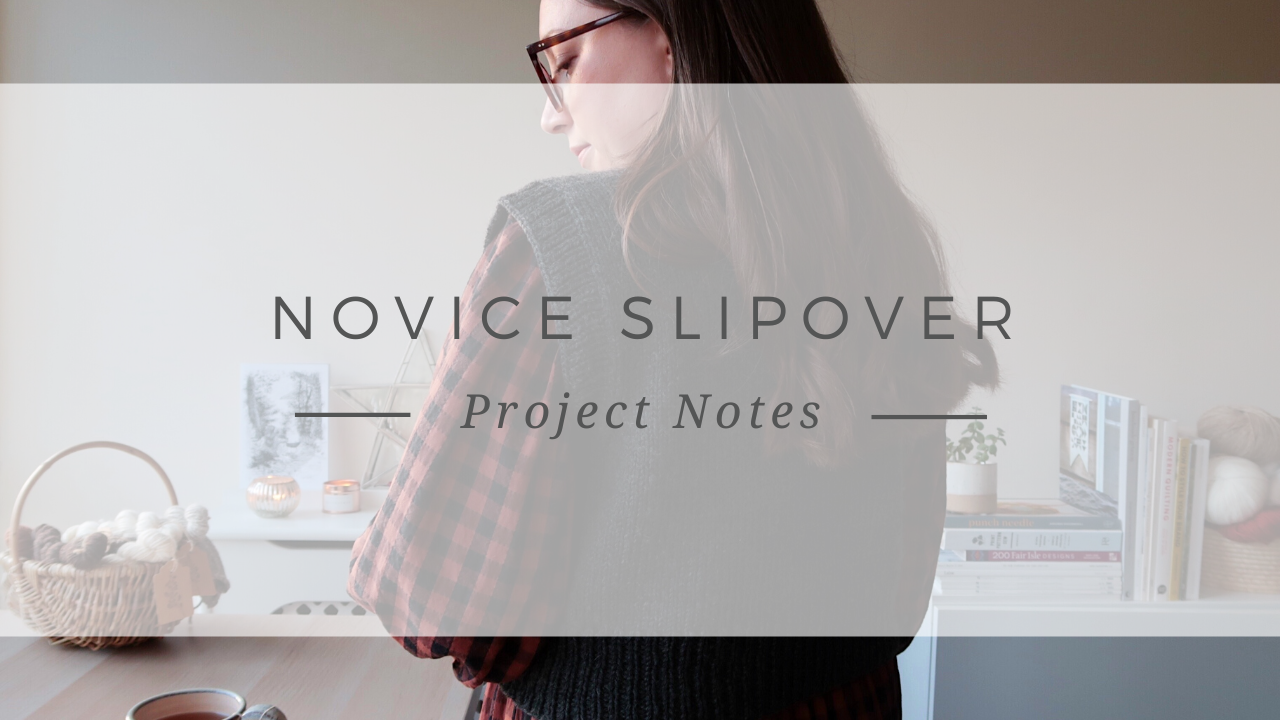
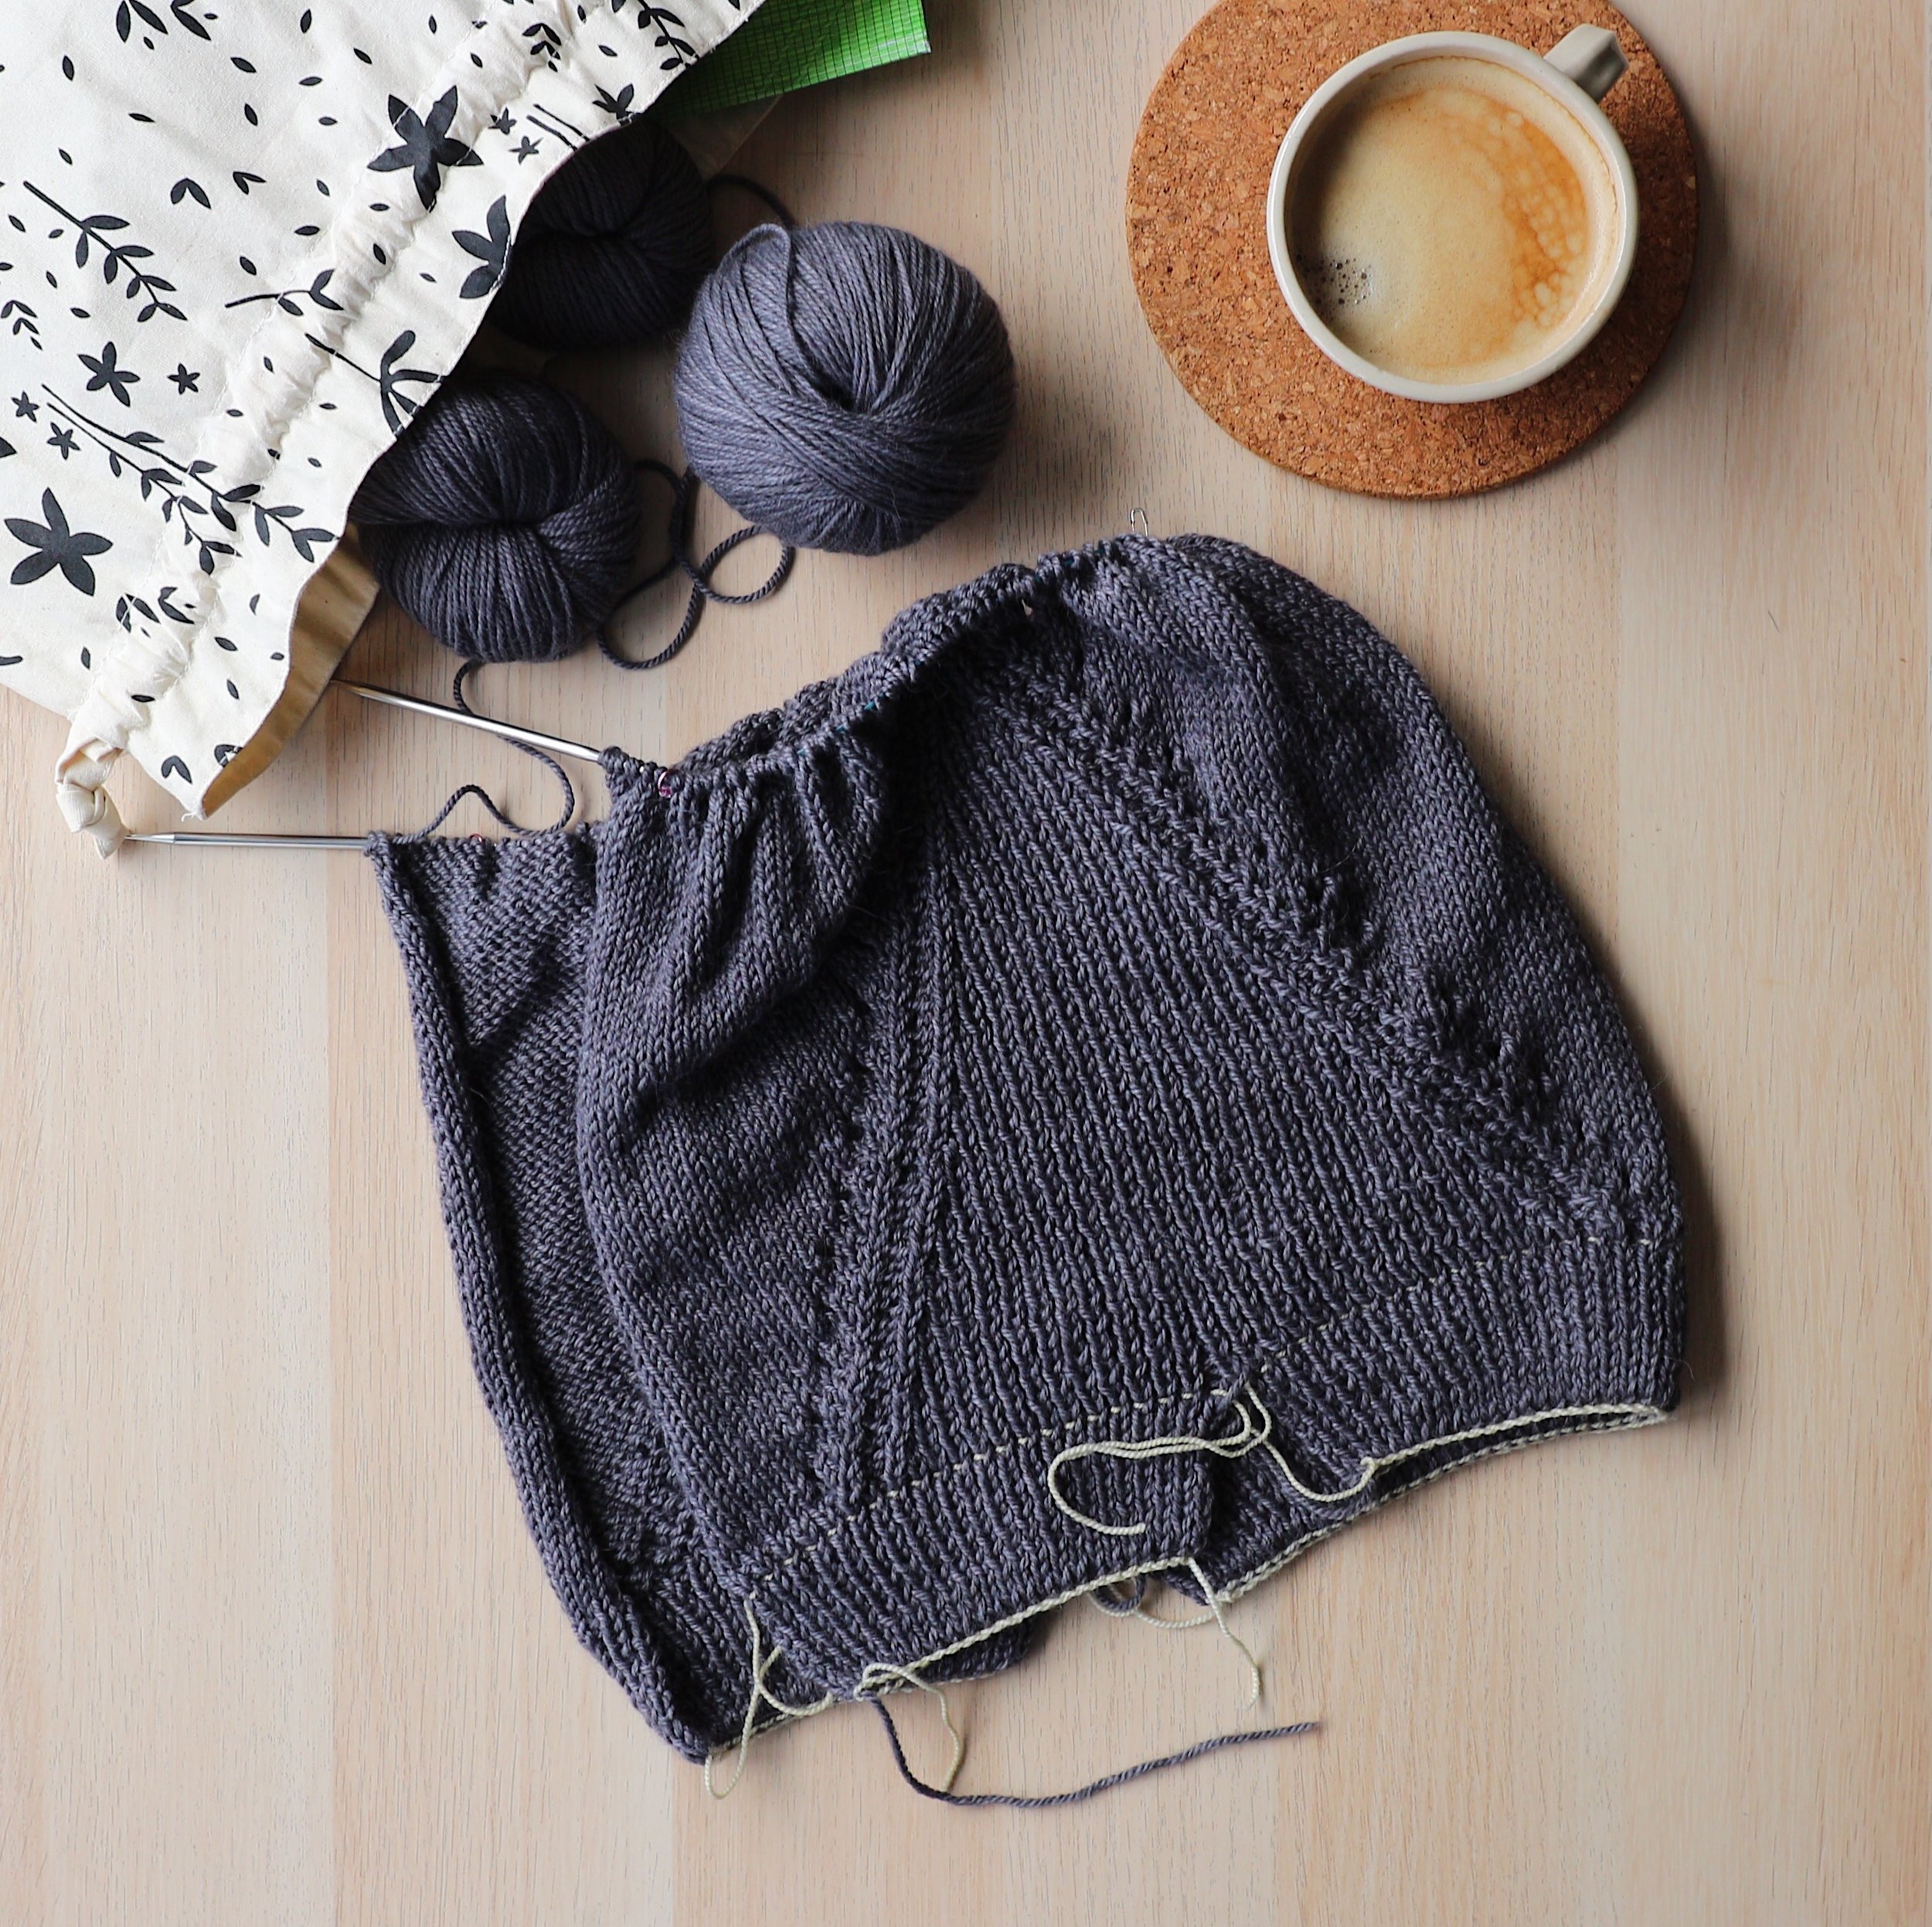
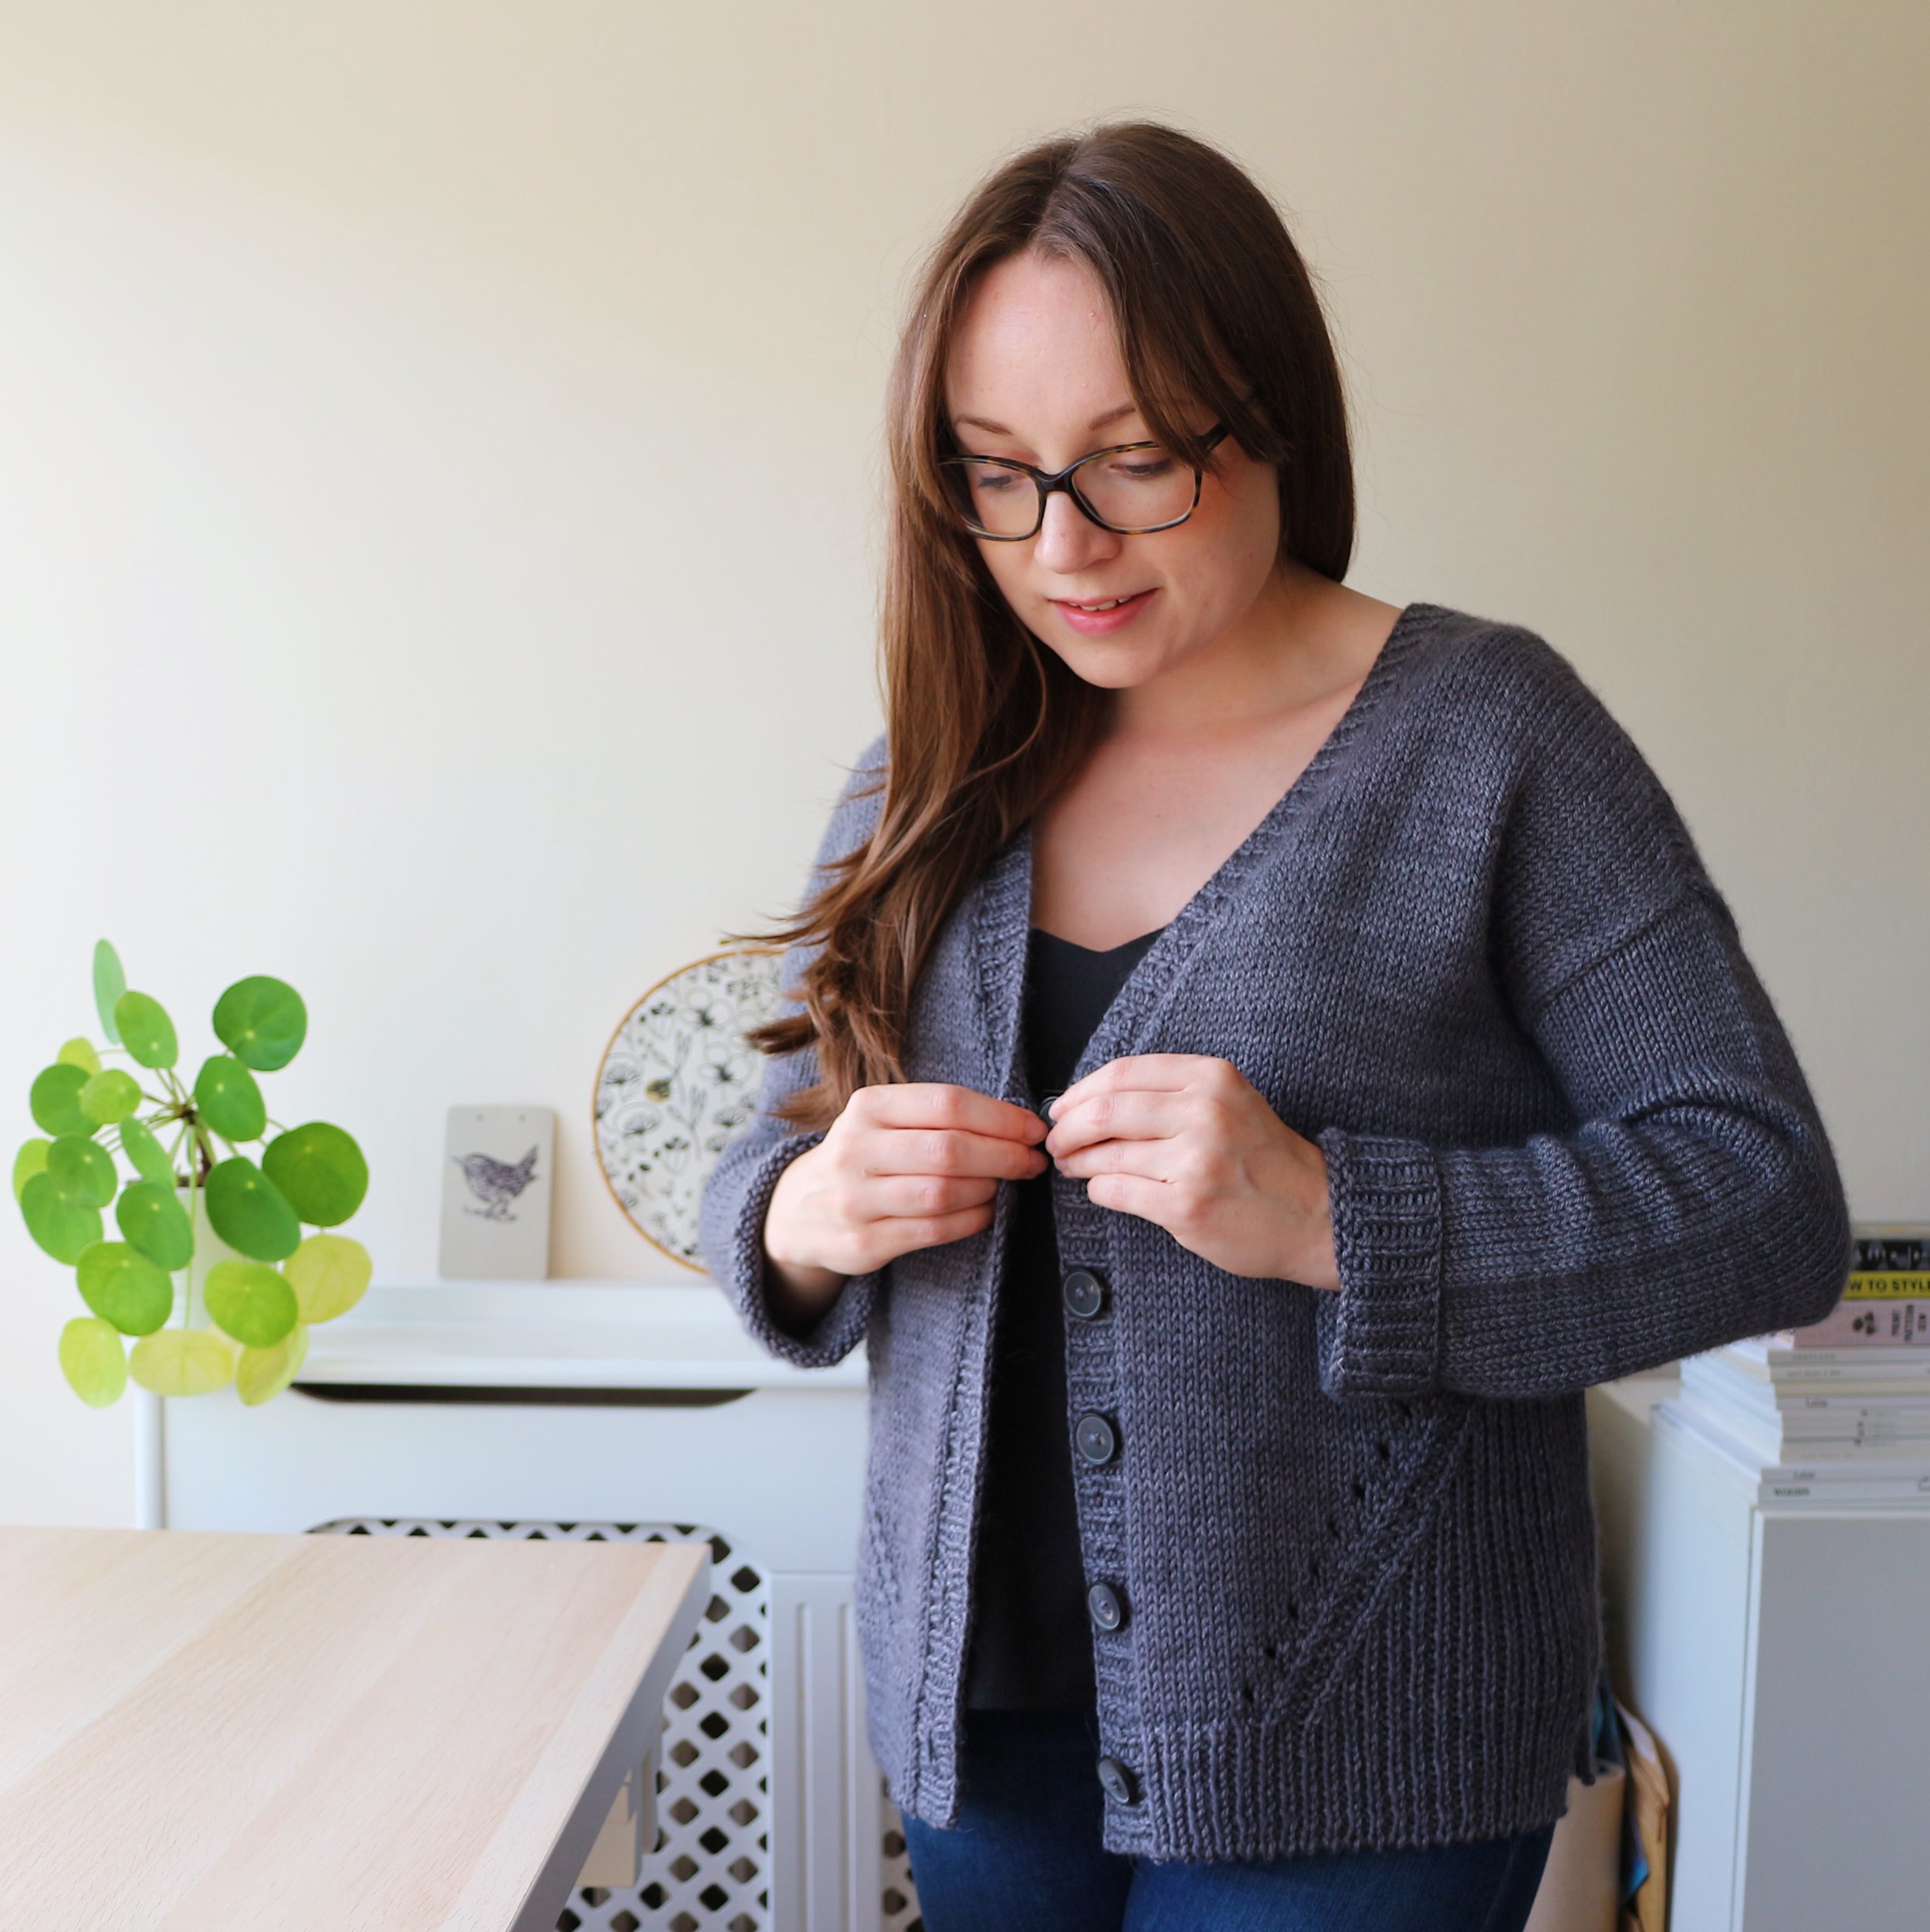
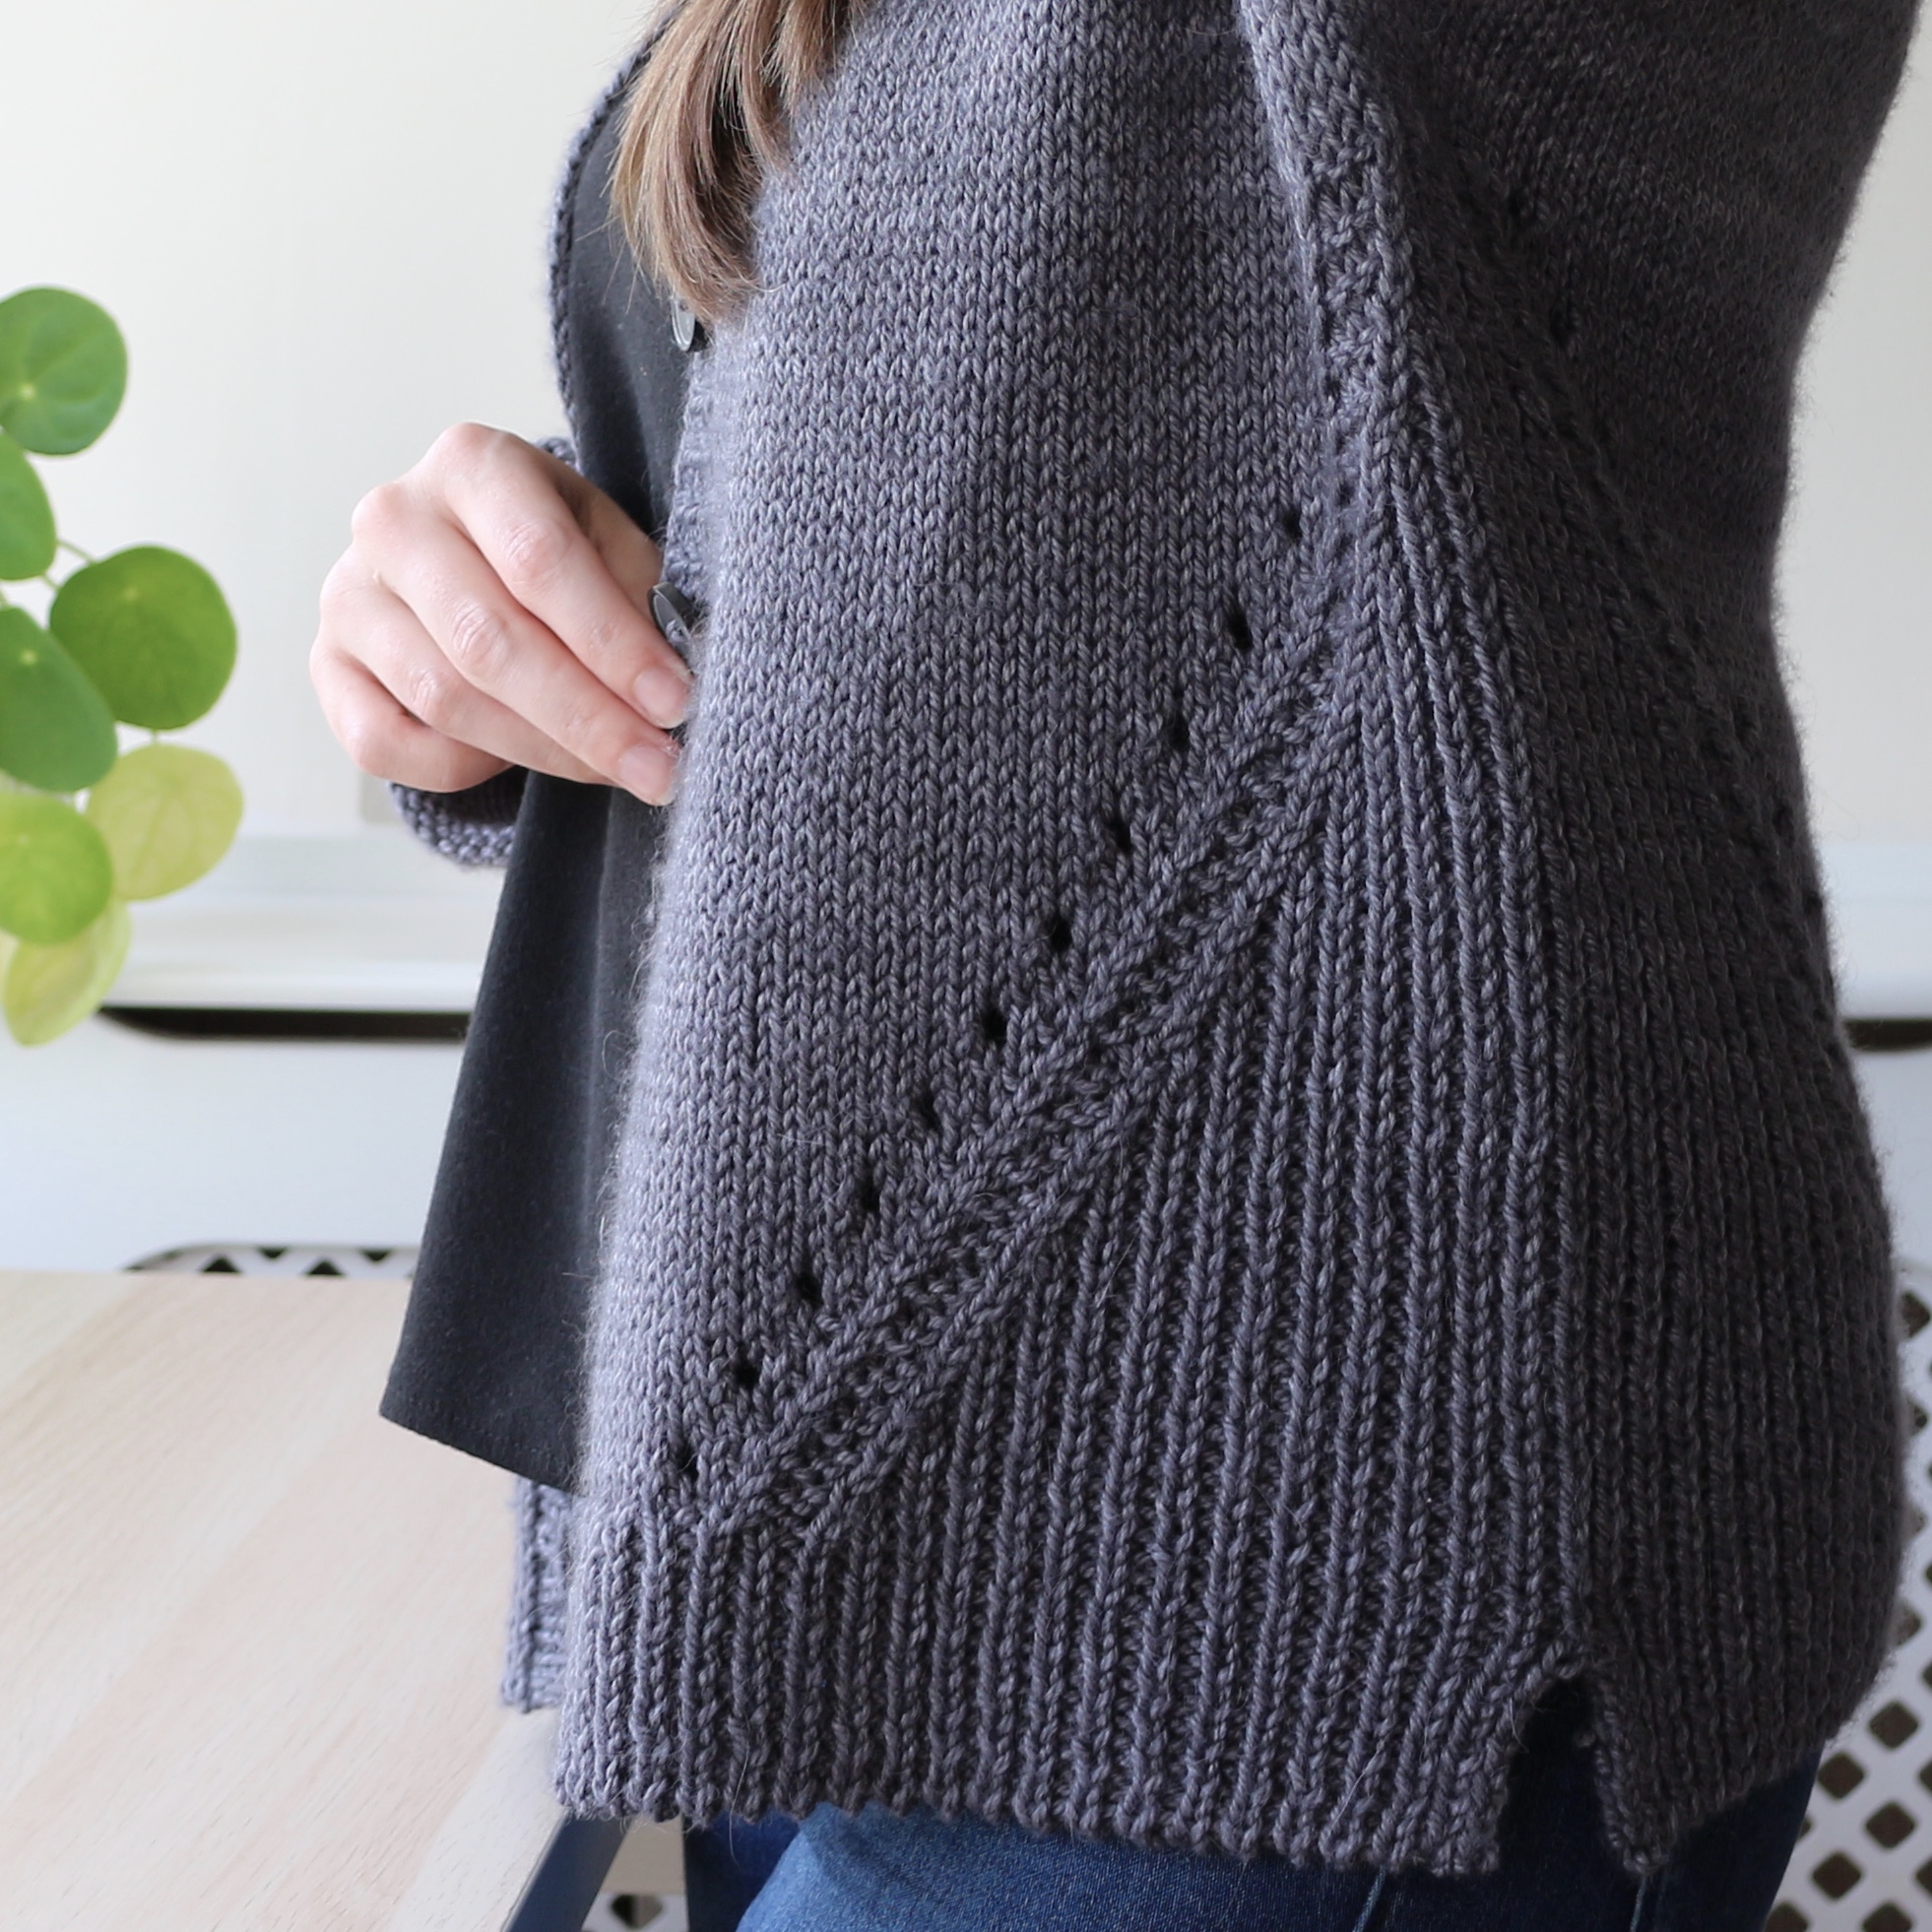
Handmade Wardrobe | Novice Slipover

Knitted vest patterns are everywhere right now which is great if you want to add the slipover trend to your handmade wardrobe.

When it comes to clothes I love layering and dramatic sleeves so it was only a matter of time before I made myself a knitted vest.

There are many designs to choose from but if you want a quick and simple vest pattern, look no further than the Novice Slipover by PetiteKnit.

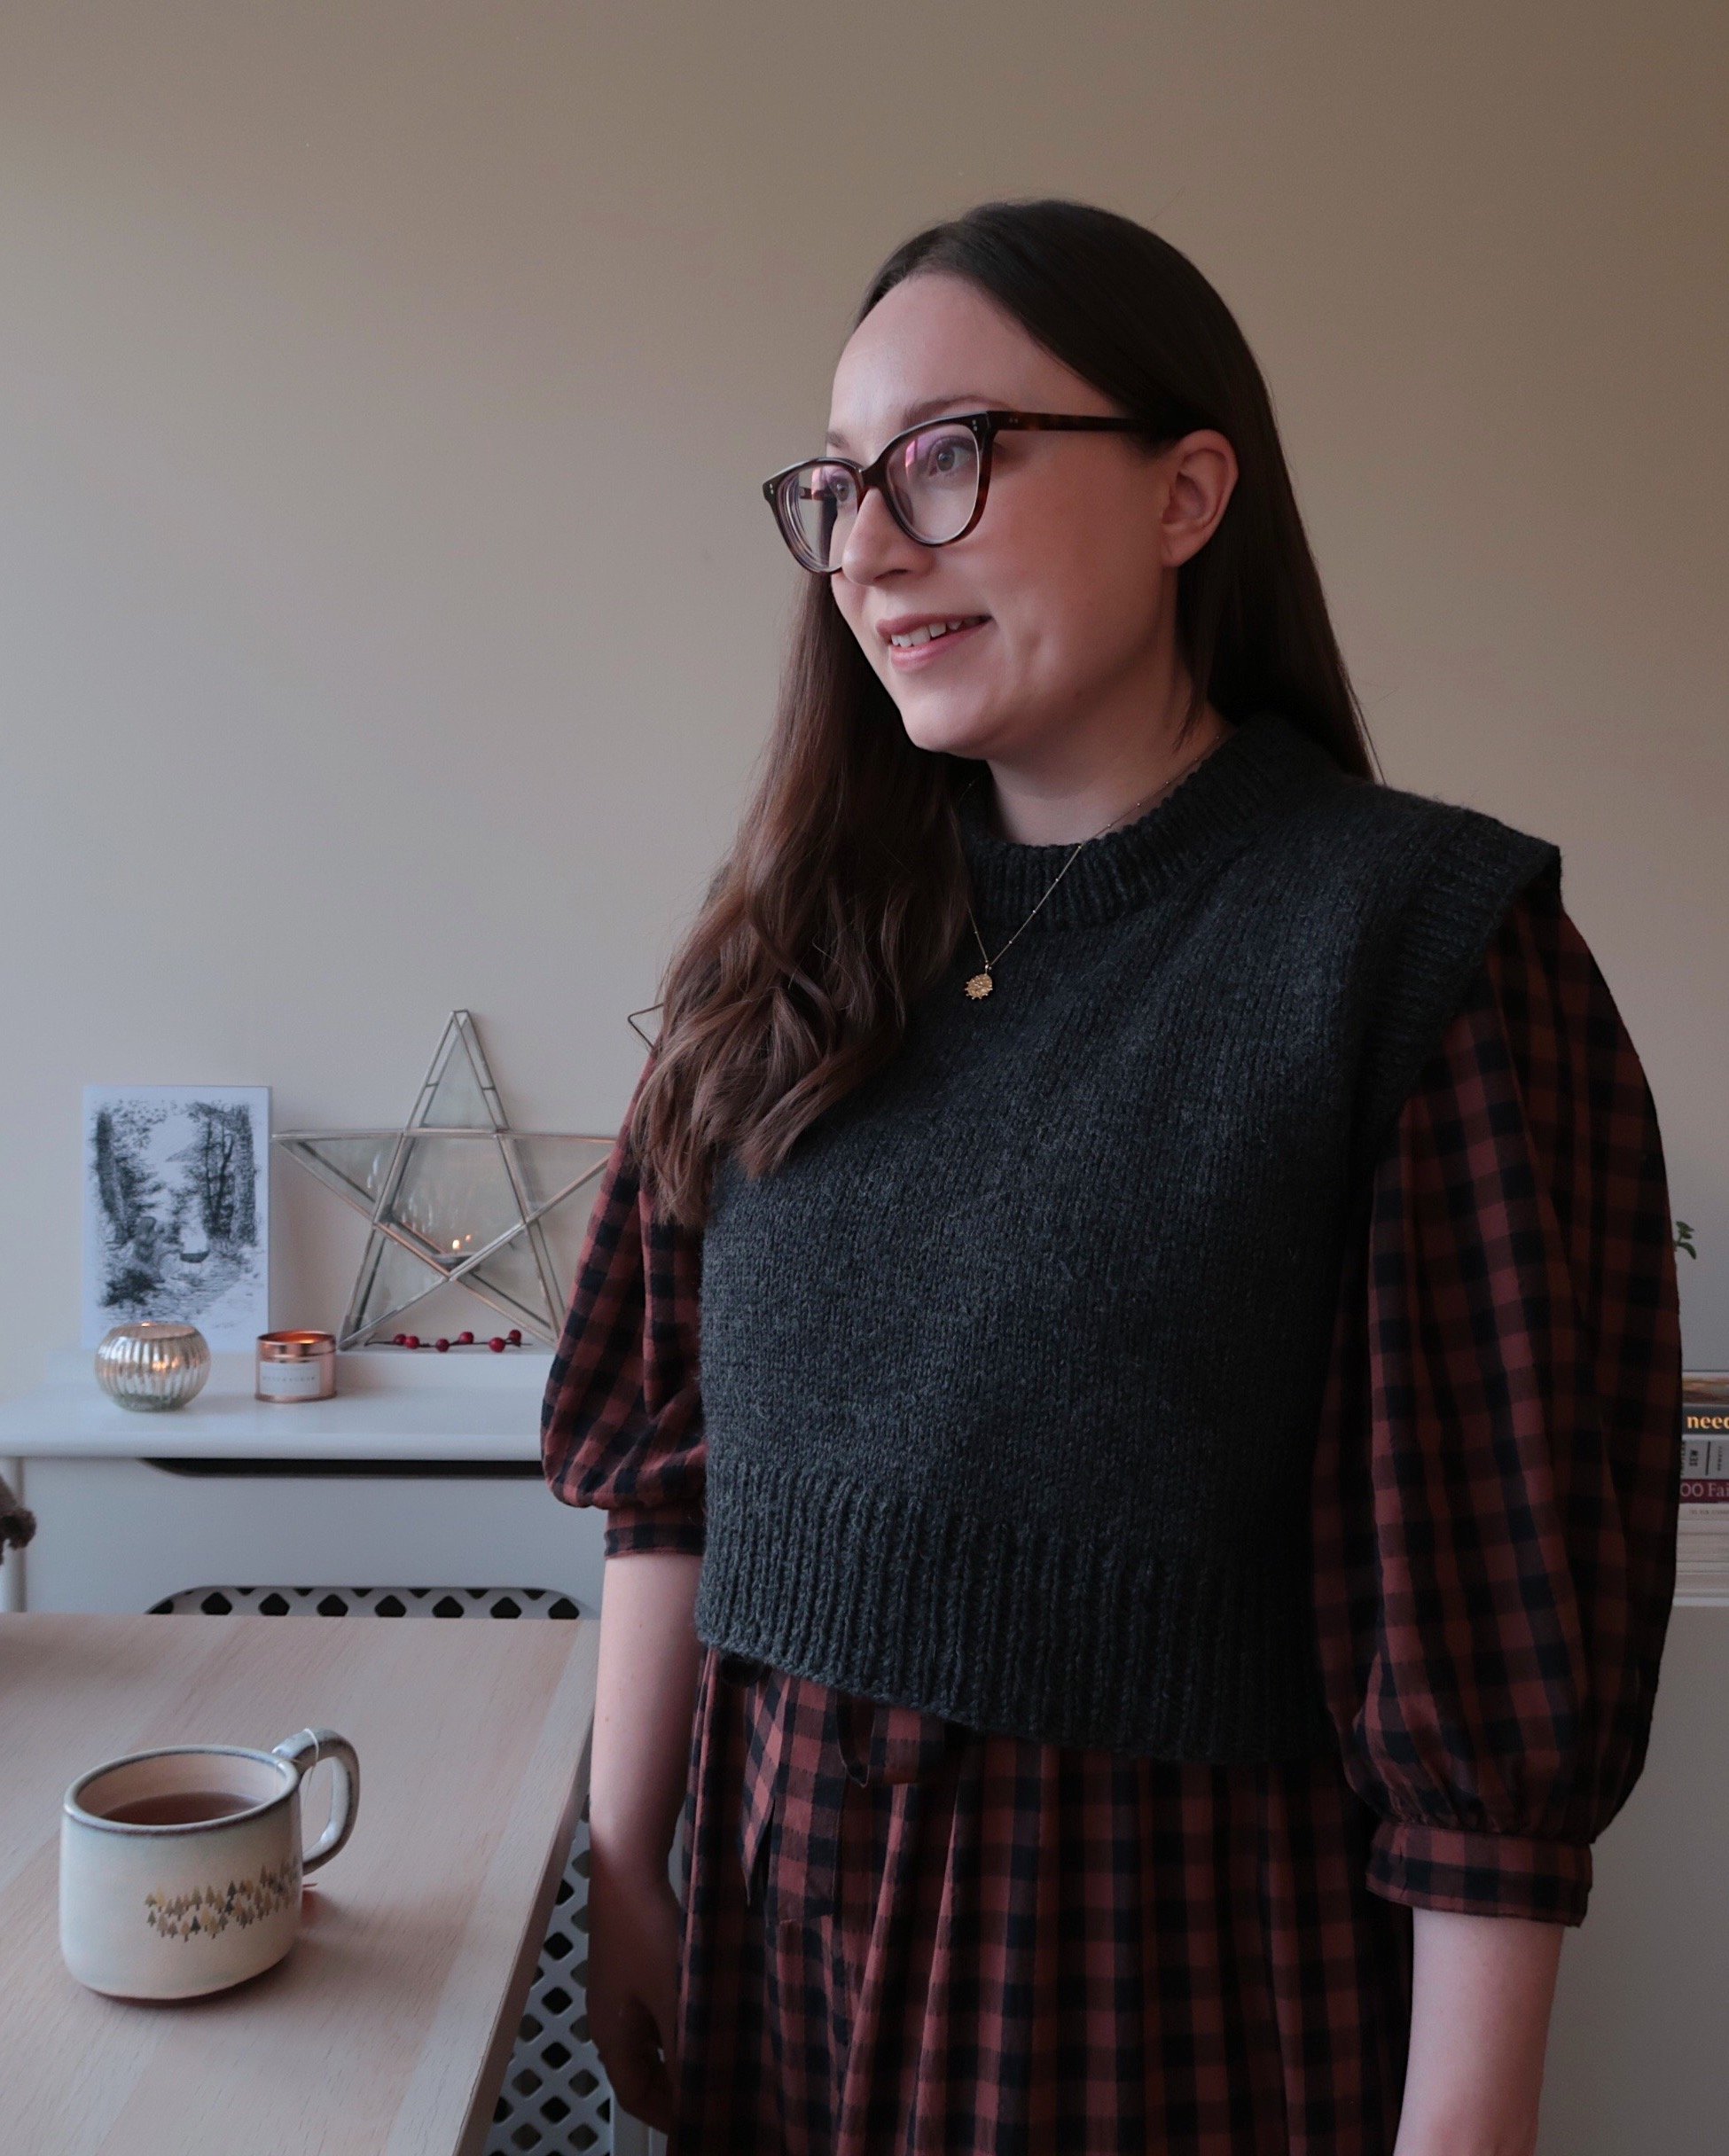
I love that I’m extending the wear of my cottage-core summer dresses by adding tights and the Novice Slipover to create an cosy and cool Autumn/Winter look.

Novice Slipover Vest Knitting Pattern

I like the straightforward construction and I found the Novice Slipover pattern easy to follow.

I think the Novice Slipover is beautiful in its simplicity. The ribbed trims and the simple increases that shape the neck give a polished look with the Filcolana Peruvian wool I used.

The pattern starts at the back yoke and is worked from the top down which made it easy for me to try on and check the fit as I knit. Fit was important to me with this garment as wanted it to hit me at my waist for wearing over high waisted skirts and dresses.

Filcolana Peruvian Highland Wool

The Novice Slipover calls for a DK weight yarn held with a lace weight which is the equivalent of an aran weight with a gauge of 17sts and 25rnds per 4 inches.

I prefer to knit with just one strand of yarn so I chose Filcolana’s aran weight 100% wool Peruvian and I couldn’t be happier with the result

I got gauge using 4mm needles and I love the cosy, warm fabric I got at 17sts per 4 inches. To me the vest feels very soft for a 100% non-super wash yarn and the charcoal colour is a great staple that can be worn with anything in my wardrobe.

I’ve been wearing my knitted vest often over the last couple of months. It’s got minimal pilling and has kept its shape beautifully since blocking.

Fit and Modifications

I knit size 40.25” which would give me about 4 inches of positive ease. The pattern is designed to be worn with almost 7” of positive ease but I really like the closer fit layered like this.

I was unsure how this style of vest would look and if it would be something I’d enjoy wearing so I went armed with a tape measure and hit the high street.

I found a similar knitted vest in Marks and Spencers and tried a few sizes to work out what I liked best. I found that something with less positive ease felt right and I folded the hem up to a cropped length which I thought would look good with my high waisted skirts and dresses.

I took as many measurements as I could and then compared those measurements to the PetiteKnit Novice Slipover pattern at home.

Choosing a size with less ease and knitting the body shorter were the only changes I made. I followed the pattern as written and blocked to the measurements of the ready-to-wear knitted vest I tried on.

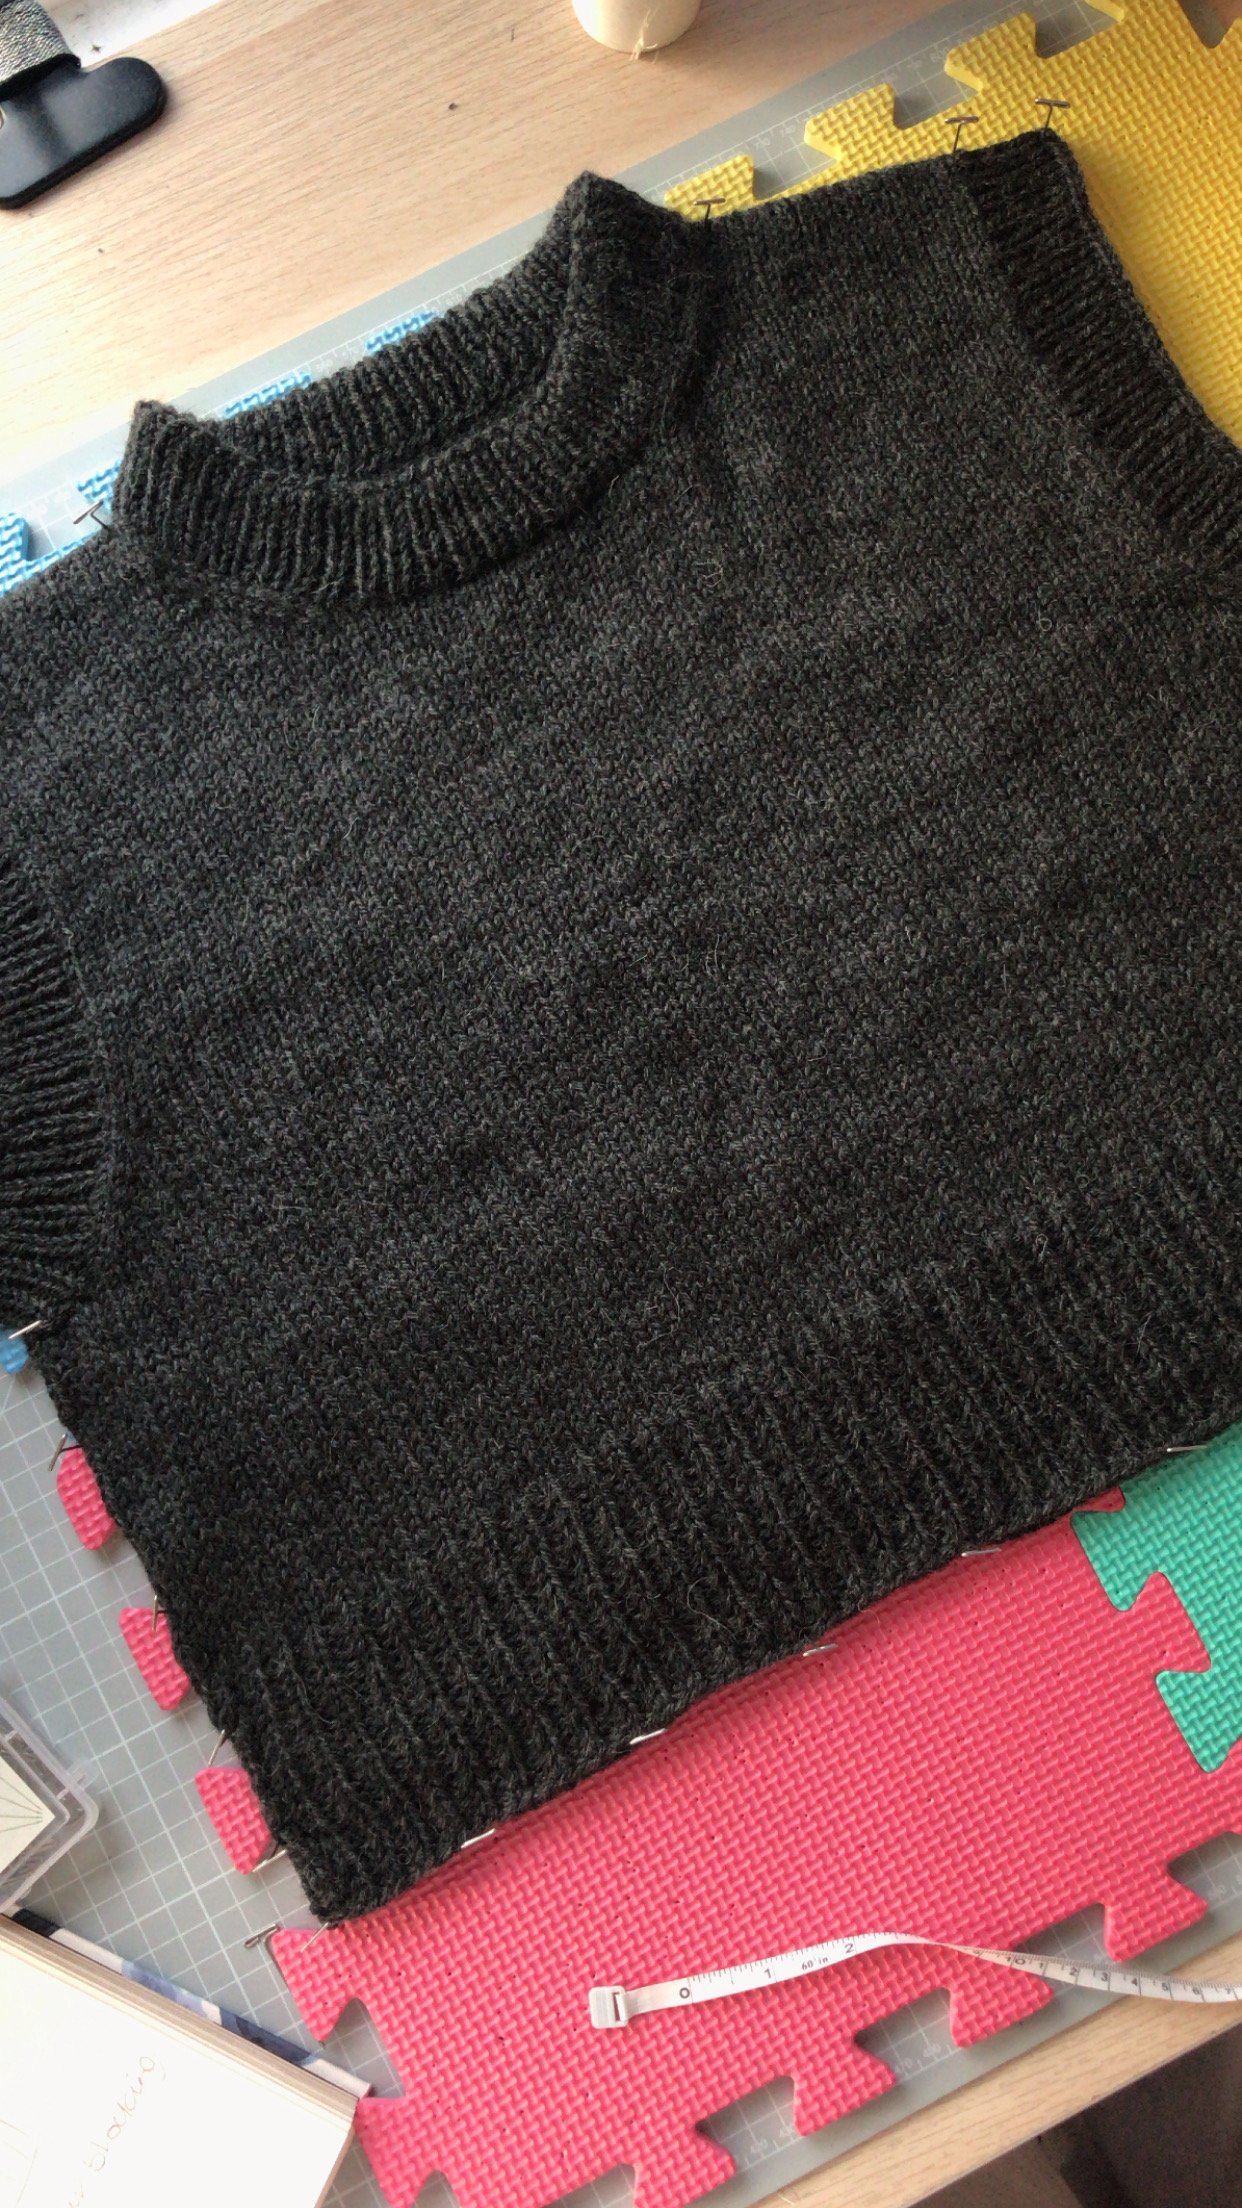
The finished chest measurements should have been 40.25” but as I mentioned I wanted my Novice Slipover to be as close to the measurements I’d taken from the vest I tried in store. Therefore I blocked the vest to just 19” across (38” finished chest), 16” from neck edge to hem and 9” from underarm to hem.

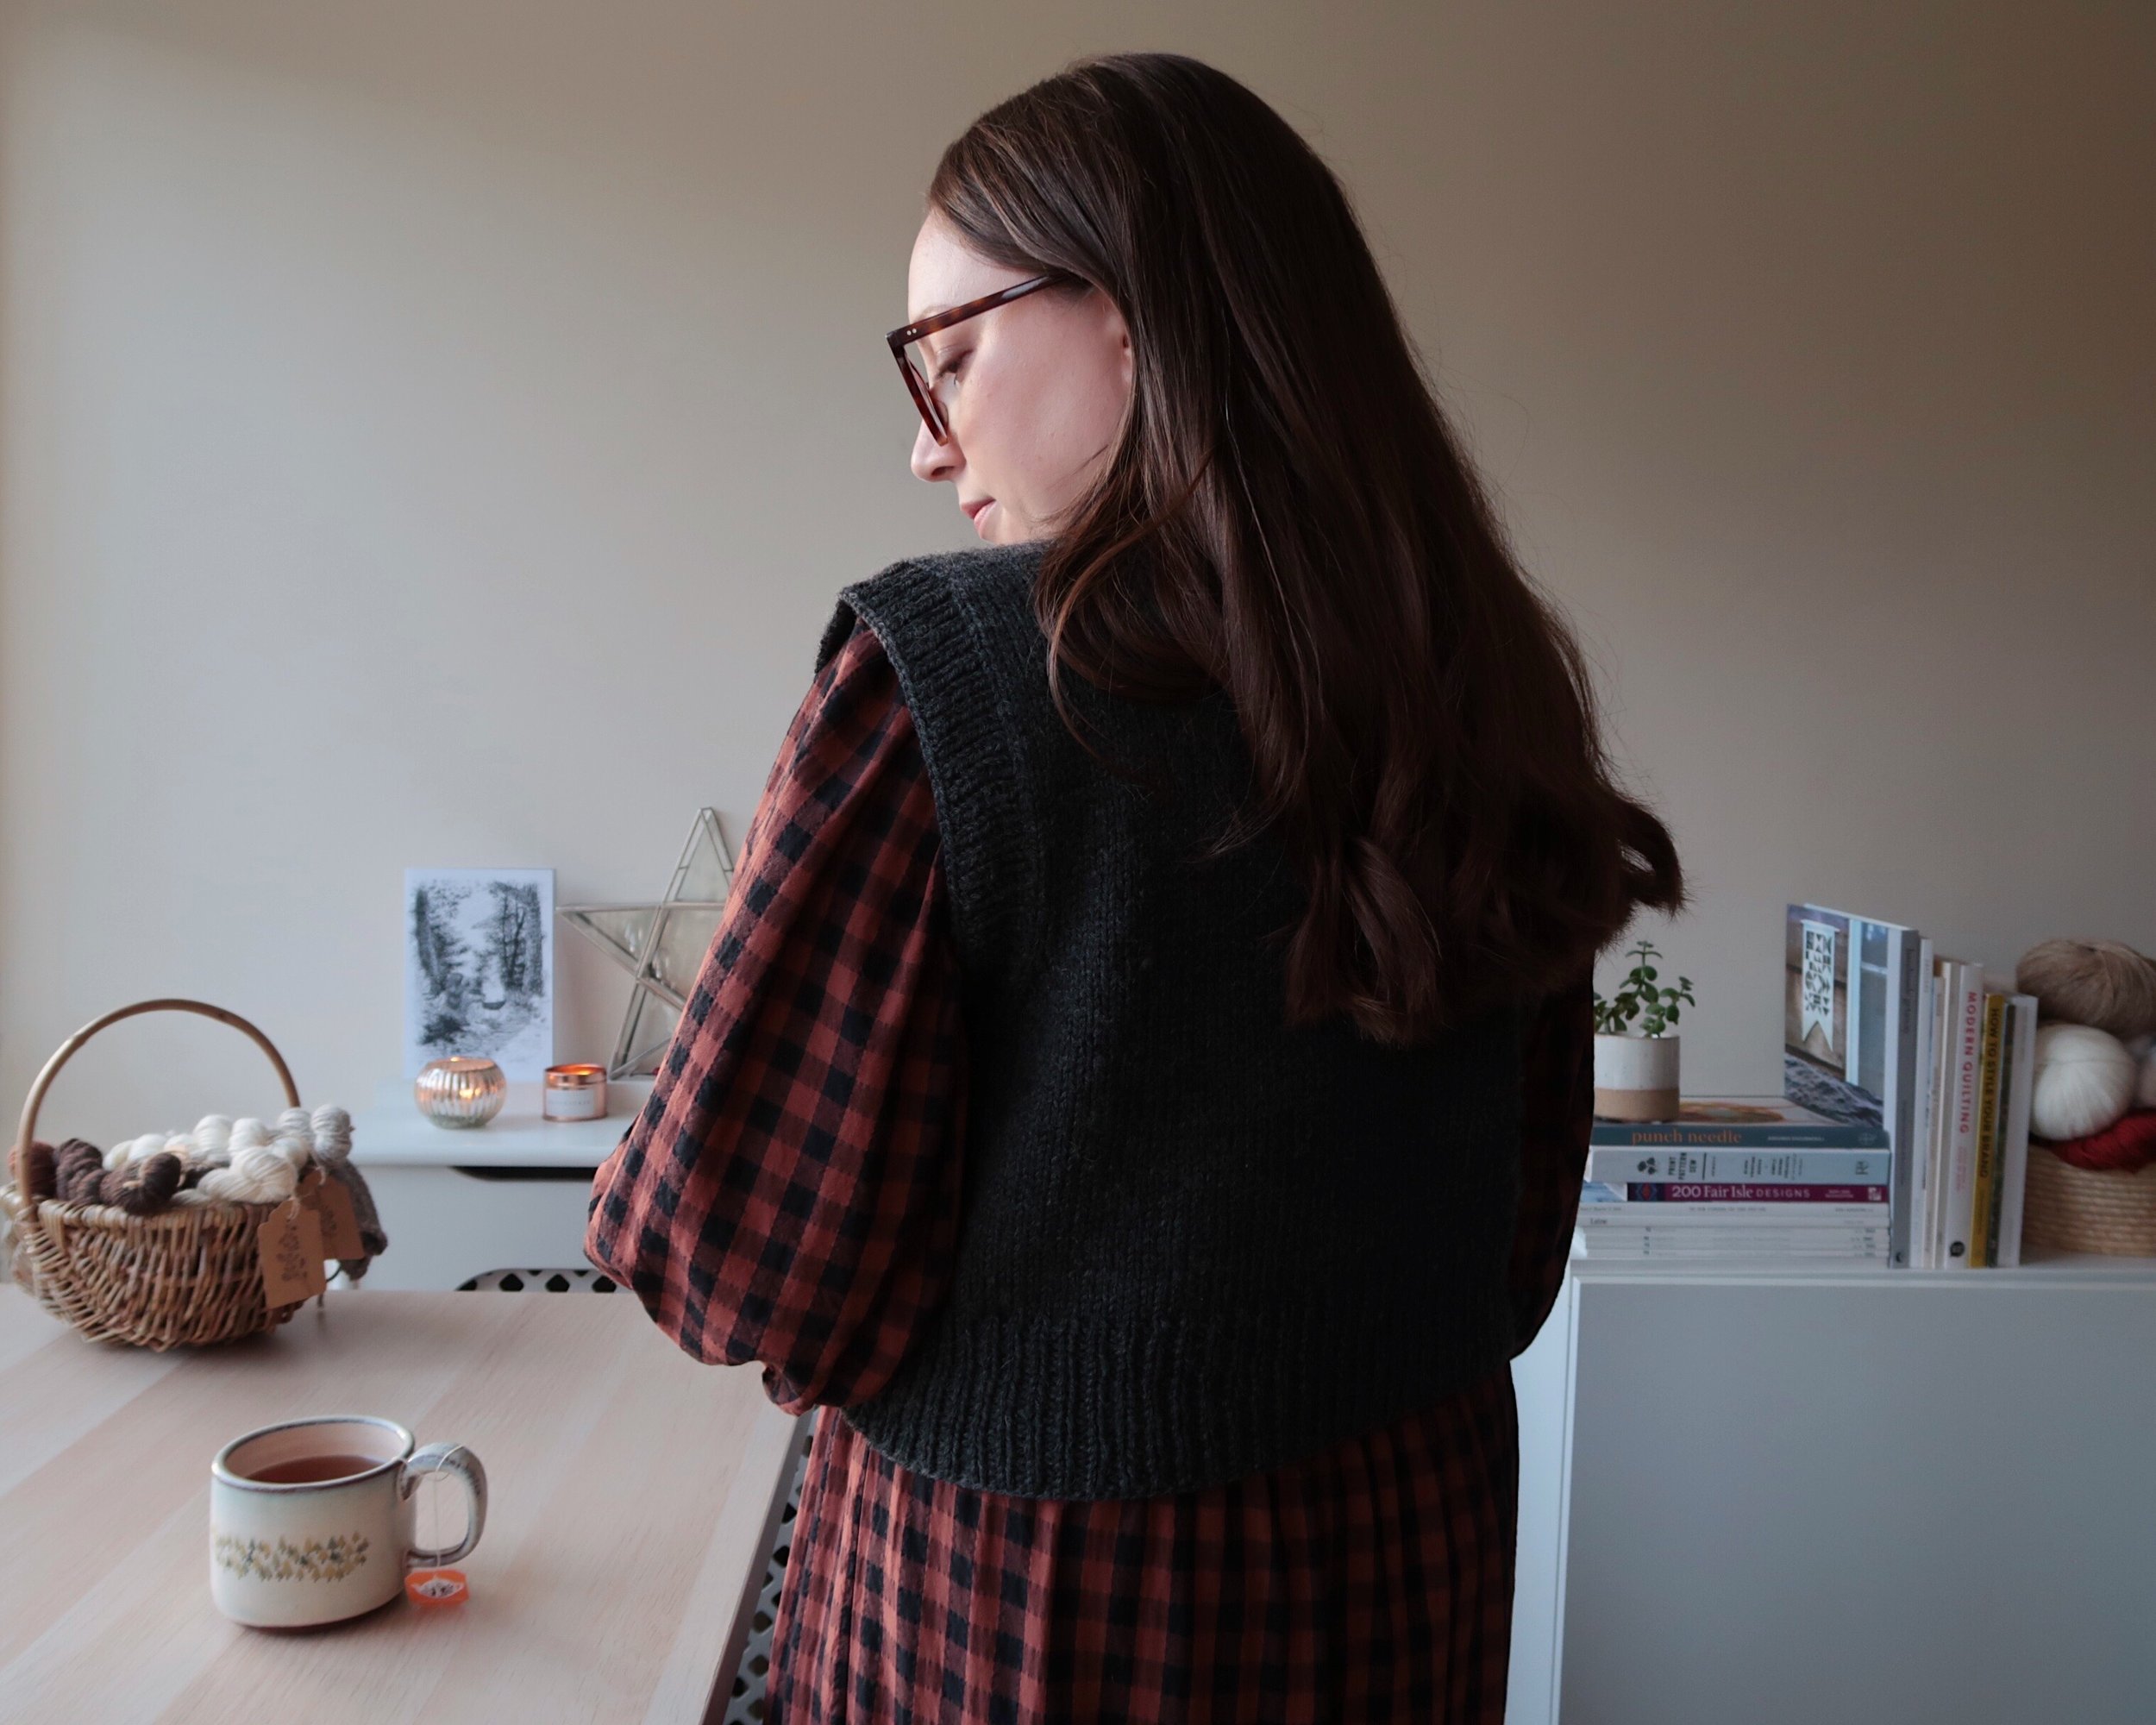
The Filcolana Peruvian yarn blocked beautifully and the vest has kept it’s shape well as you can see. These photos were taken almost 2 months after finishing the Novice Slipover and I’ve worn it 2-3 times each week.

I’ll be looking for a sweater pattern to knit with this yarn soon as it’s a great price point at just £4 per 50g ball at the time of writing this.

Alex wears a Novice Slipover by PetiteKnit that she knit using Filcolana Peruvian in Charcoal

Project Notes

Pattern: Novice Slipover by PetiteKnit

Yarn: 5 balls of Filcolana Peruvian 100% Wool (109 yards/100 meters 50g) in 956 Charcoal

Size: Knit size 40.25” but blocked to just 38" which gives me 2” of positive ease

Needles: 4 mm (US 6) Addi Circulars

I didn't change needles for the rib on the body but I did go down to 3.25mm on the arm holes and neck edge.

Started: 25th September 2023

Finished: 9th October 2023


You Might Like…


Where do you want to go next?


Budget Friendly Yarns for Sweater Knitting
Budget wool yarn for sweater knitting.

We’re almost at the end of September as I write this and Sweater Weather has officially reached my little corner of the world. I’ve worn a hand-knit sweater every day this week and I couldn’t be happier about it.

I know I’m not the only one with sweater knitting on my mind right now so I thought it would be the perfect time to share some of my go to yarns for sweater projects.

I was actually asked a while ago if I could recommend, some budget-friendly yarns that will wear well and I think the three projects I’m sharing today fit the bill.

"I’d love to hear more yarn recommendations, especially more budget friendly yarns. I have so many garments  I’d like to make but usually can’t afford the yarns recommended but equally don’t want to buy cheap yarn that won’t wear well." - Angie

Great Value Yarn

Budget-friendly is so subjective as what’s affordable for one person isn’t for another so here I’m sharing the yarn I used to knit my three most worn sweaters. They're all wearing really well and each cost less than £60 which feels like good value to me.

I could wear these garments for years if I take good care of them which makes the cost per wear pretty low if you like to think of things in that way.

Before I get to the recommendations I did want to point out that as a petite woman (I’m just 5ft tall) I recognise this also helps keep my yarn costs down when sweater knitting.

If you want to knit a long-lasting garment in a warm, natural fibre here are my suggestions.

100% Wool Yarns for Sweater Knitting

Jamieson and Smith 2ply Jumper Weight

Jamieson and Smith 2ply Jumper Weight is a great option for colour work as they have a huge range of colours in 25g balls. You can buy several colours for a project in the quantities you need so there is less yarn left over and you can more easily keep to your budget.

100% Shetland Wool is probably the most rustic of the three yarns I’m sharing here. If you think you might be sensitive to any of these yarns, buy a ball and knit a swatch to see how it feels to you before committing to a buy a whole sweater quantity. Everyone’s sensitivity to yarn is different but I can wear this next to my skin without irritation.

Alex wears the Pheasant Pullover,  a brown sweater with a colourful yoke design in orange, white, lilac and blue.

Pheasant Pullover by Amy Christoffers - Jamieson & Smith 2Ply Jumper Weight


Pheasant Pullover - Jameson and Smith 2 ply Jumper Weight

Size 38” - finished chest

12 balls

£3.60 per 25g

Sweater cost £43.20

My Project Notes

Knit Picks Wool of the Andes Sport

Knit Picks Wool of the Andes Sport is 100% Peruvian Wool. It’s a robust yarn that I find is comfortable worn next to my skin. The yarn will withstand some unravelling and re-knitting so combined with the price point it could be a good yarn choice for a first sweater. It has a nice amount of drape and a lovely warmth to it.


Field Day Cardigan - Knit Picks Wool of the Andes Sport

Size 45” finished chest

7 balls

£3.64 per 50g ball

Sweater Cost £26.81

My Project Notes

Field Day Cardigan by Ozetta - Knit Picks Wool of the Andes Sport in Mink Heather

The Fibre Co. Lore

The Fibre Co. Lore is a fabulous woolly yarn that is plump and bouncy, with beautiful stitch definition. Made from 100% lambswool from the Romney Sheep breed. It’s a light weight, airy yarn that would be a great choice if you’d like to try a British breed-specific yarn for your next sweater project.

Deep Moss Pot by Kari-Helene Rane - The Fibre Co. Lore in Stable


Deep Moss Pot - The Fibre Co. Lore

Size 34-36” finished chest

3 skeins
£19.20 per 100g skein

Sweater cost £57.60

My Project Notes

I like investing in yarns that will last whatever the price point. When I have put in so many hours of work it’s important to me that a garment will stand the test of time.

All three of these pullovers are in regular rotation in my wardrobe. They have minimal pilling and they’ve kept their shape which for me is a sign that they are all wearing well.

I’d love to hear which yarn you have found to be great value for sweater knitting and why. Leave a comment with your favourites below.


Project Bags for Sweater Knitting

Medium Project Sack | Sweater Weather
Quick View
Medium Project Sack | Sweater Weather
£38.00
Quantity:
Add To Cart
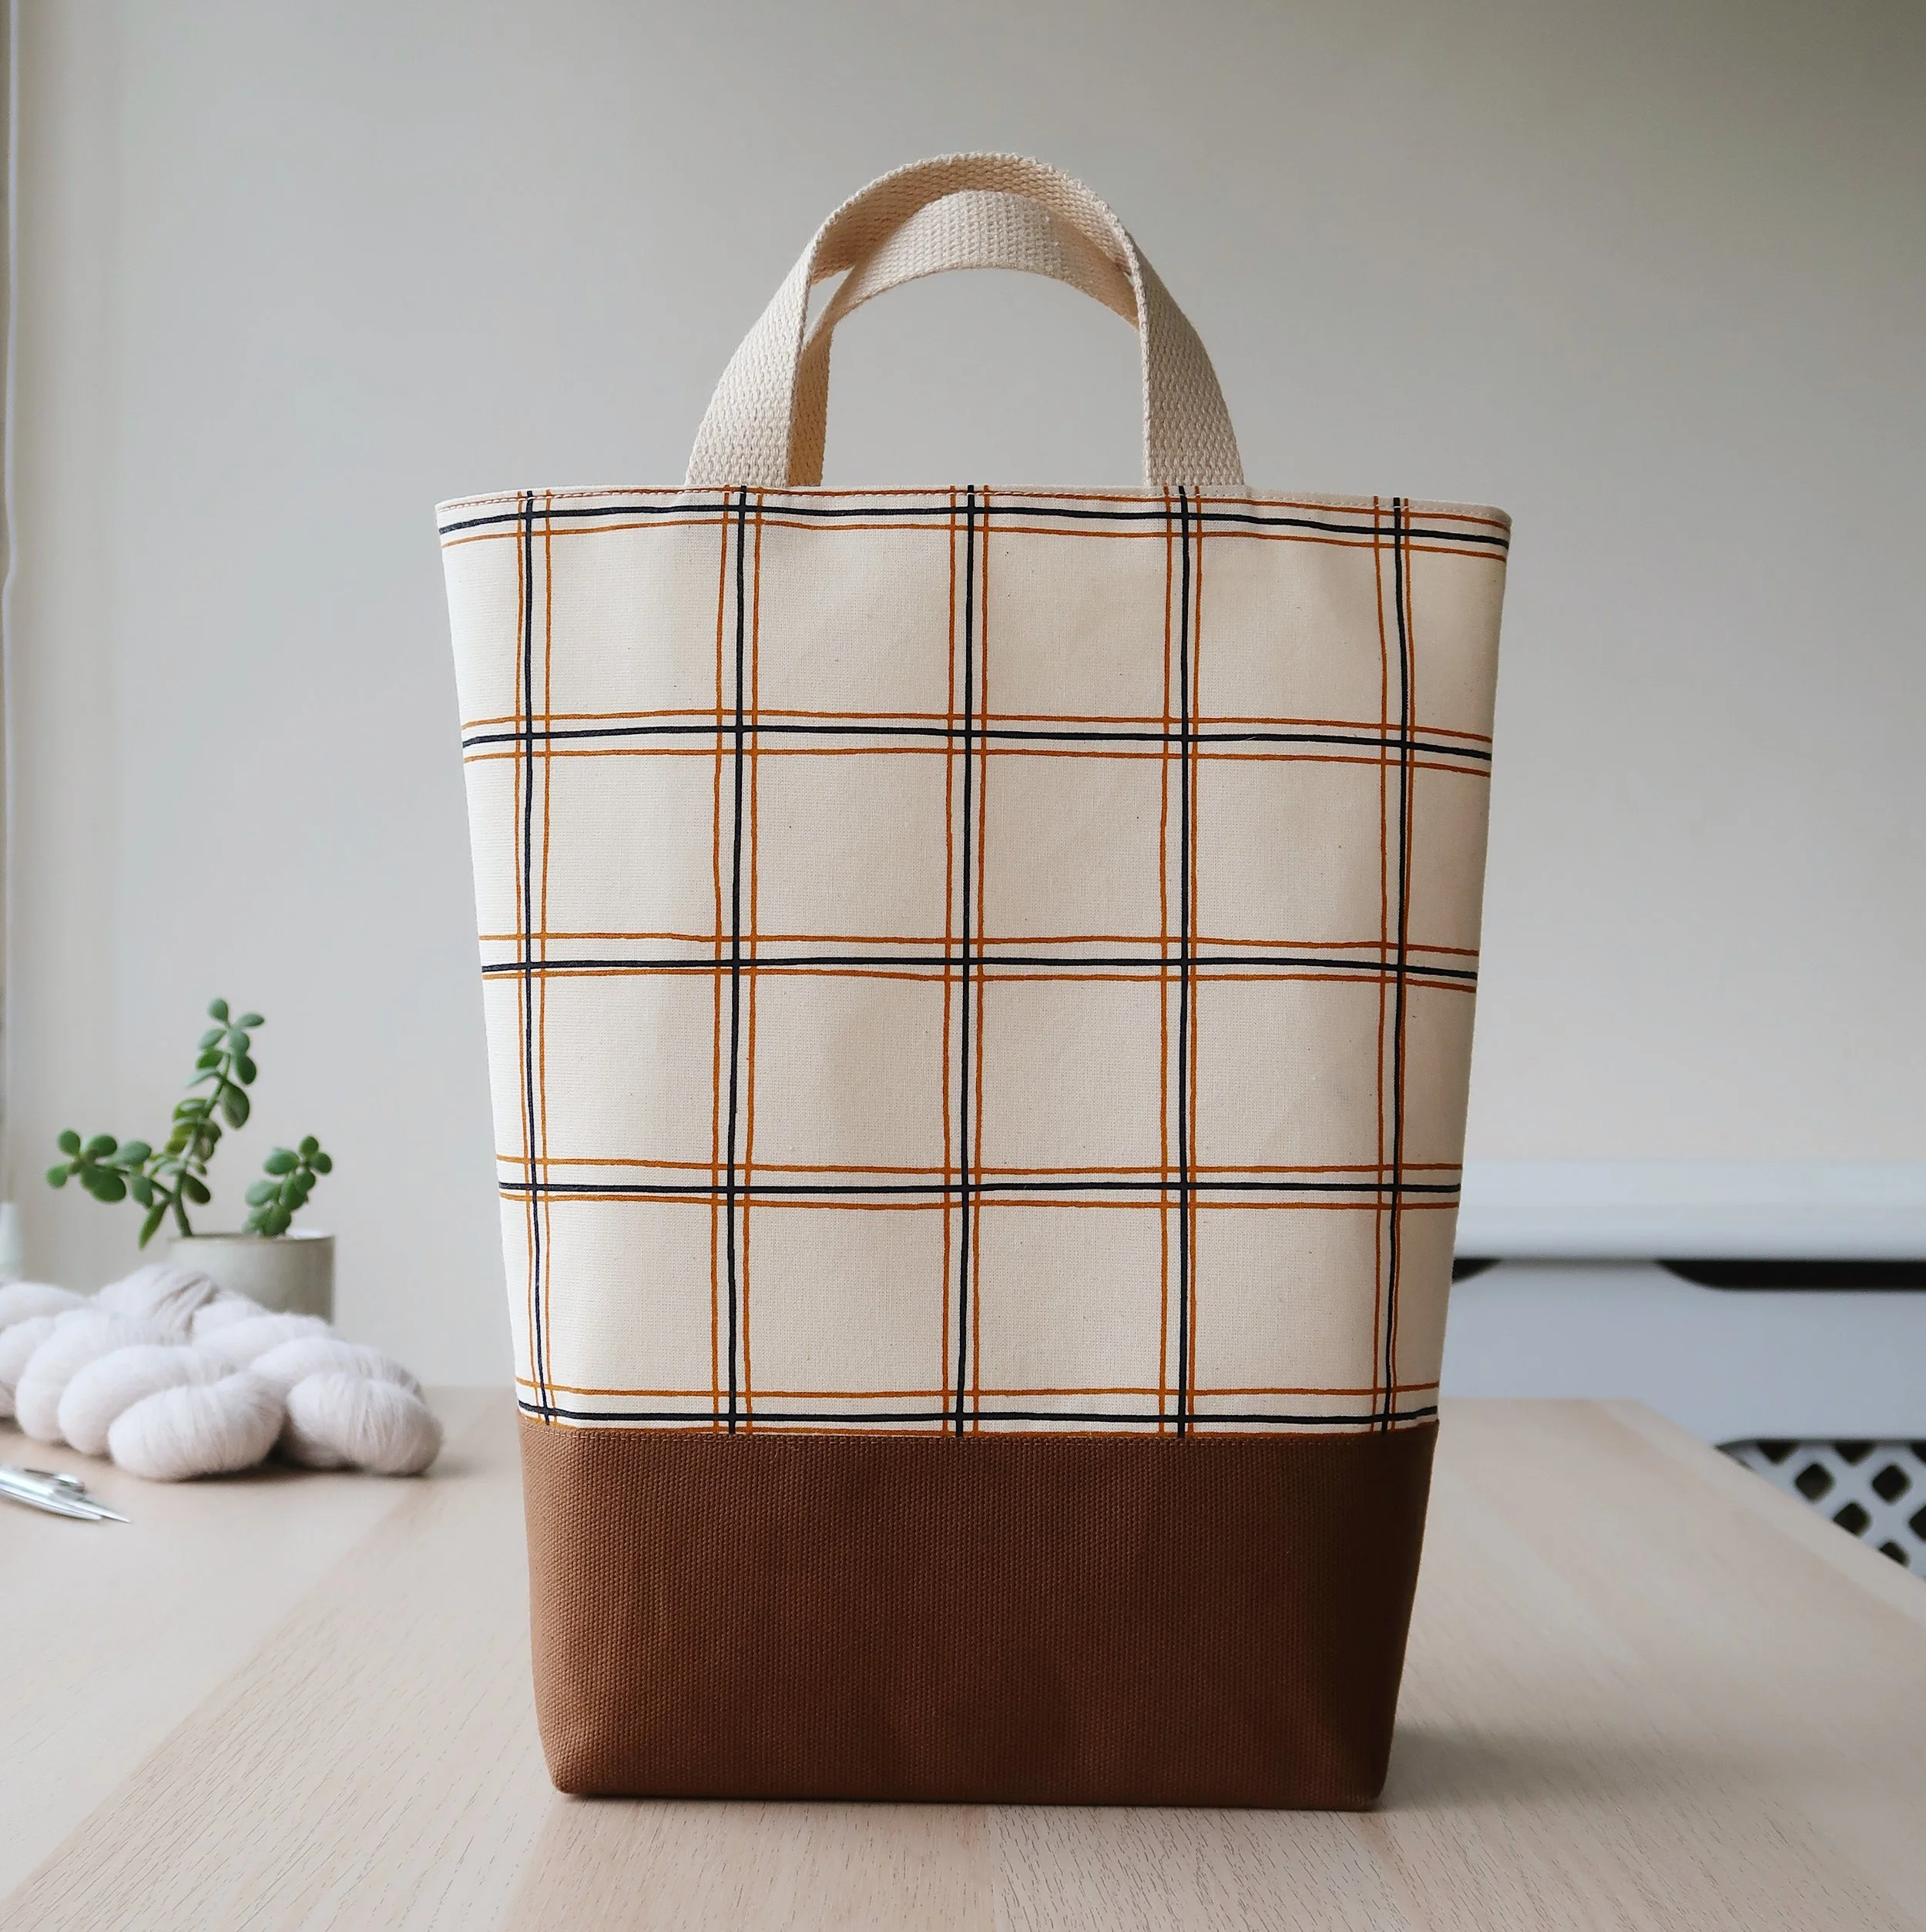
Large Tote | Autumn Plaid
Quick View
Large Tote | Autumn Plaid
£49.00
Add To Cart
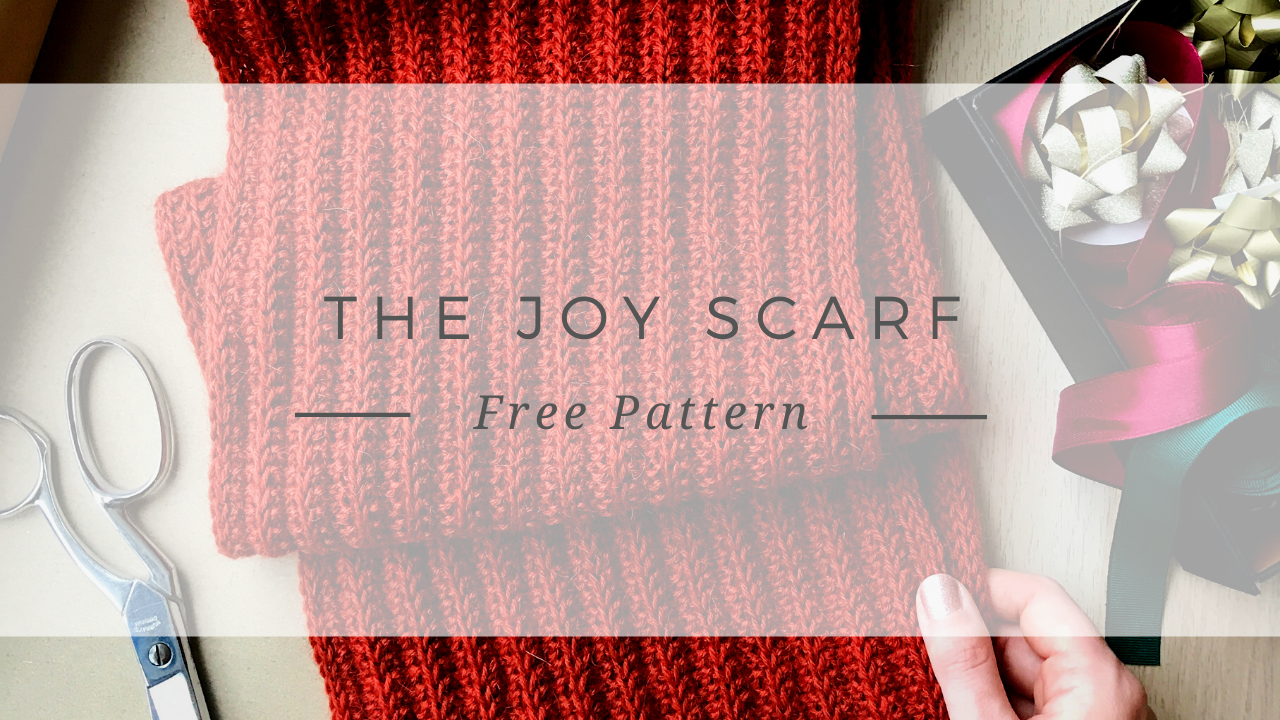
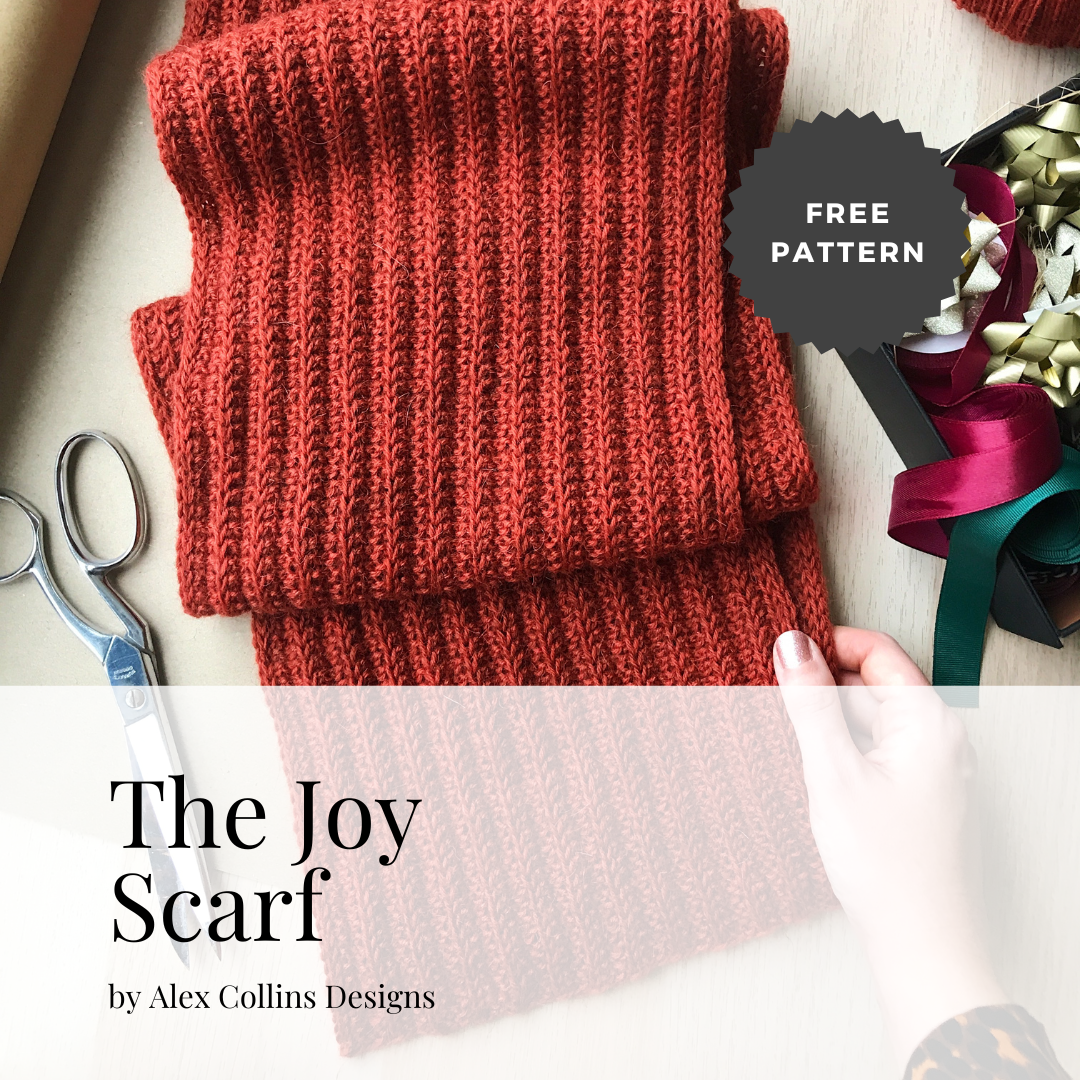
Free Scarf Pattern | The Joy Scarf
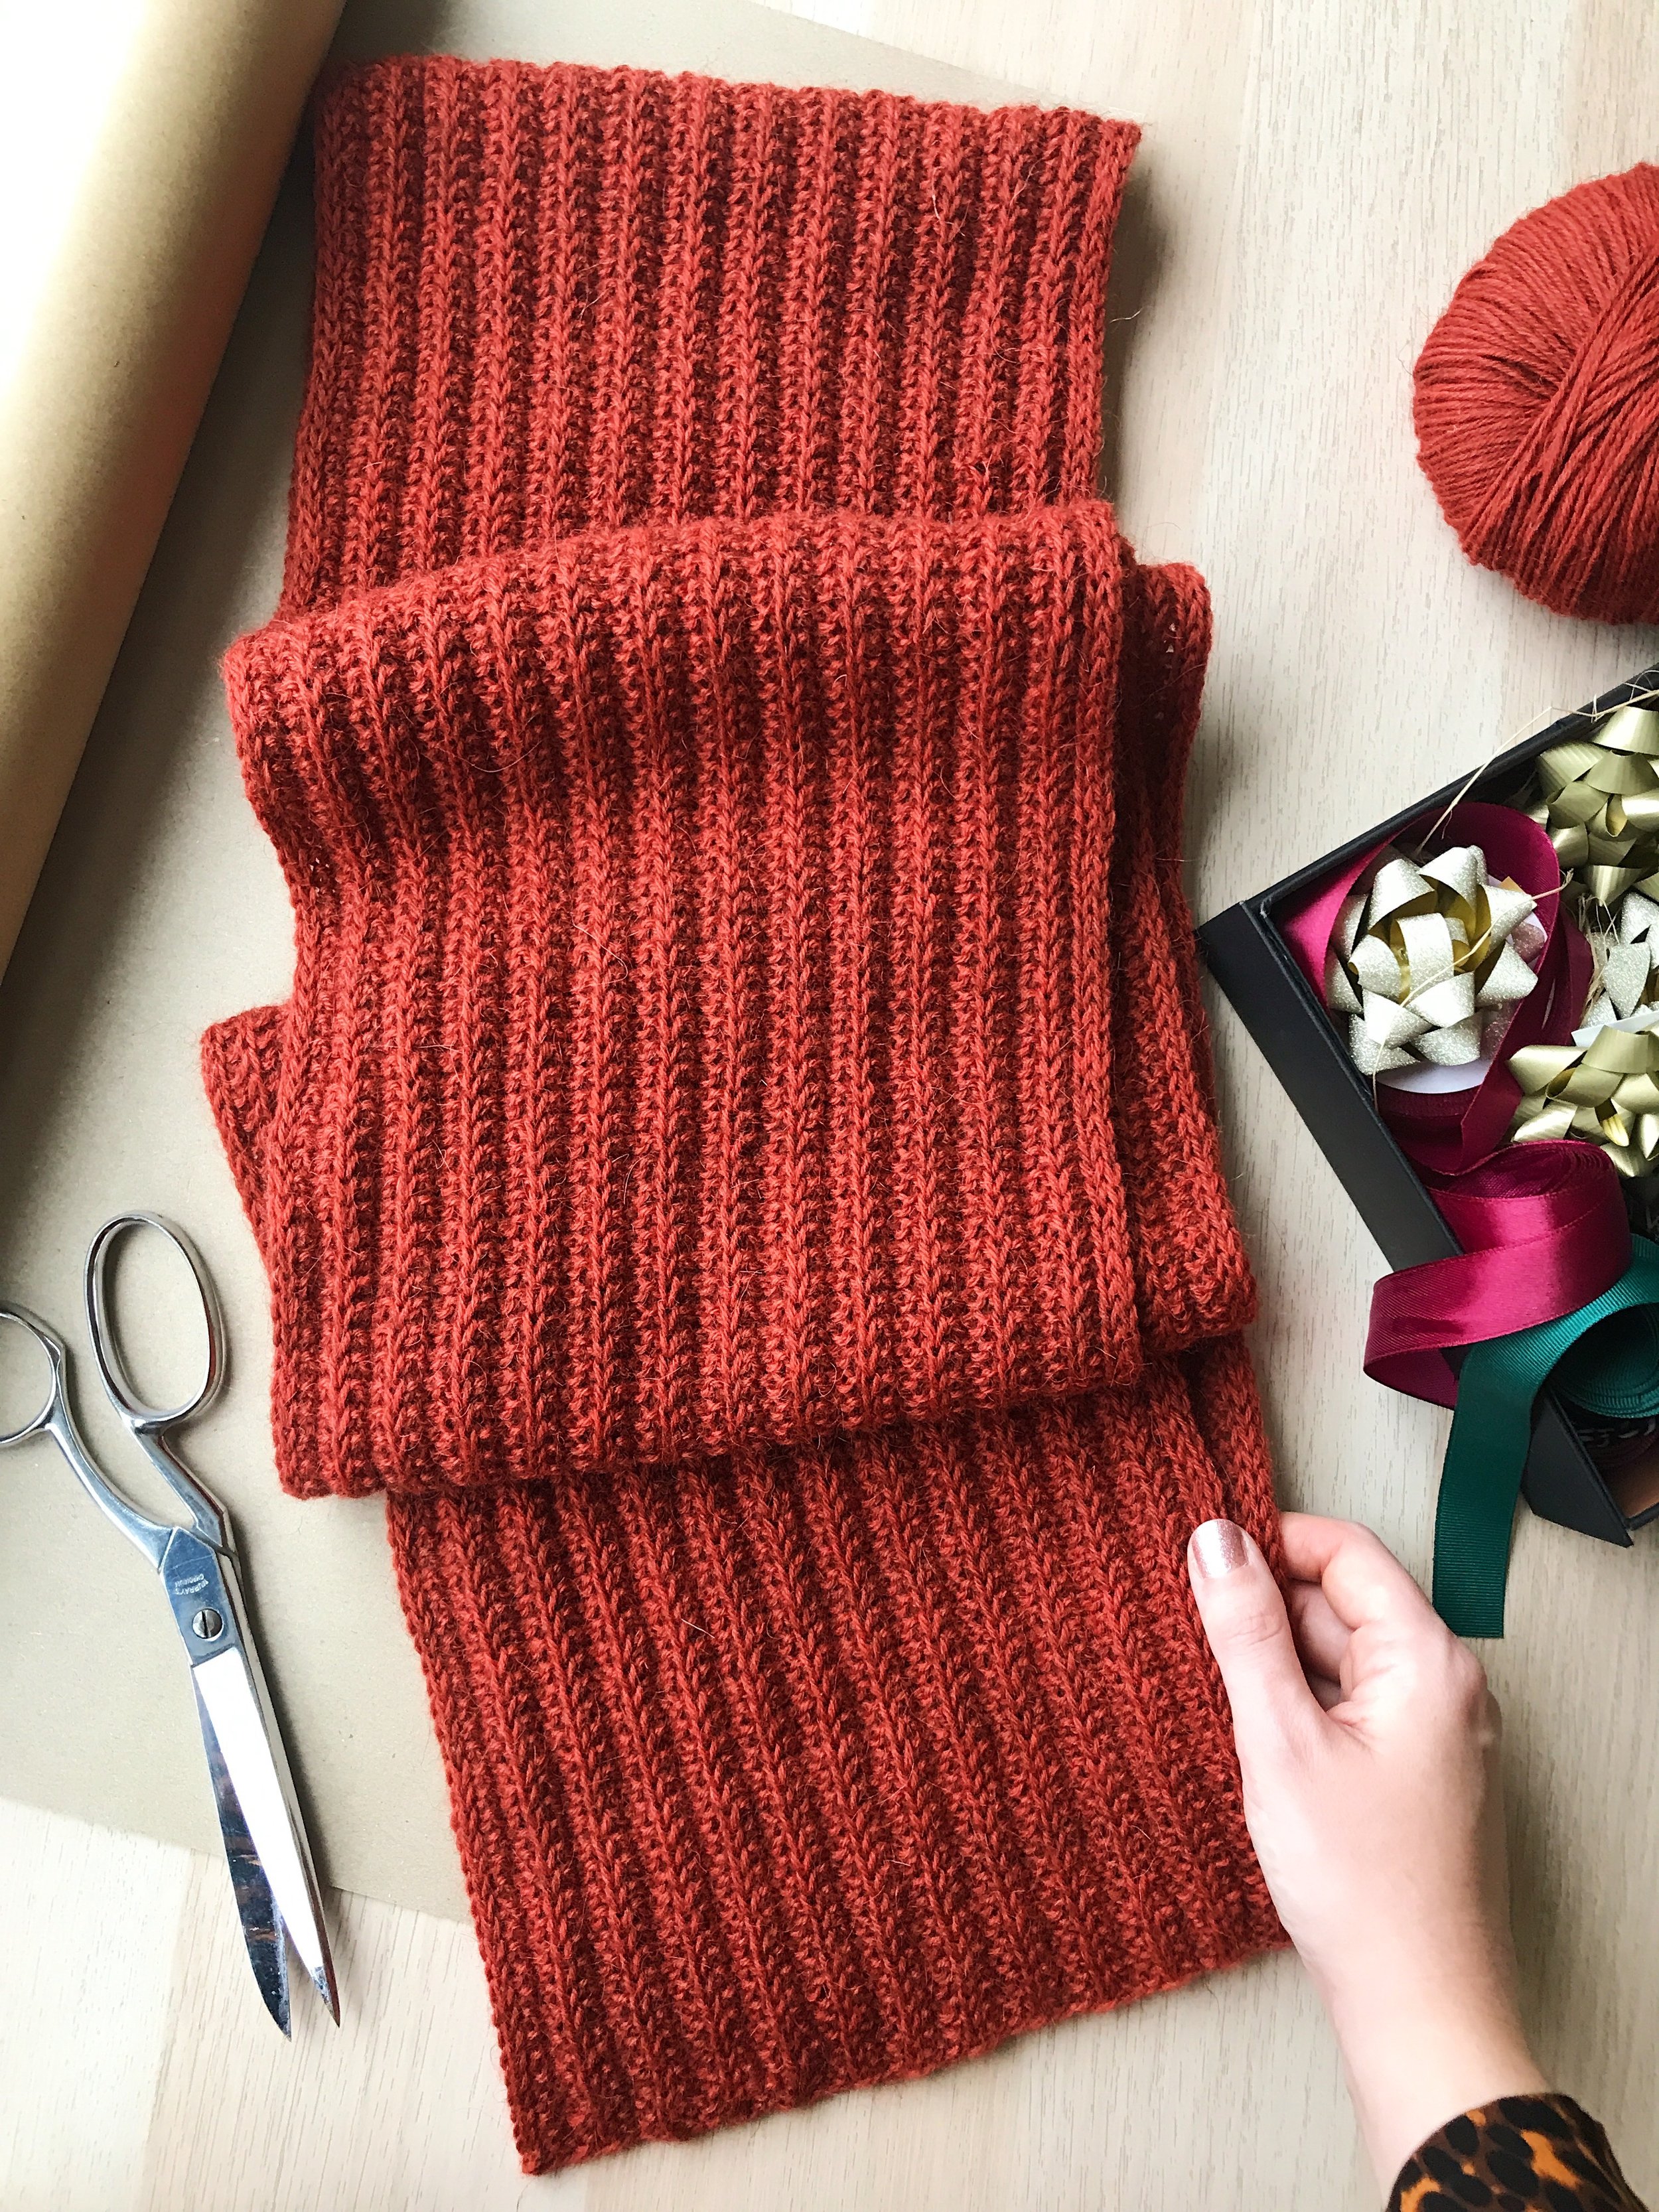
A red scarf with a textured rib pattern is about to wrapped in brown paper and a red ribbon

If you watched my last YouTube video you'll know I was gift knitting a scarf for my dad this Christmas. 

I had less than three weeks to complete the fingering weight project but I'm pleased to say I managed it. 

Yes, it was still blocking on Christmas Eve but it was wrapped and under the tree on Christmas Day - phew!

Finding a simple, classic, fingering weight scarf pattern I thought my dad would wear was harder than expected! 

Having trawled through scarf searches on Pinterest and Ravelry I kept coming back to the No-Purl Rib series of patterns by Purl Soho.  (Check them out if you're interested in knitting a wrap, blanket, or chunky scarf) They use a stitch that I learned is called the Cartridge Belt Rib. A cleaver rib stitch that really doesn't include a single purl. 

At first, I thought I could have a good guess at the number of stitches to cast on and just follow their pattern with my chosen yarn, and needles. I quickly realised that approach wasn’t going well and I needed a plan. I was using The Fibre Co. Cumbria Fingering which I know holds up really well to frogging so I decided to start again. 

A red scarf with a textured rib pattern is about to wrapped in brown paper and a red ribbon

The Joy Scarf

The Fibre Co. Cumbria Fingering in Nutkin

I ripped out my knitting, drafted a pattern that worked perfectly for my gauge using the Cartridge Belt Rib stitch and I got to knitting. The sizing looked so much better once I took the time to figure out the right stitch counts for a fingering weight yarn. It was well worth frogging the hours of knitting that went into my first attempt.

Another change I made when creating my own pattern was to add a slipped stitch edge to my scarf. This added a little more structure and the finished scarf has a very polished, neat finish which I knew my dad would appreciate. 

I'm really pleased with how the scarf turned out and I honestly think it's a pattern you could knit for almost everyone on your gift knitting list. 

If you'd like to knit your own fingering weight scarf like mine, I've made the pattern available to all my subscribers as a free download.

Sign up below and you’ll instantly get access to the pattern. Find yourself a plump, woolly yarn, and you're ready to cast-on.

I believe this scarf is a joy to knit and wear so I hope the pattern brings you a little joy too!


The text reads, Free Pattern. The Joy Scarf by Alex Collins over a photo of the scarf about to be wrapped. There is a box of bows and ribbons and brown paper on the table.

Handmade Wardrobe | Cinder
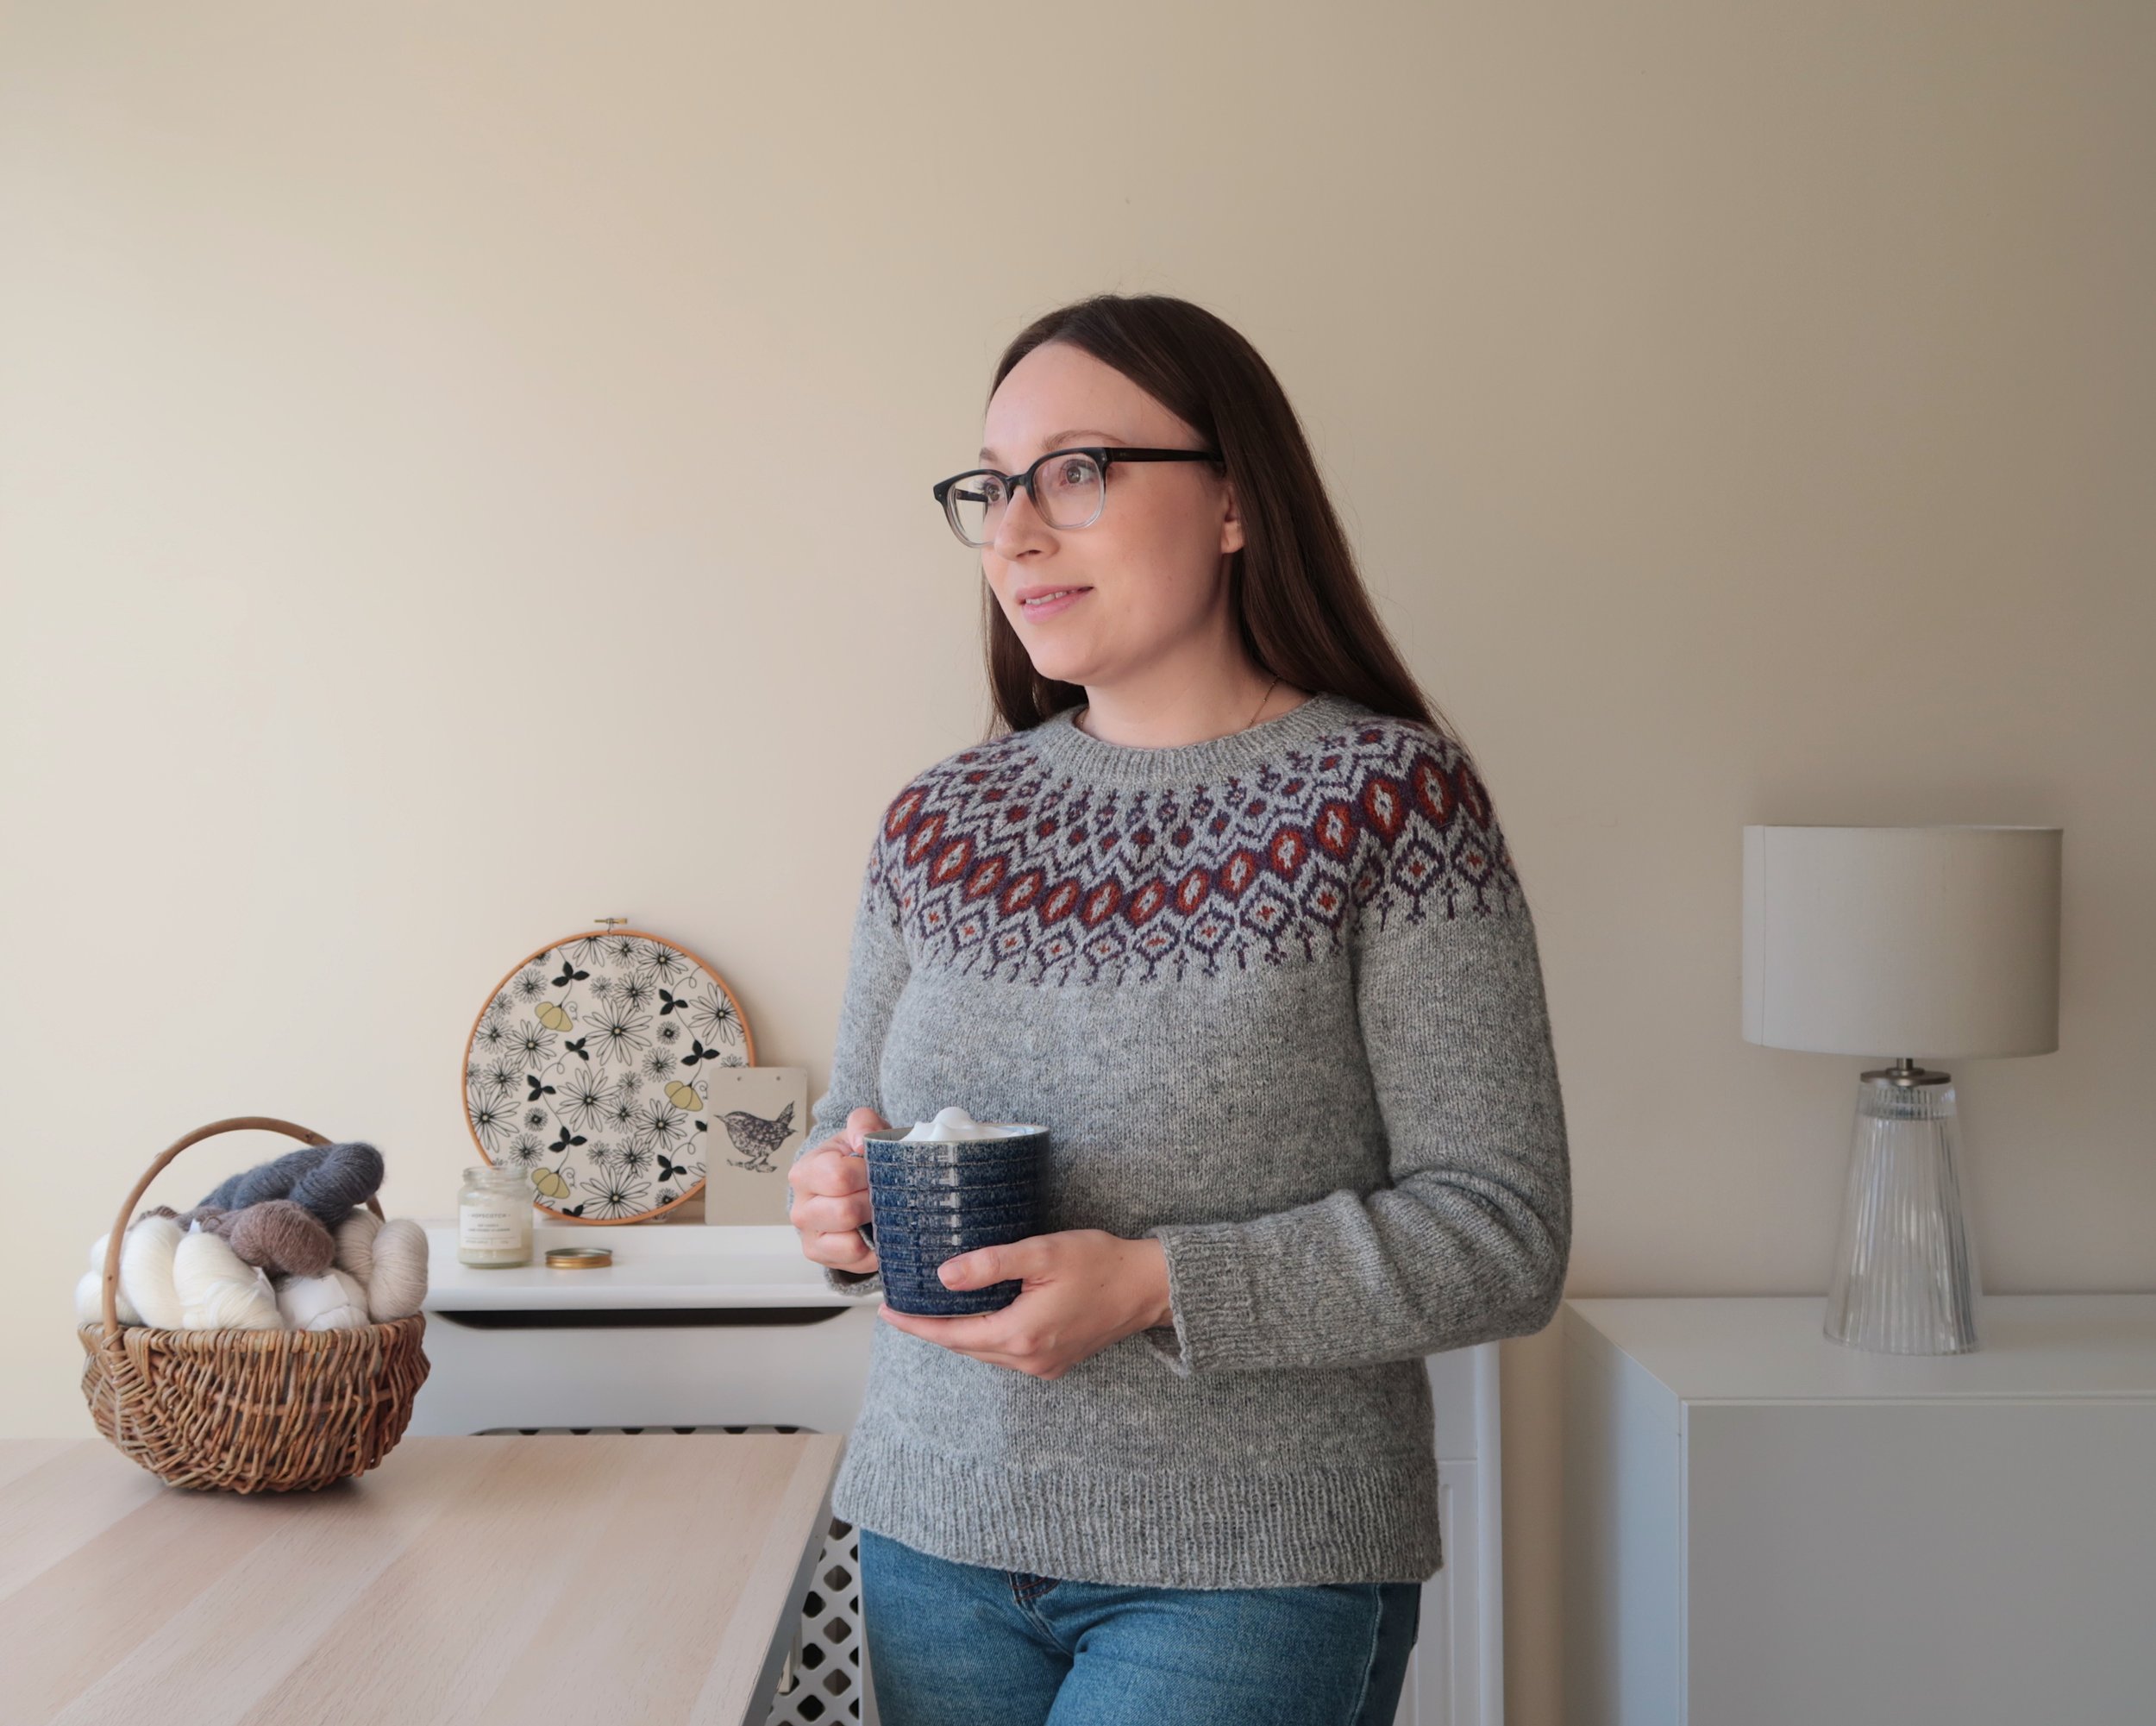
Text reads, Cinder Sweater Project Notes over a photo of a woman holding a coffee wearing a light grey sweater with a colour work yoke in orange and purple.

I’m not sure you can have too many colour work yoke sweaters like Cinder* by Jessica McDonald in your wardrobe. I definitely see my collection of sweaters with beautiful yokes growing over the years and I’d happily knit this pattern again in a completely different colour palette.

The designer Jessica McDonald reached out last year when she was working on a children’s wear collection to see if I would like to knit one of her designs for my nephew as she’d seen me knitting the Dog Star pullover.

Although I love her children wear designs, if I’m going to accept a gifted pattern I want to make sure it’s something I would purchase myself and I just so happened to have Cinder in my list of patterns to knit. So for full transparency,

*Cinder by Jessica McDonald was kindly gifted to me.

Cinder Sweater Knitting Pattern

I found the Cinder pattern easy to follow and with a simple modification to the sleeves, I love the finished garment. German short rows are used to raise the back neck and I like the neat neckline and ribbed collar.

When knitting the yoke section you introduce two contrast colours which at times you use at the same time as the main colour.

I took my time and didn’t find it fiddly to manage 3 colours even though I wasn’t using any special colour work knitting techniques. I simply dropped my working yarn and picked up the colour I needed without getting in a tangle.
Even though I substituted the yarn called for in the Cinder pattern, I stuck closely to the colours used in the original.

The designer Jessica McDonald suggests choosing three colours that strongly contrast with each other and I can see why. The end result is a bold yoke which sings against the simple grey background.

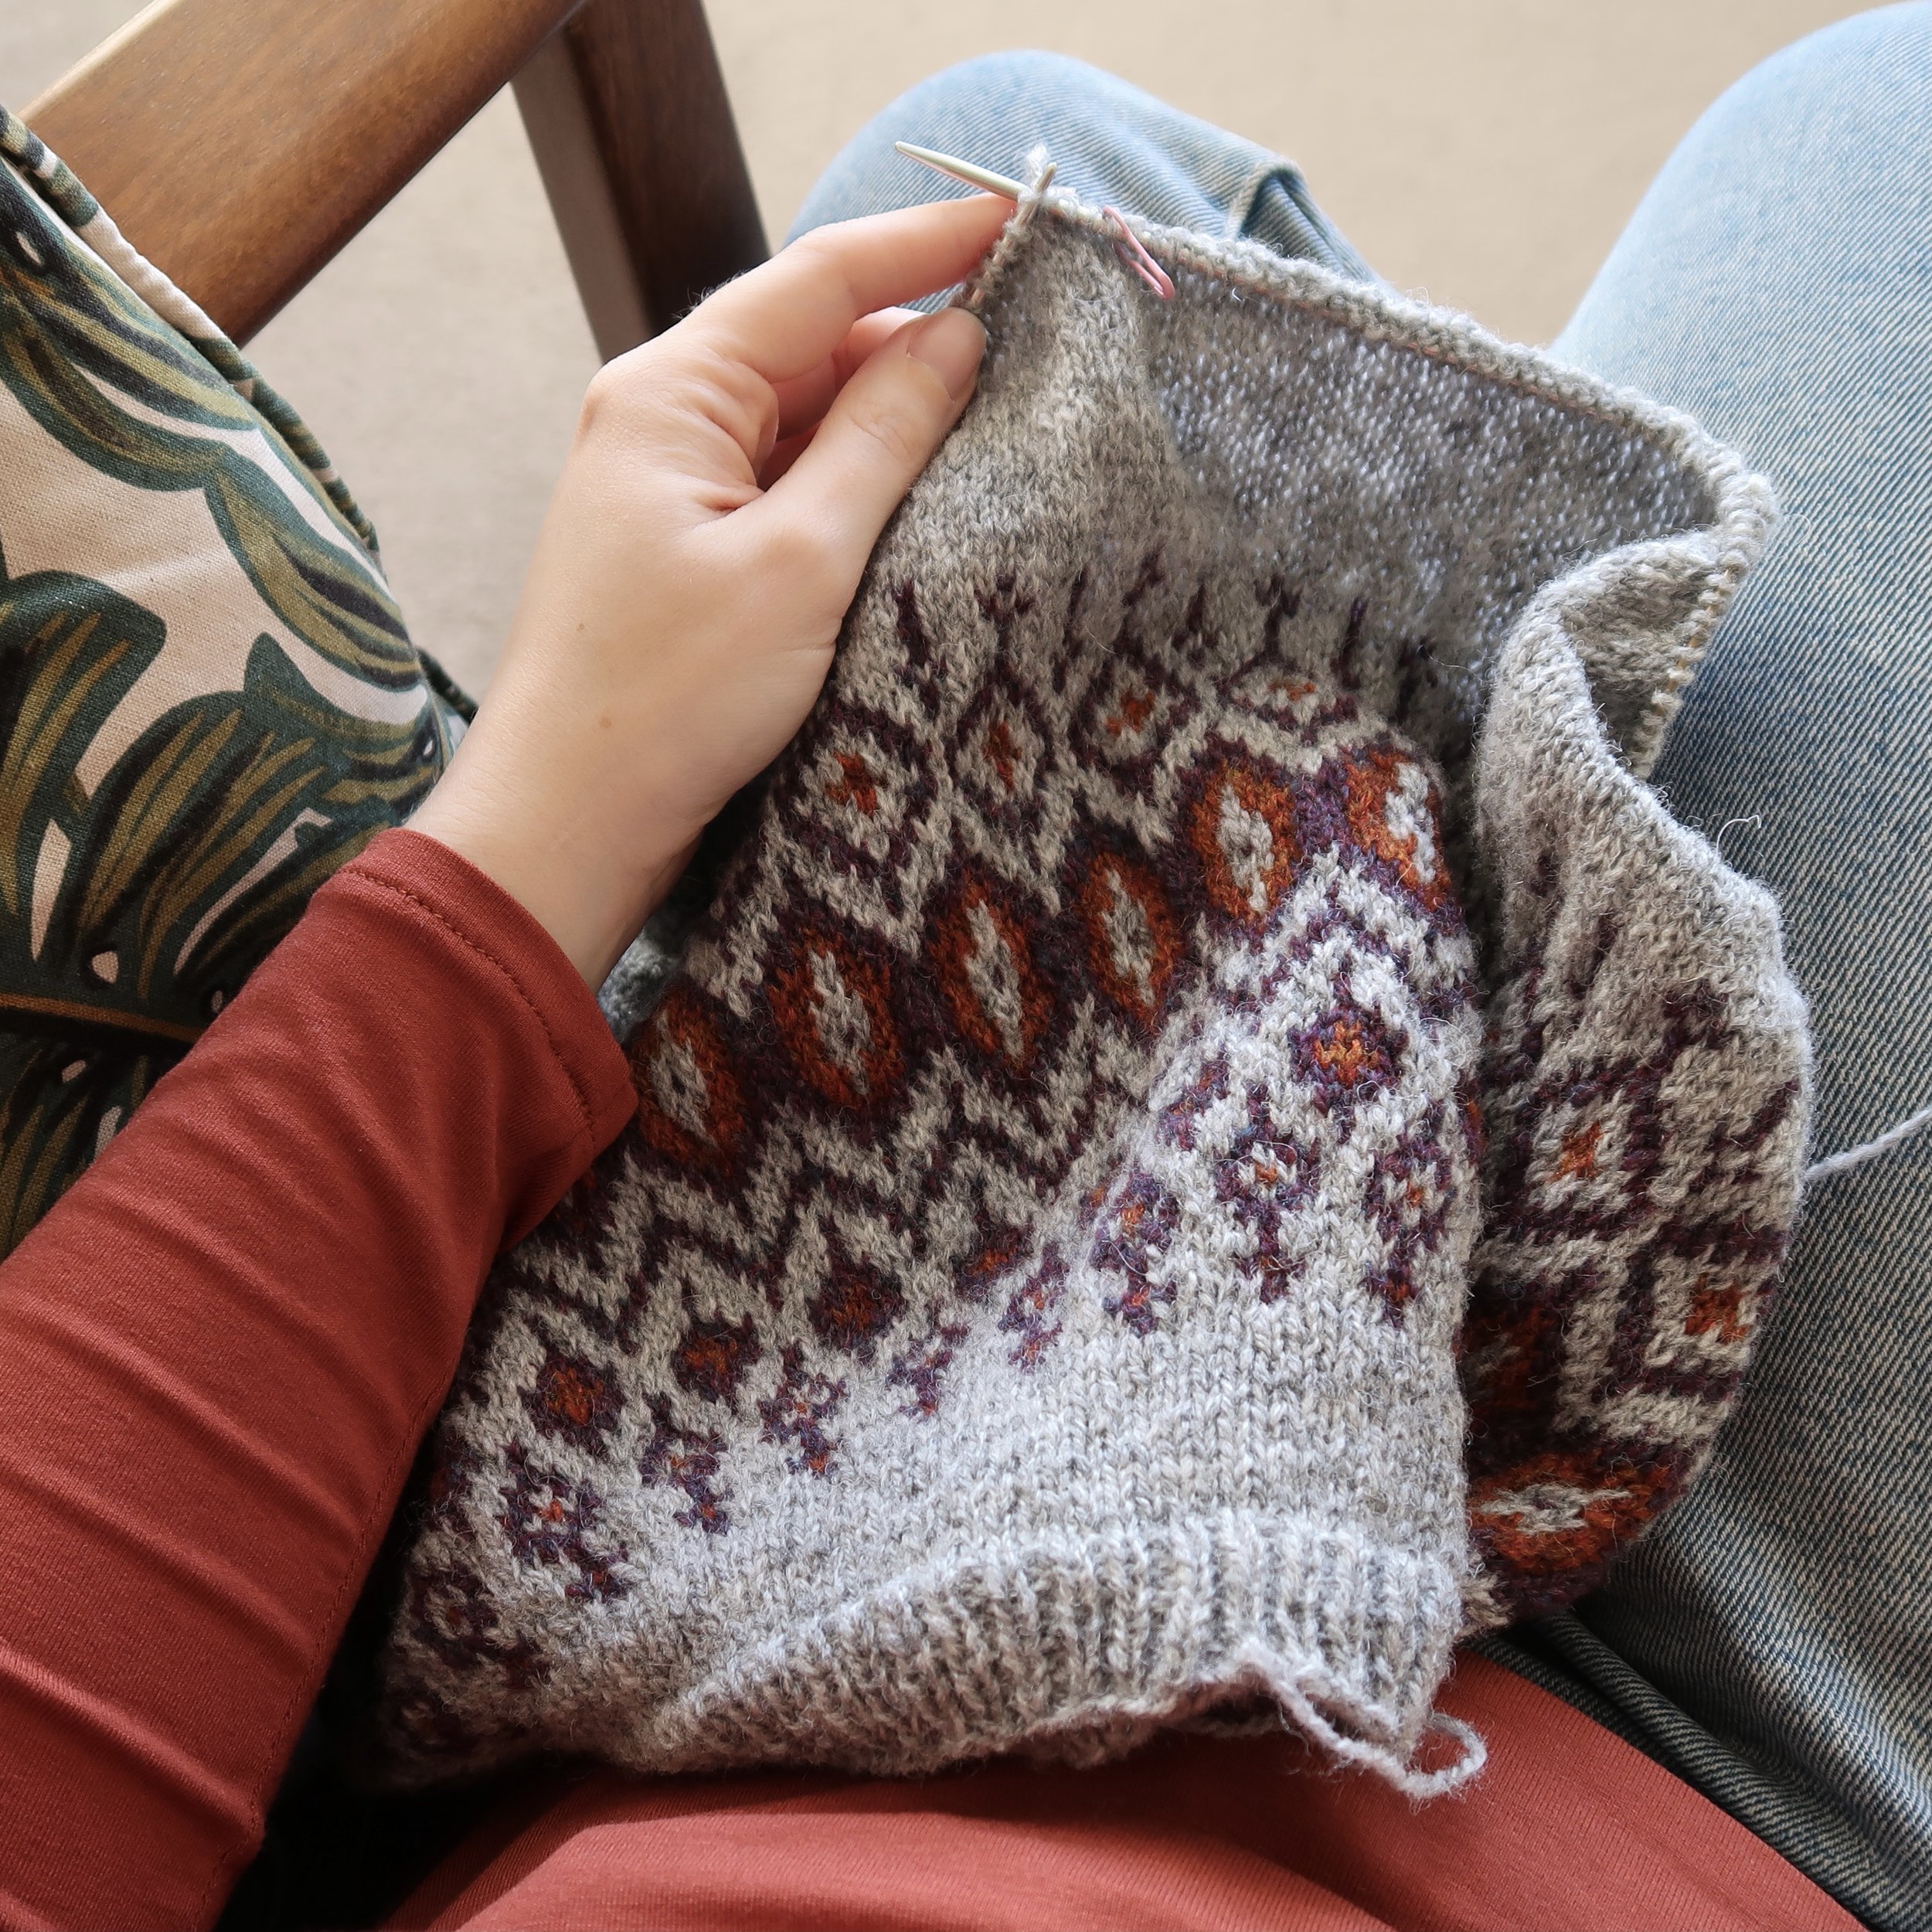
The yoke of a sweater is being knit using light grey, orange and purple shetland wool. The knitting is laid flat on a wooden table top and a hand is seen holding the needle.

Jamieson & Smith 2ply Jumper Weight Yarn

Cinder calls for a DK weight yarn with a gauge of 24sts and 32rnds per 4 inches, which is the same as my Pheasant Pullover.

The Jamieson & Smith 2ply Jumper Weight yarn used to knit my Pheasant Pullover is actually a light fingering weight yarn. Having used it before, I knew I liked the light, warm fabric I’d get when knitting at the gauge needed for Cinder so I went ahead and purchased the shetland wool from Jamieson & Smith.

I was more that happy to add another sweater to my wardrobe in this yarn and I love that it comes in 25g balls which are perfect for colour work projects.

From experience I knew that a using needles with a slightly blunt tip made the knitting more enjoyable so that’s exactly what I did for Cinder.

When I got to the body I even used this project to practice knitting and reading at the same time. The rounds and rounds of stockinette in the body, paired with a grippy yarn and needles that were not too sharp, all combined to be the perfect conditions for knitting without looking. I finally mastered a skill I’ve coveted for years!

Everyone’s tolerance for wearing wool against the skin is different, but this is a woolly yarn I can happily wear without irritation.

My Pheasant Pullover has kept it’s shape and has hardly any pilling after 2+ years of wear so I’m confident Cinder is a sweater I’ll be wearing for years too. I can’t see this classic pullover ever going out of style.

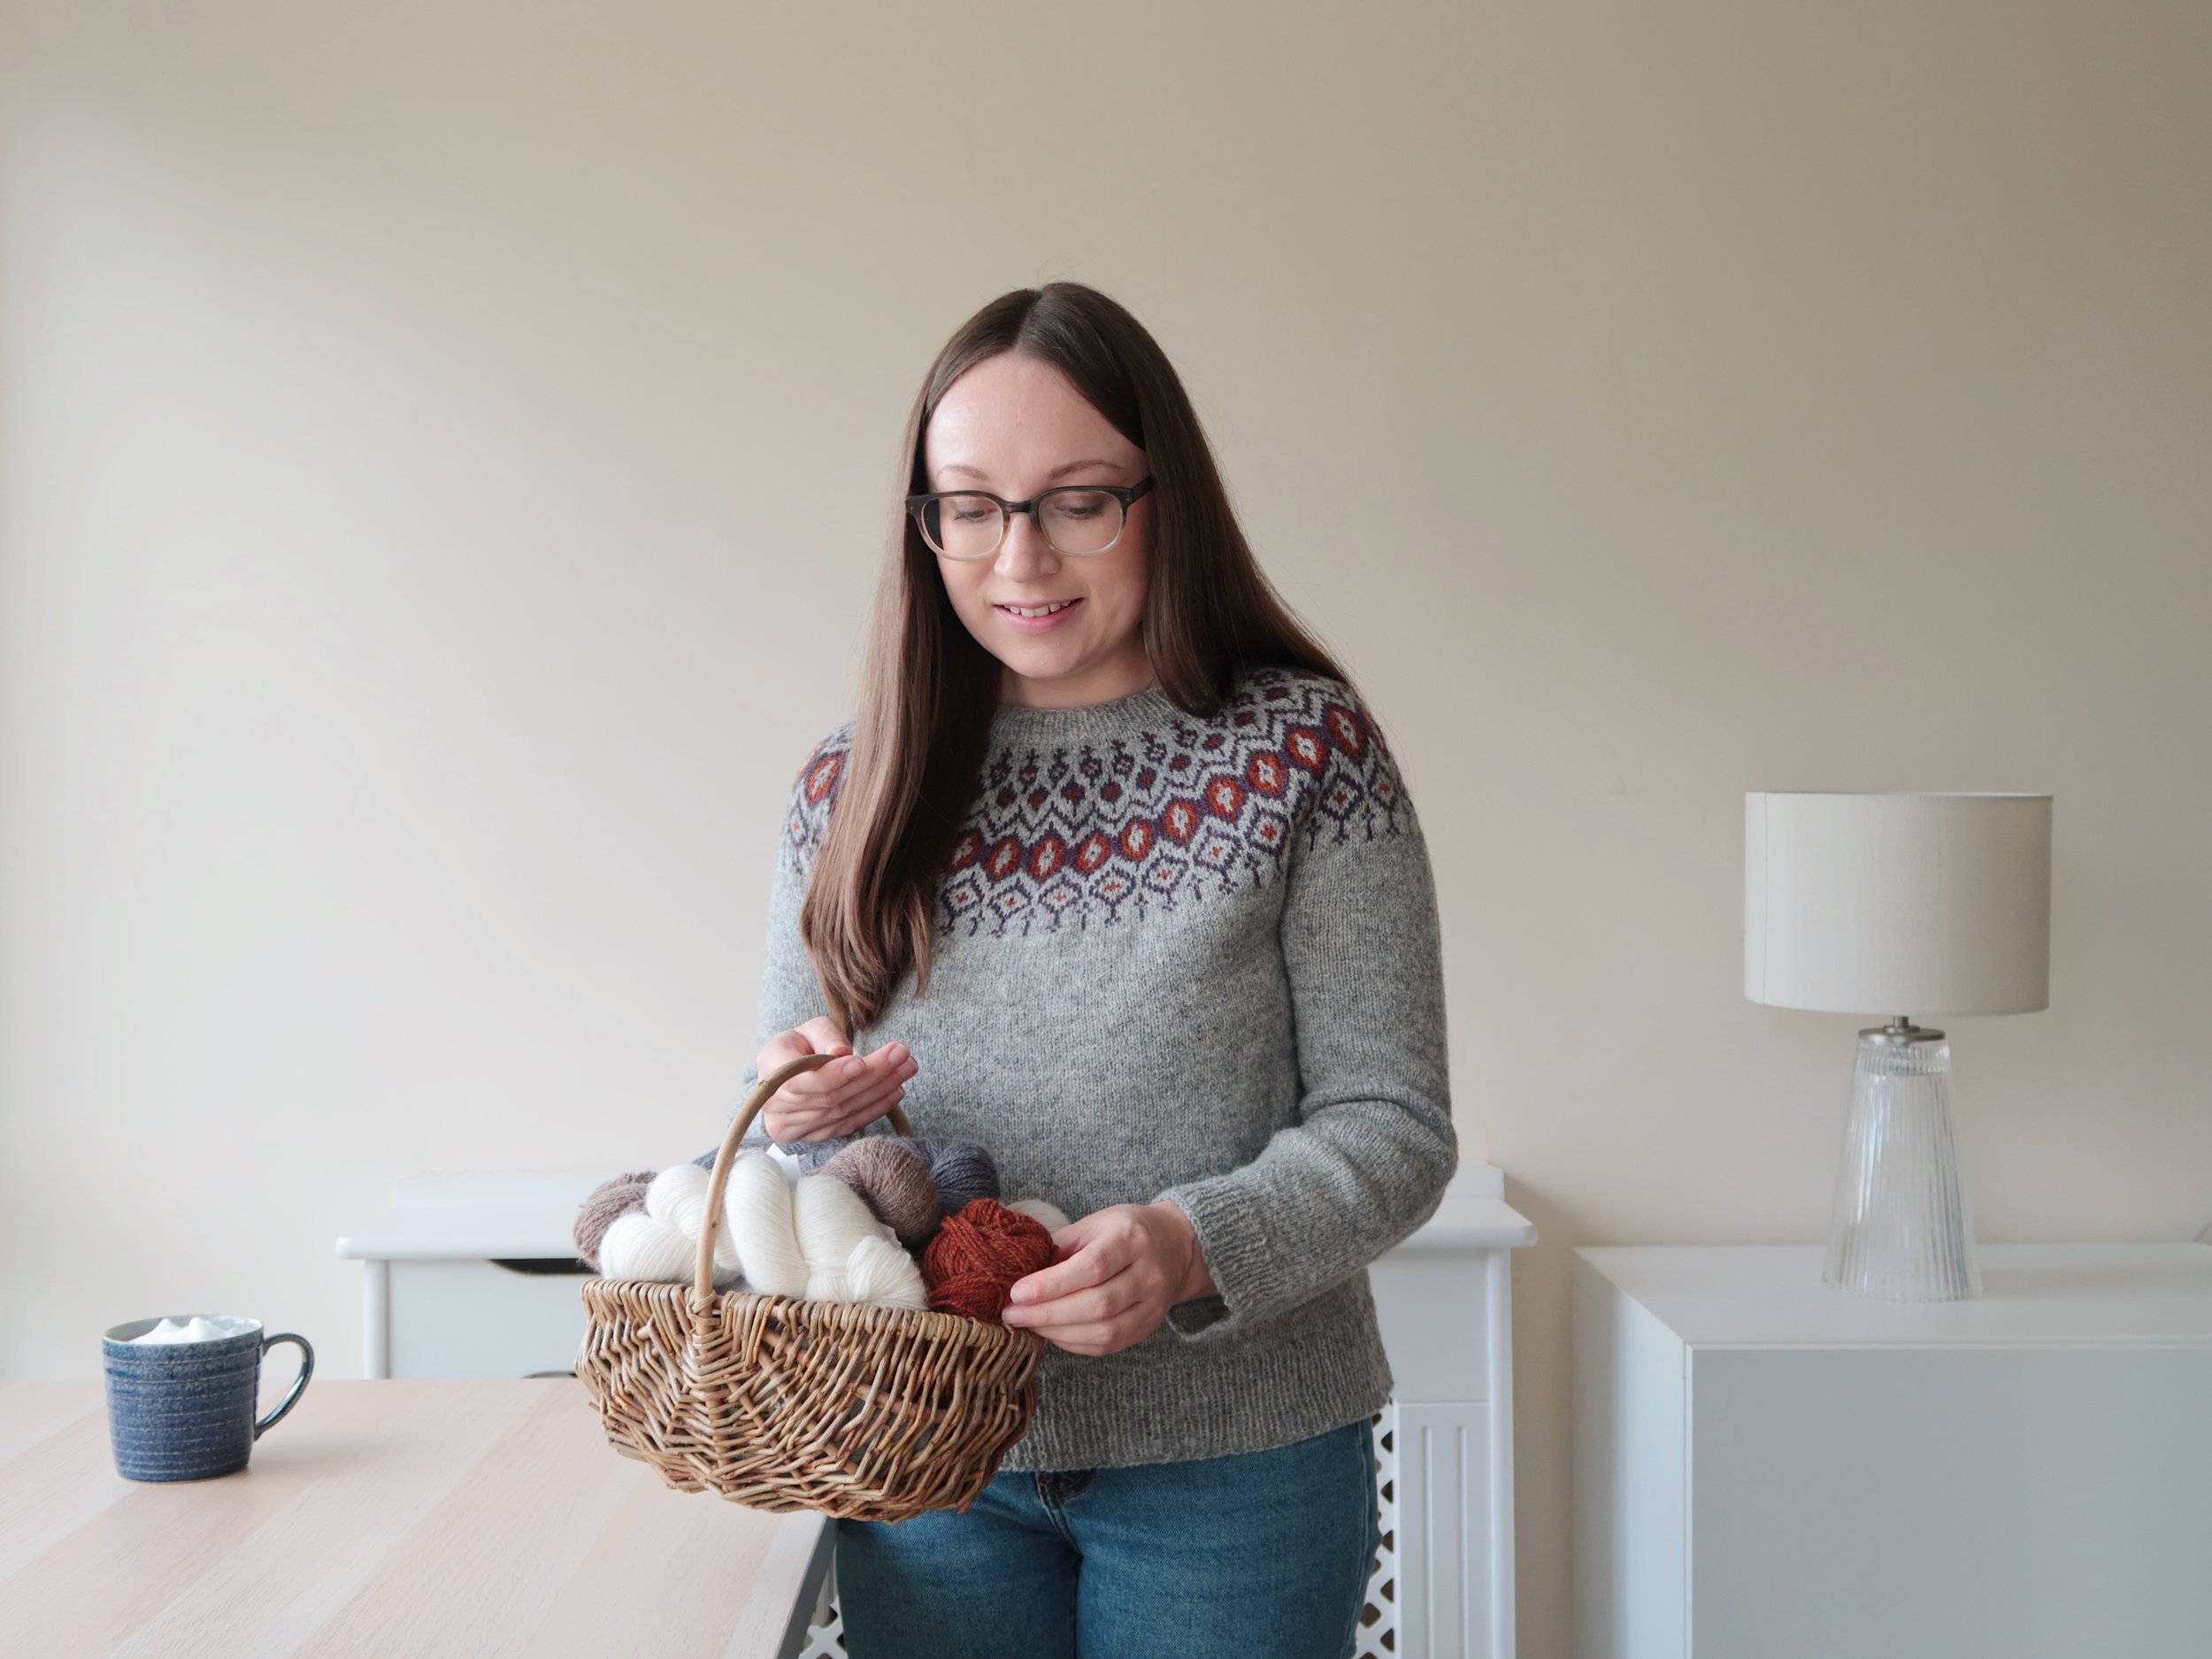
Alex is wearing the Cinder sweater by Jessica McDonald which she knit using shetland wool. The main colour is a light grey and the yoke is orange and purple which contrasts beautifully. Alex smiles and holds a basket of yarn.
Alex wears a colour work yoke sweater in grey, orange and purple that she knit using shetland wool. She is looking away from the camera with a smile holding a cup of coffee.

Fit and Modifications

I knit size 37.5” which gives me 2 inches of positive ease. I’ll admit I was a tiny bit concerned it would be too tight as I tired it on throughout the knitting but I was right to have faith that blocking would come to the rescue.

The yarn relaxed and the sweater feels so cosy and comfortable since soaking in wool wash and laying flat to dry.

I could feel the sleeves would be tighter than I’d like even after blocking so I did a simple modification.

After the first 2 decrease rounds when I realised the sleeves were getting too snug, I stopped decreasing.

I didn’t start again until I’d knit 11” (the point where my arm naturally starts getting smaller as it tapers towards my wrist) from where I had joined the sleeves.

I then continued the decreases and started the ribbing for the cuffs when I had 58sts on the needles. I don’t like my cuffs too fitted so this felt like a comfortable circumference for me.

Being able to try the garment on as I knit, so I can adjust a pattern to my body as I go, is one of the reasons I love knitting top down sweaters so much.

Alex Collins | Cinder Sweater by Jessica McDonald 03

Alex wears Cinder by Jessica McDonald in Jamieson & Smith 2ply Jumper Weight yarn.

Project Notes

Pattern: Cinder by Jessica McDonald

Yarn: 12 balls of Jamieson & Smith 2ply Jumper Weight (25g each) in shades 203 (x9), FC14 (x2) and FC38 (x1)

Size: 37.5 which gives me 2” of positive ease.

Needles: 3 mm (US 2 1/2) Addi Circulars

Started: 26th December 2021

Finished: 30th July 2022


You Might Like…


Where do you want to go next?


Handmade Wardrobe | Field Day Cardigan
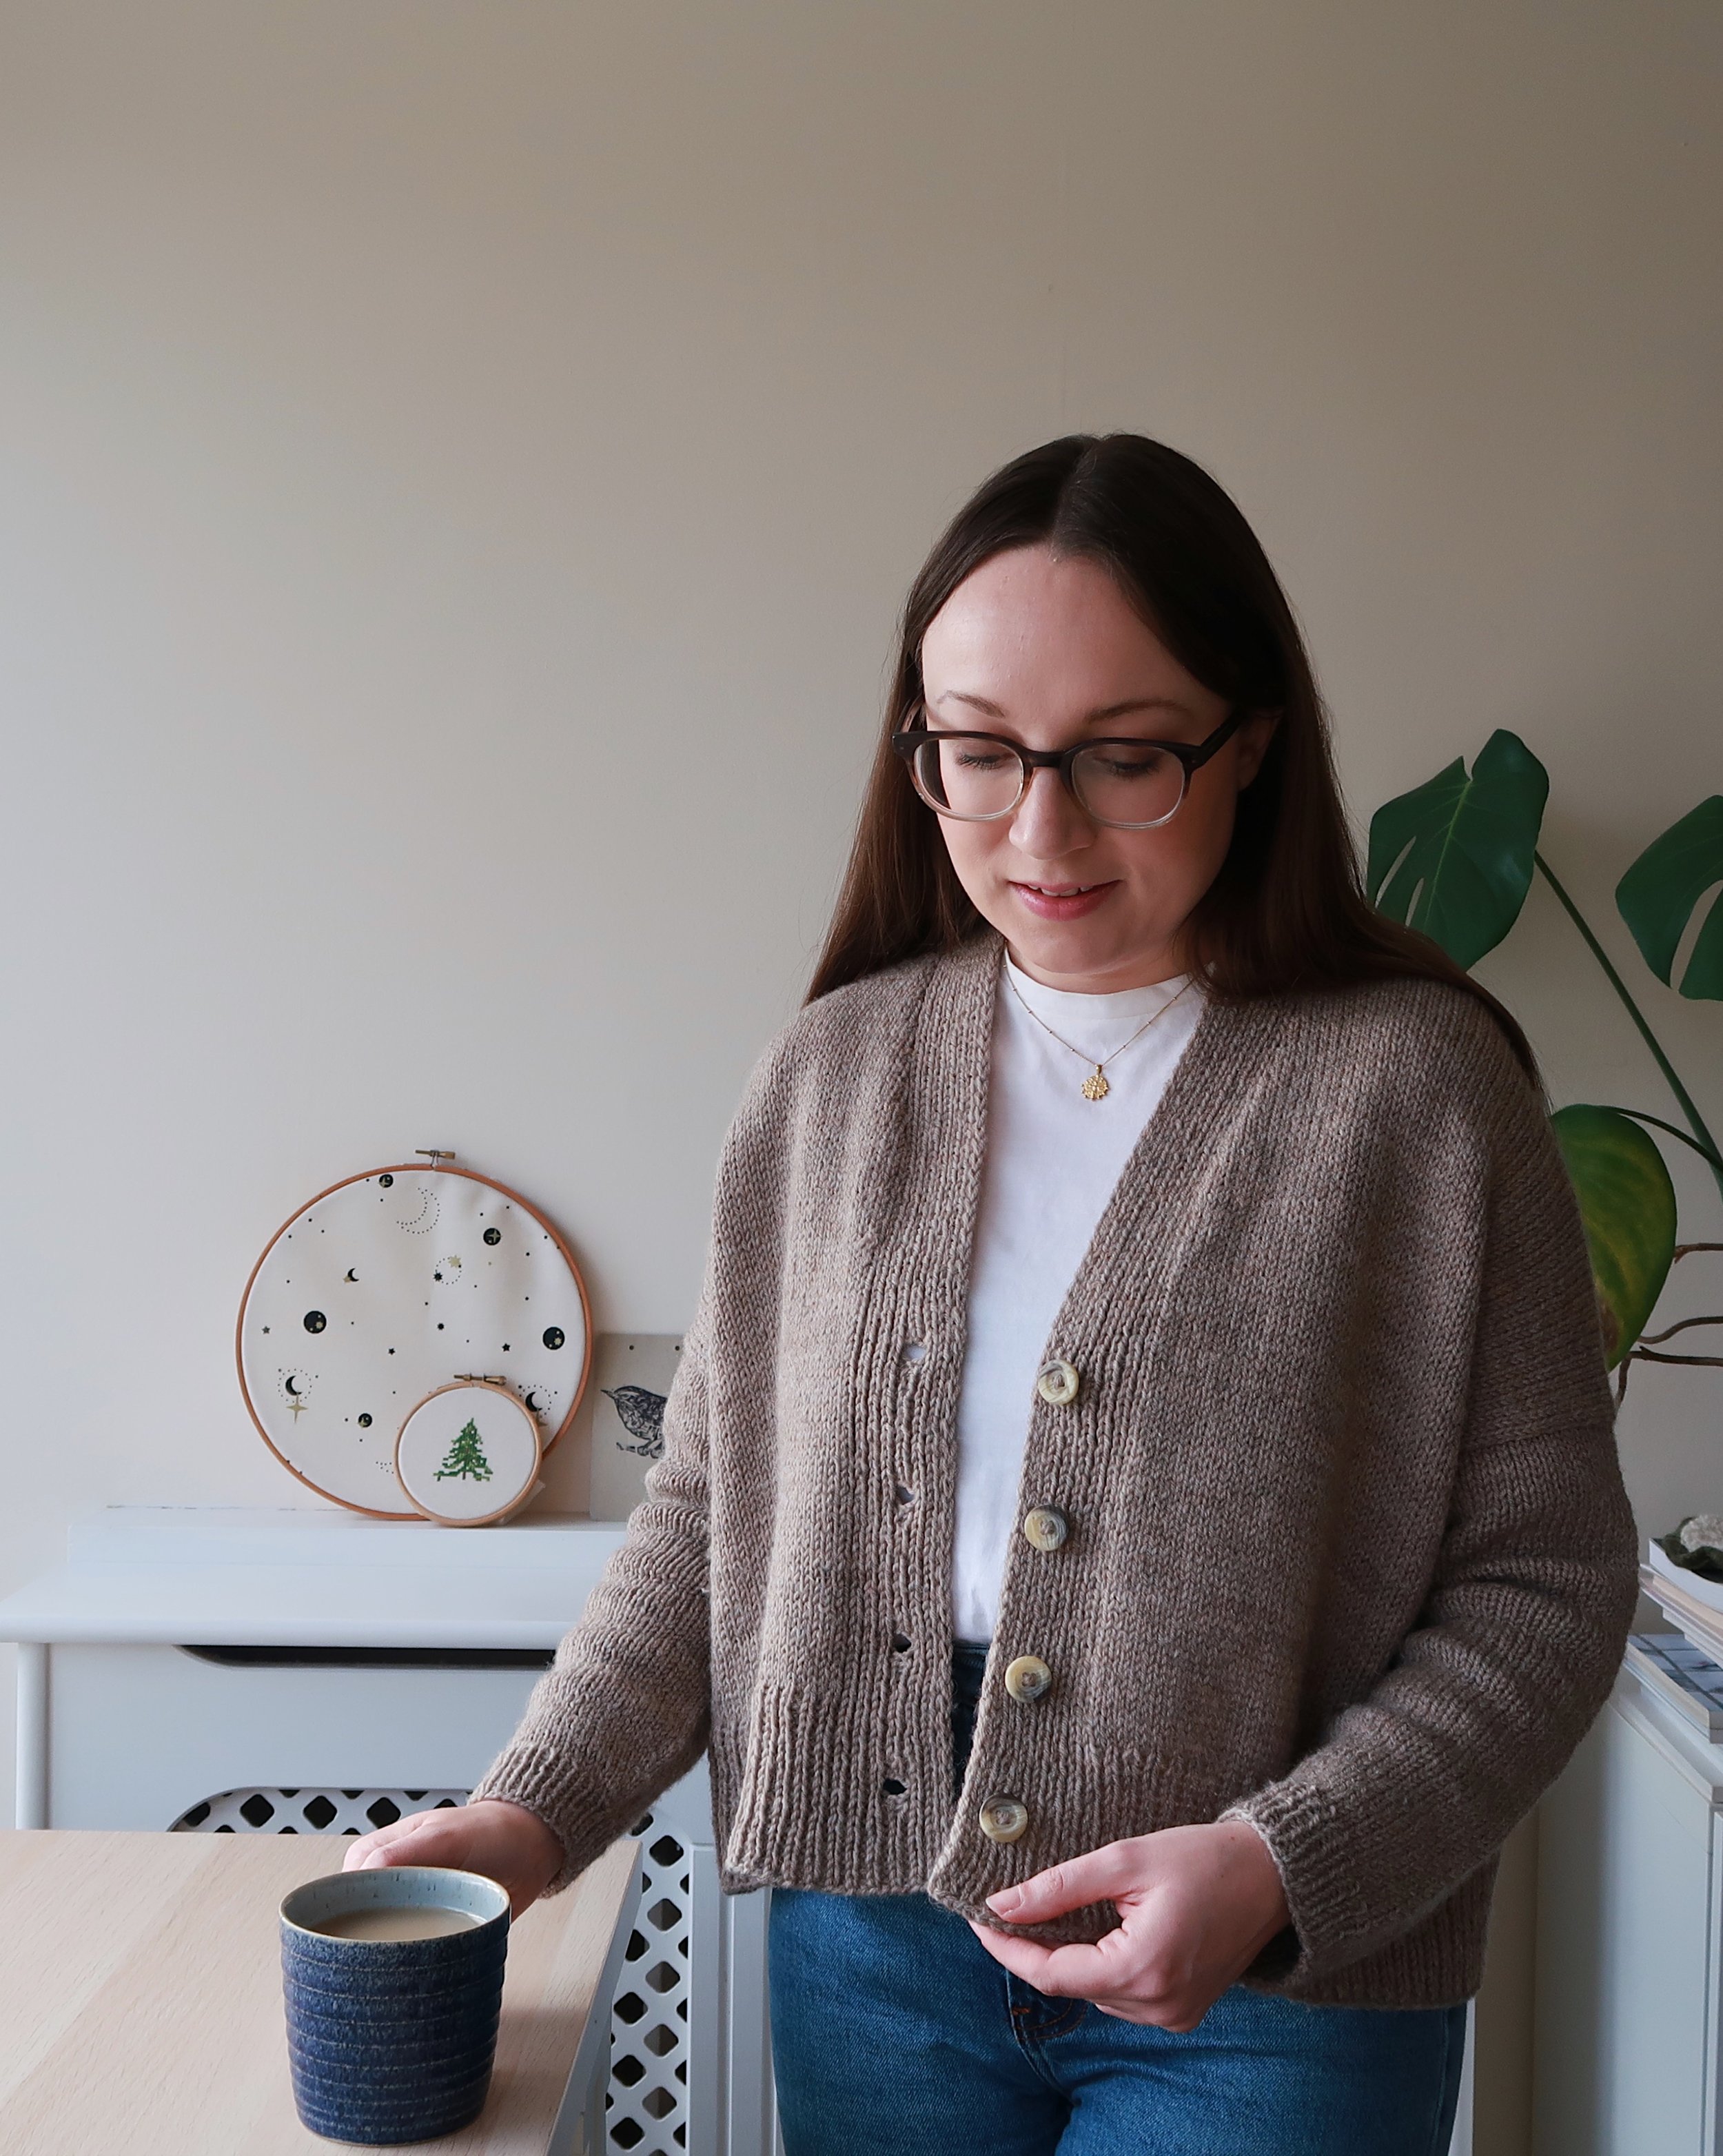
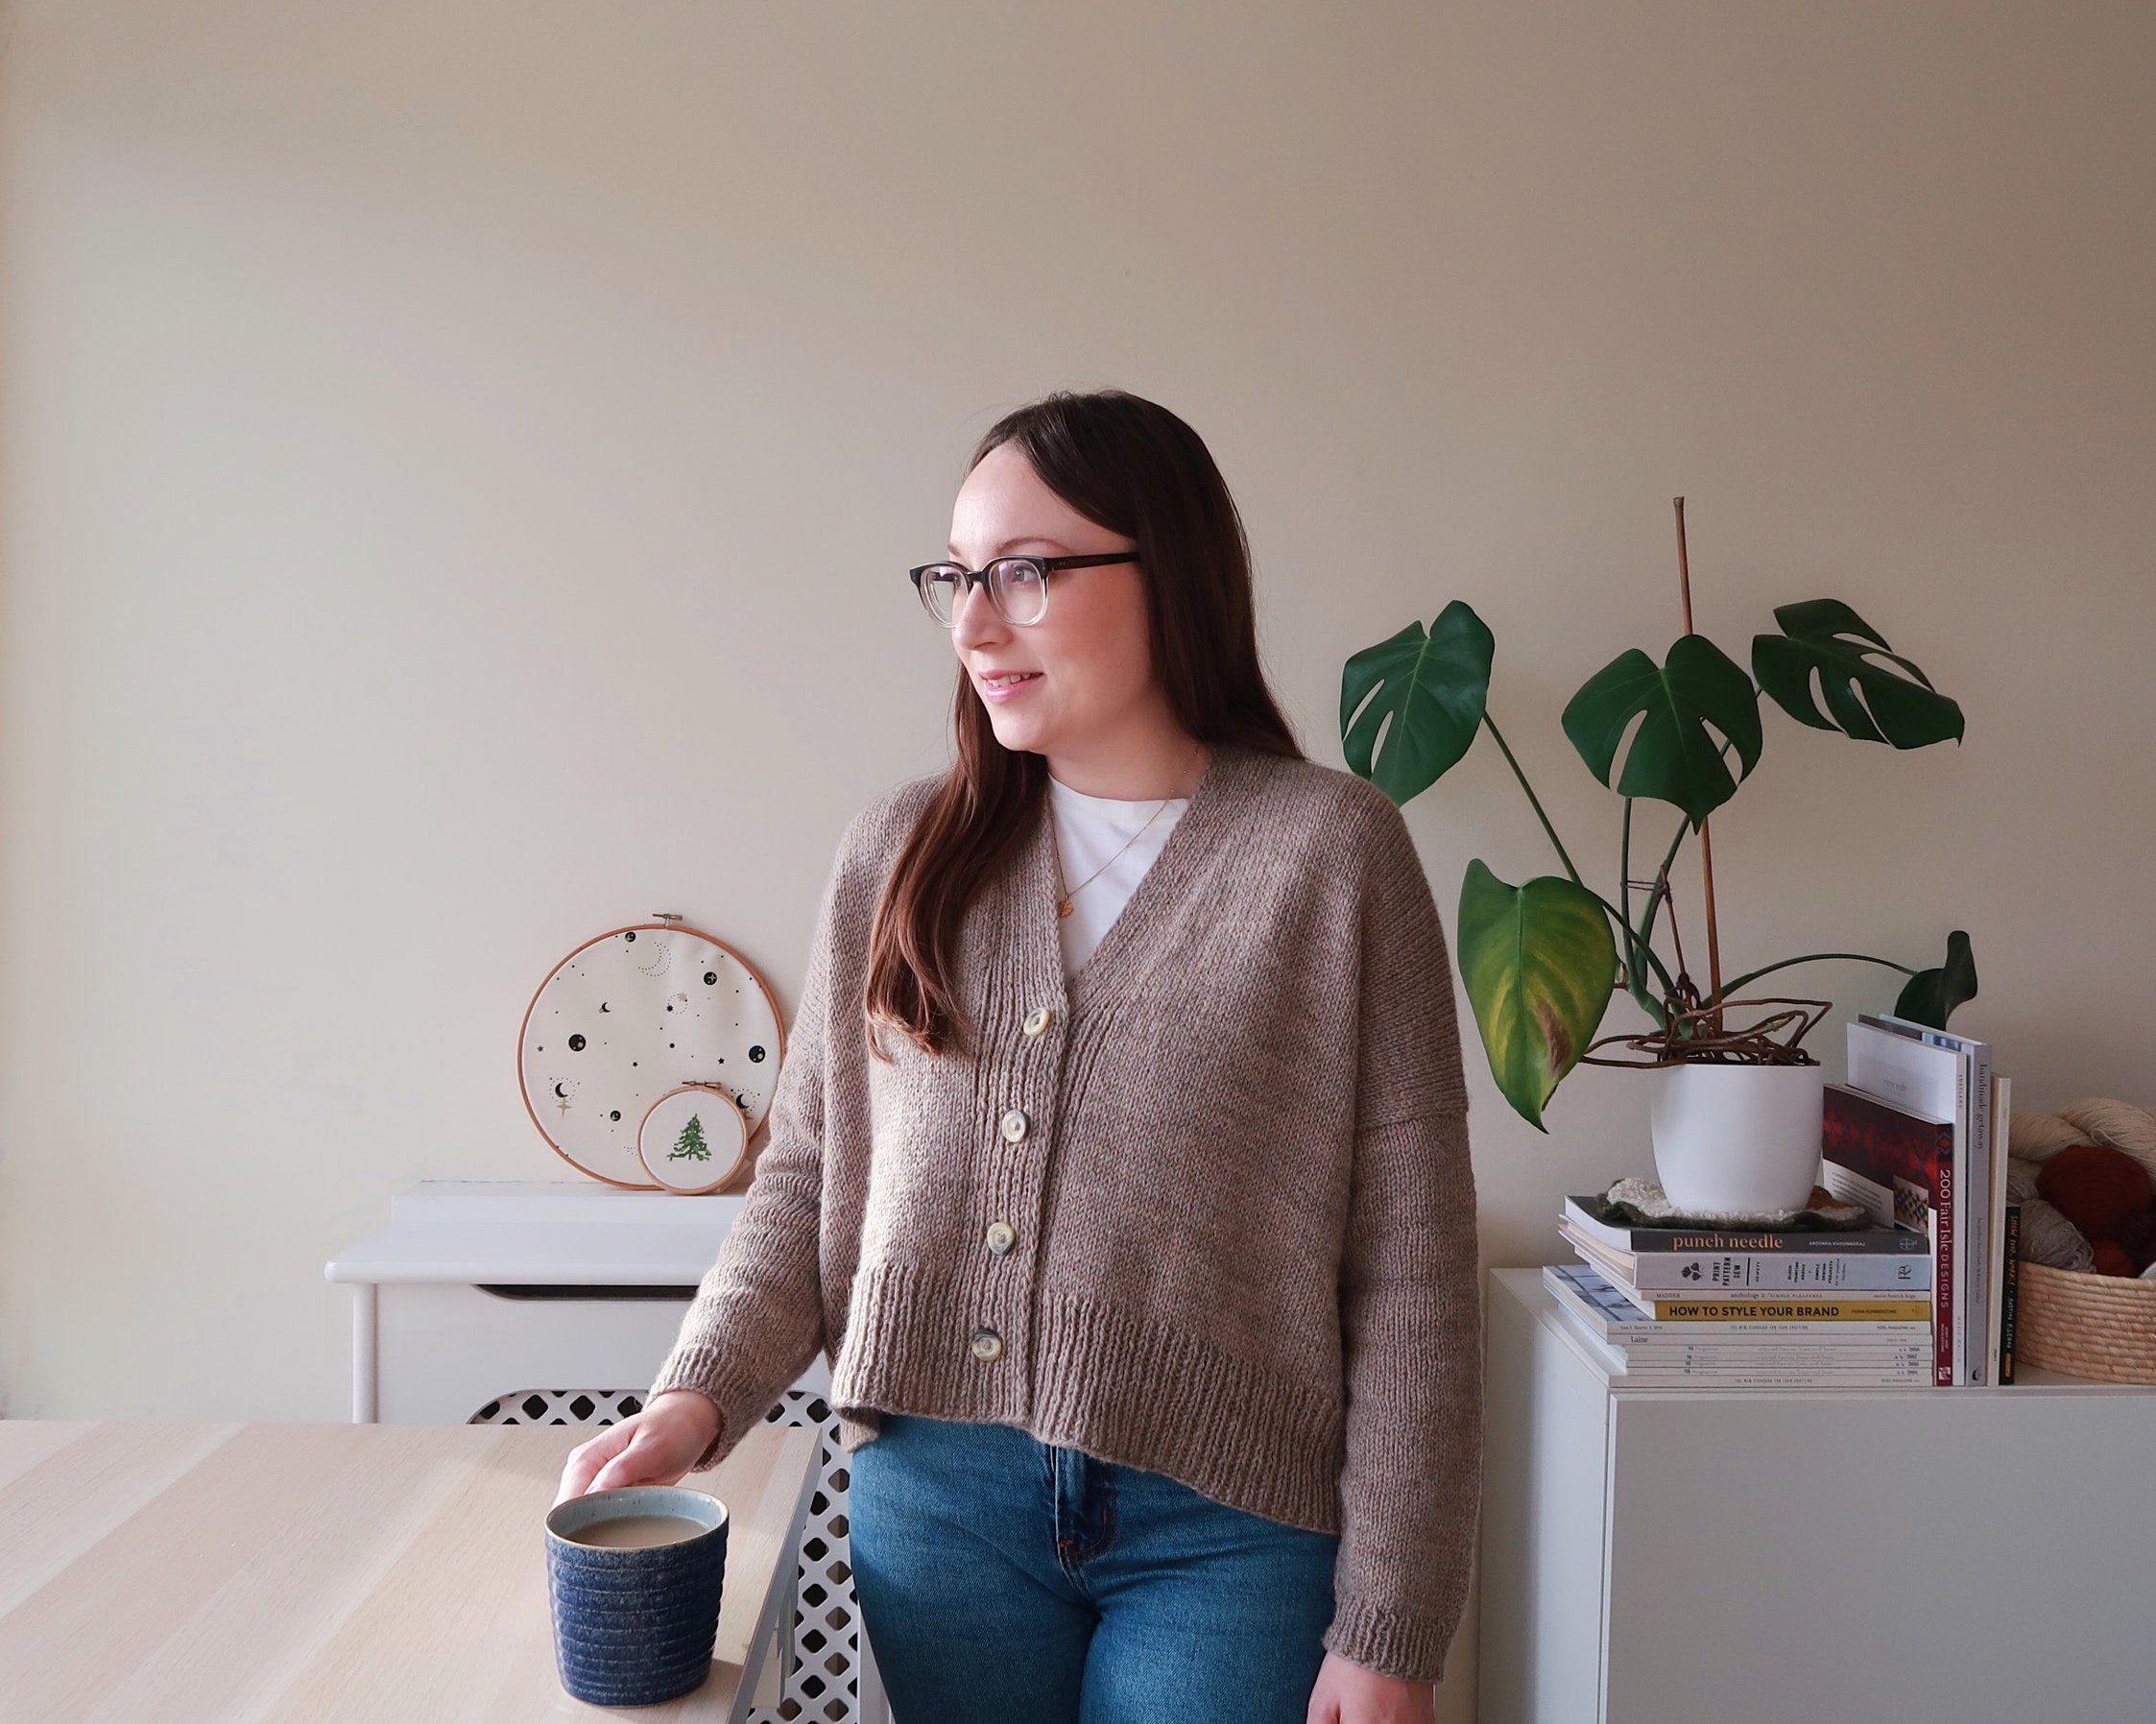
Alex looks out the window to her right holding a coffee and wearing a V-neck grandpa style cardigan in an oatmeal coloured wool.

When I came across the Field Day Cardigan knitting pattern it went straight to the top of my knitting queue.

Boxy, v-neck cardigans have been everywhere this past year and now I can add a handmade version to my wardrobe that is well made and better fitting than any of those I’d find on the high street.

The pattern by Ozetta is not so trend led that it won’t have longevity in my wardrobe either. The Field Day Cardigan still has a classic feel and thanks to the 100% Peruvian Wool I used to knit my version, I should be wearing this classic cardigan for years to come. 

Field Day Cardigan Knitting Pattern

I really enjoyed the construction of this top-down cardigan knitting pattern. The pattern was well written and I found it easy to follow, even though I hadn’t knit a garment worked like this before. The button band is knitted as you go so there is no picking up stitches at the end which I liked. The button band also lies flat with no curling so the cardigan has a neat finish and the neck is well-fitting.

The Field Day Cardigan is nicely shaped with German short rows and begins with you working the back and then the right collar and right-front before moving onto the left collar, left-front and then the body. The sleeves are picked up and also knit from the top down. 

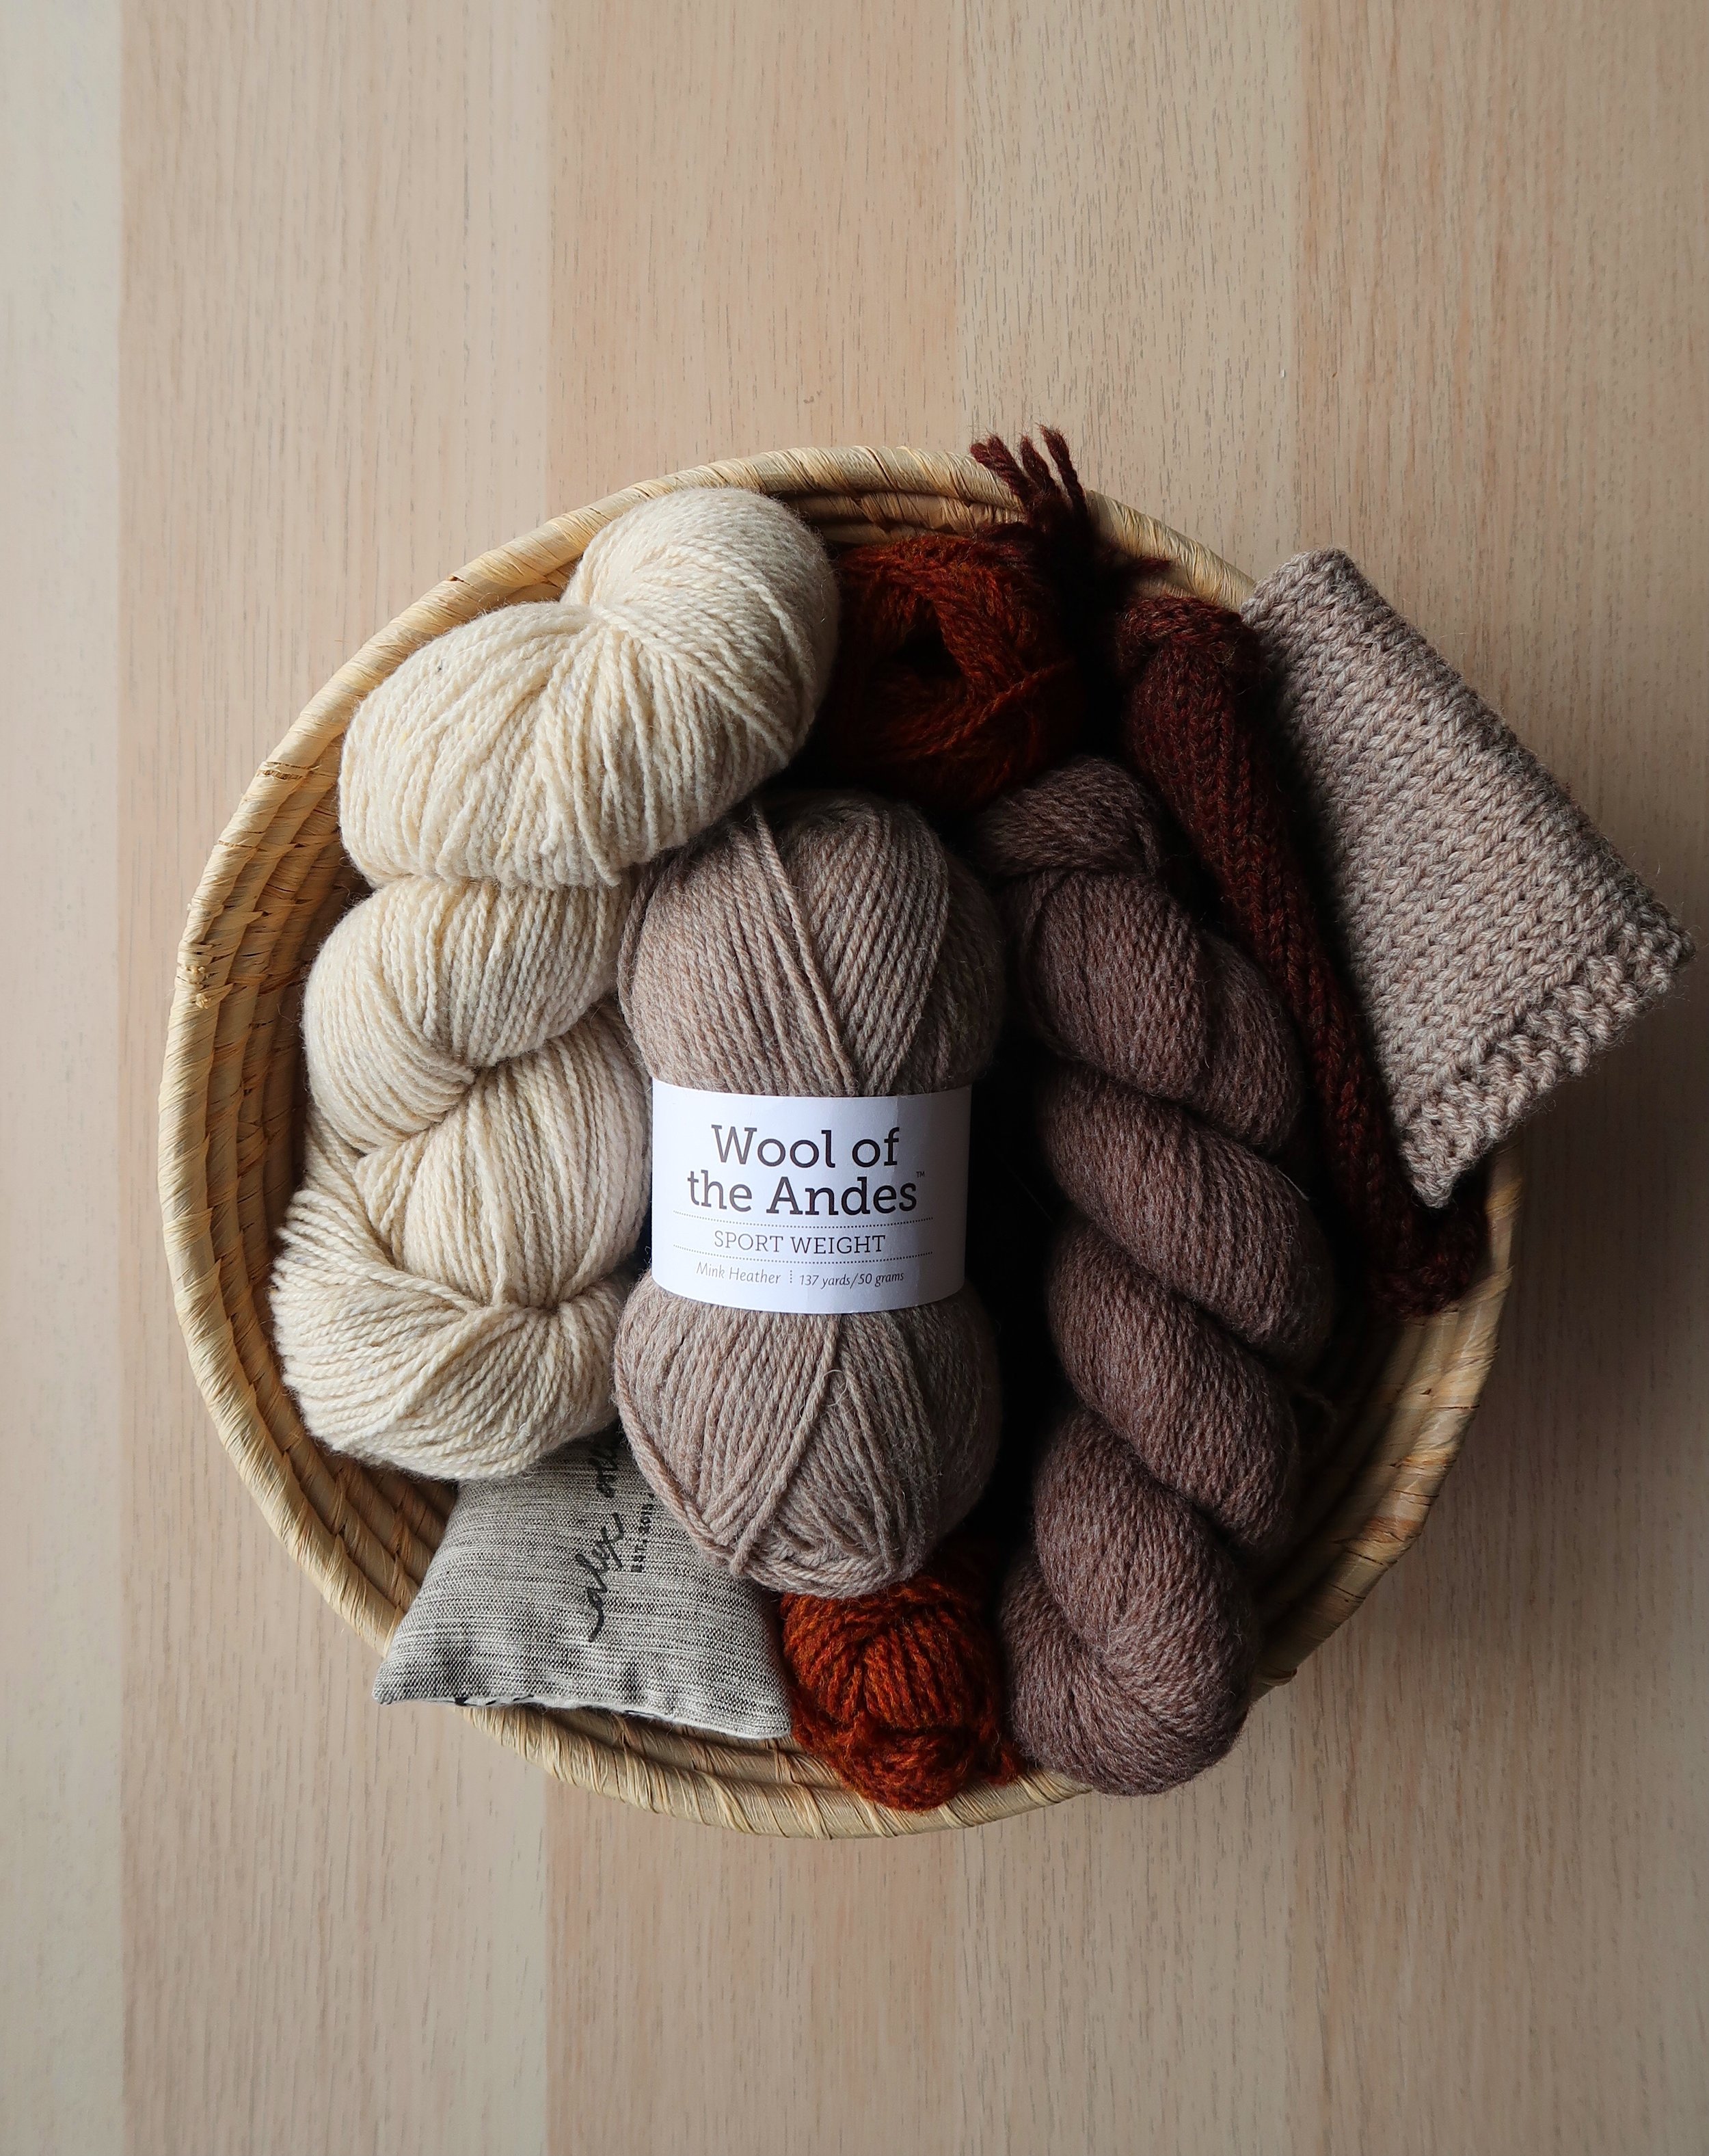
Knit Picks Wool of the Andes Yarn

The Field Day Cardigan pattern calls for a DK weight yarn with a gauge of 22sts per 4 inches, but I had a different yarn in mind for this project 

I started swatching with Knit Picks Wool of the Andes Sport and opened the calculator on my phone to see if I could make the yarn work.

I tried a few different needles sizes in an attempt to get gauge but I loved how the yarn looked at 19sts per 4” on the 4.5mm needles. The knitted fabric was nice and even with a good structure to it that I thought would work well in a cardigan.

It has a lot less drape and much feels more woolly than the Knit Picks Swish DK I used to knit Dog Star, which are qualities I like in a sweater yarn.

I didn’t want the finished garment to be too sloppy. I wanted the cardigan to hold its shape nicely, even with lots of wear. The fabric also had a warmth and cosiness which I thought would make it the perfect choice for my Field Day Cardigan.

The yarn was ripped out and re-knit in several places and the Wool of the Andes Sport held up really well. I have no doubt this wool is going to wear well too.

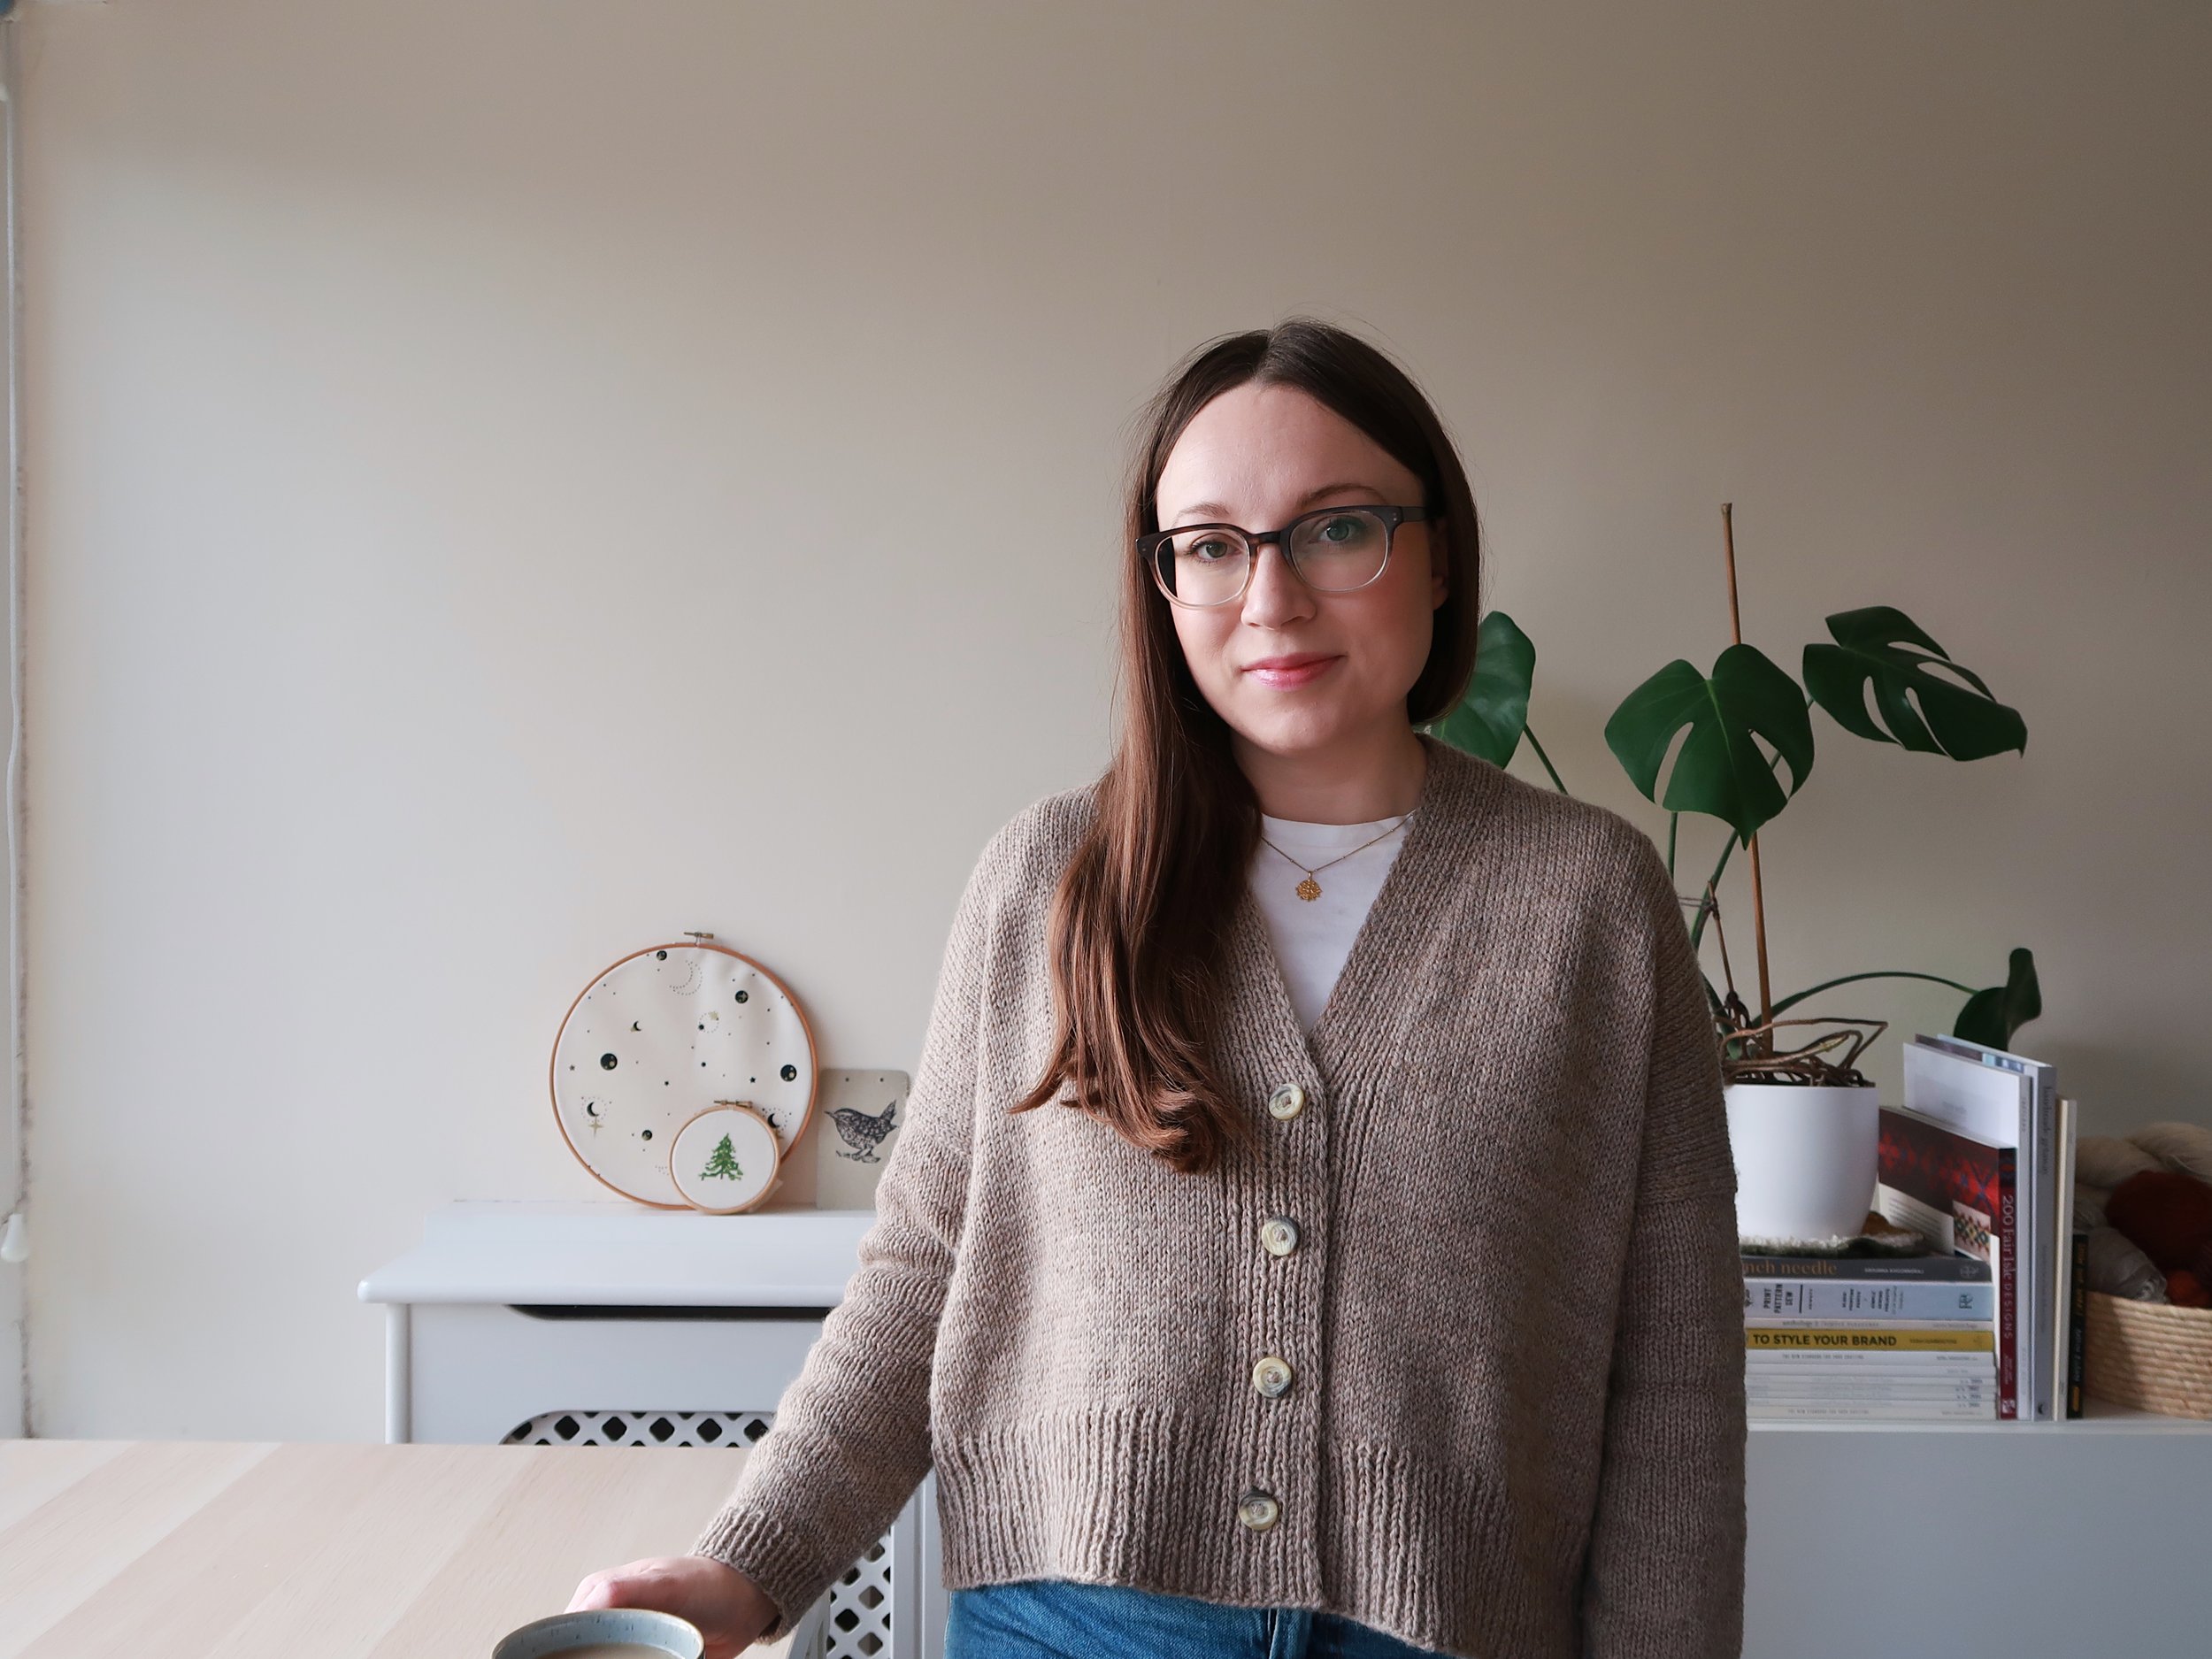
Alex gently smiles at the camera holding a coffee and wearing a V-neck grandpa style cardigan in an oatmeal coloured wool.

Fit and Modifications

With a little maths, I worked out that if knit the XS size my finished cardigan should match the measurements given in the schematic for the size M, which is what I wanted. I got row gauge so I still kept my eye on the XS instructions when it came to the length and depth of armholes etc.

I love the fit and would happily knit this cardigan all over again in another colour. Perhaps in a navy? 

I modified the sleeves slightly to account for me working at a different gauge and to make the cuffs smaller for a slimmer, cosy fit.

I picked up 2 sts for every 3 rows which was the ratio given in the pattern and I followed the decrease instructions until I had 50 stitches on the needles. I then knit until the sleeve measured 11.5” and did another 3 more sets of decreases before finishing with 10 rounds of ribbing on size 3.5mm needles.

Another modification I made was to substitute the bind-off suggested in the pattern. I found the sewn tubular bind-off frustrating over so many stitches, so I just bound off the stitches in pattern. I’m happy with the finish at the hem and the cuffs. Both look neat and there is still enough stretch in the ribbing.

When my Field Day Cardigan was finished I soaked it in wool wash for 20mins and rolled the cardigan in a towel twice to remove excess water. I laid the garment flat to dry with minimal pinning.

The finished cardigan is 45” at the chest and 20” in length which is size M as intended. The sleeves are 13.5” from where the sleeves were picked up to the bind-off at the cuff. There are 10” of positive ease on me and the gauge also matched my original swatch at 19sts over 4”.

Project Notes

Pattern: Field Day Cardigan by Ozetta

Yarn: 7 balls of Knit Picks Wool of the Andes Sport in Mink Heather

Buttons: Vintage

Size: XS (knitted) to get M (45” finished size) with my 19sts per 4” gauge.

Needles: 4.5 mm (US 6) Hiya Hiya Interchangeables

Started: 14th October 2021

Finished: 17th January 2022


You Might Like…

Medium Project Bag

Each fully lined organic cotton project bag is screen printed by hand and sewn by Alex.

Surprisingly roomy, each bag can hold approximately 9 skeins (900g) of fingering weight yarn so it's a wonderful choice for large shawls, summer tops and tees, sweaters and cardigans.

  • 100% GOTs Certified Organic Cotton

  • Screen printed from my original drawing

  • Approx: 15"(38cm) x 15" (38cm)

They are lovingly made in the UK and shipped worldwide.


Where do you want to go next?


Handmade Wardrobe | Ursina Sweater
Alex is wearing Ursina, a brown V-neck wool sweater pattern and jeans. She is standing next to her desk holding a cup of tea.

The Ursina sweater is a really enjoyable knit with some lovely details that add interest to an otherwise simple v-neck sweater. I knit the full length, worsted weight version of the pattern by Jacqueline Cieslak using Knit Picks Wool of the Andes and the result is an incredibly cosy sweater I’ll be reaching for all winter.

The neckline is really well fitting and doesn’t shift around like some v-necks can which I love. I never find myself having to readjust the neckline which makes this really comfortable to wear.

The pattern suggests choosing a size with 2-6” of positive ease and I’m pleased with my decision to knit a size with 7” of positive ease. Having more ease gives my Ursina sweater a relaxed fit with lots of drape in the body.

Ursina Sweater Knitting Pattern

The pattern is detailed with easy to follow instructions. I like that Jacqueline includes a printable version without images that you can print and fill in . Just plug in the numbers for the size you’re knitting and follow the pattern as if it were written just for you.

The body has faux seams and a triangle of half brioche stitches on the front and back which keeps the knitting interesting. Once I’d got the hang of the HBS I found it intuitive to knit and could work on the body without needing to refer to the pattern all that often.

Knit Picks Wool of the Andes Yarn

Everyones tolerance to the feel of yarn against their skin is different, but I find Knit Picks Wool of the Andes to be very soft and comfortable to wear against my skin.

This was my first time knitting with Knit Picks Wool of the Andes and my first thoughts were that it seemed heavy on the needles and less airy than some other wools I’ve used for sweater knitting. I needn’t have worried though. The weight of the finished garment isn’t a problem as I initially thought.

In fact I think the fabric hangs really nicely and my Ursina sweater has a wonderfully cosy feel which I think is a positive that comes from the Peruvian highland wool being a little less airy.

Having worn the sweater for about 6 weeks at the time of writing this, I’m pleased with how the yarn is wearing. The elbows have stretched out a little and there is just a small amount of pilling. Nothing a little steam and a sweater comb can’t remedy. With some care I think this is a sweater I’ll be wearing for years.

IMG_6196.jpg

Fit and Modifications

With 4.5mm needles I got a gauge of 18 stitches and 25 rows per 4 inches which created a really nice fabric that I knew would be perfect for my sweater. I knit the size 5 which at my gauge gave me 7” of positive ease.

The finished sweater has a 42” chest circumference and is 20” from neck to hem. To get the length I wanted I knit 27 rounds on the body before starting the triangle.

I made a couple of modification to the sleeves which were written to be 18” long. This was about 5” or 6” too long for my body so I had to make a change.

Initially when knitting the first sleeve I just stopped at my wrist and was going to bind off. Although the sleeve looked ok when I tried the sweater on, the cuff was too wide as I should have been decreasing for another 6 inches and it was generally baggier than I would like.

I decided to rip back and did the decreases more rapidly so my finished stitch count when knitting a 12” sleeve was close to what it would have been if I’d knit the longer sleeve.

I’m glad I re-knit the sleeve as I think the fit looks better as a result and that’s the beauty of knitting your own clothes. You can take the time to make them just right for your own body.

The second small modification I made was to the cuffs. I knit 3 rounds of 1x1 twisted rib which I think gives a really nice finish.

After blocking, the stitches bloomed and the fabric became a little softer and more drapey.

I was happy with the fit of the sweater before blocking so I noted the measurements so I could make sure it didn't change too much after soaking.

I soaked my Ursina sweater in wool wash for 30mins, squeezed out as much excess water using a towel as I could, and laid my sweater to dry on a set of blocking matts using pins to hold the shape where needed.

604ABA69-81B5-4FA9-81FB-C4B2363CAABB.jpg

Project Notes

Pattern: Ursina by Jacqueline Cieslak (worsted, full length)

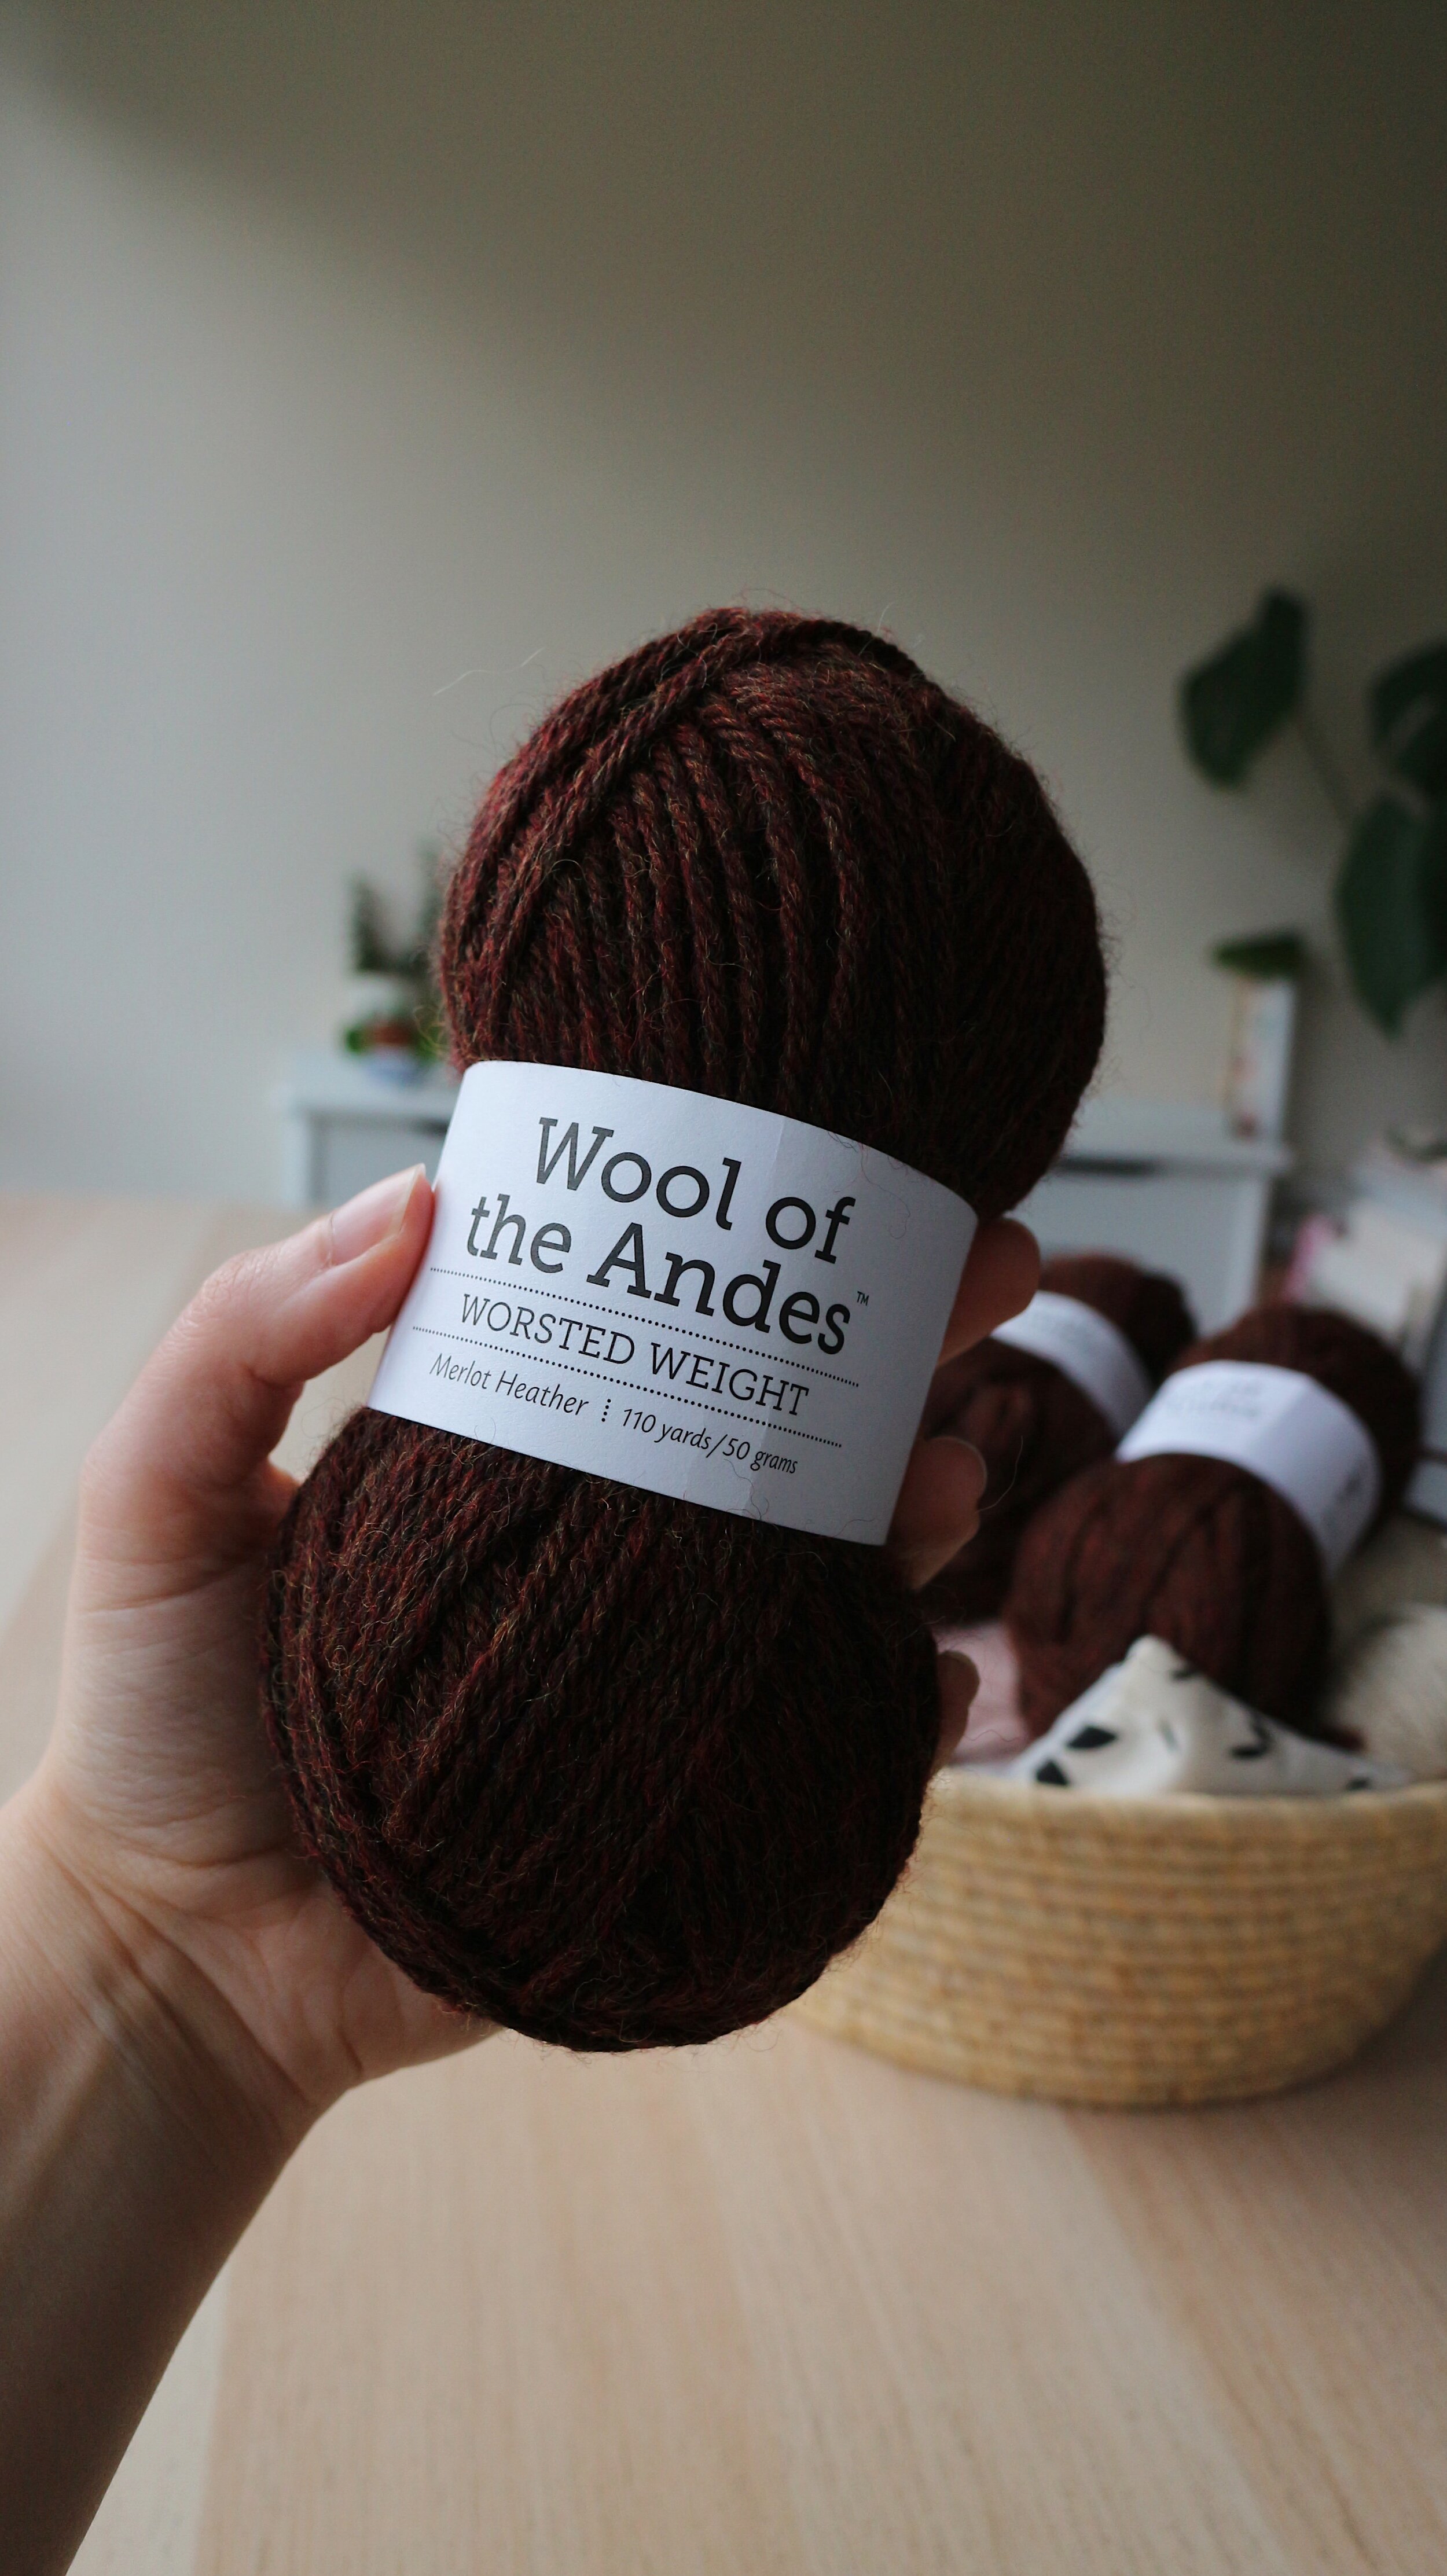
Yarn: 8 balls of Knit Picks Wool of the Andes in Merlot Heather

Size: 5 (46”) (knitted) 4 (42”) (finished size) 

Needles: 4.5 mm (US 6) Hiya Hiya Interchangeables

Started: 10th April 2021

Finished: 10th October 2021


You Might Like…

Medium Project Bag

Each fully lined organic cotton project bag is screen printed by hand and sewn by Alex.

Surprisingly roomy, each bag can hold approximately 9 skeins (900g) of fingering weight yarn so it's a wonderful choice for large shawls, summer tops and tees, sweaters and cardigans.

  • 100% GOTs Certified Organic Cotton

  • Screen printed from my original drawing

  • Approx: 15"(38cm) x 15" (38cm)

They are lovingly made in the UK and shipped worldwide.

£38.00
Add To Cart

Where do you want to go next?


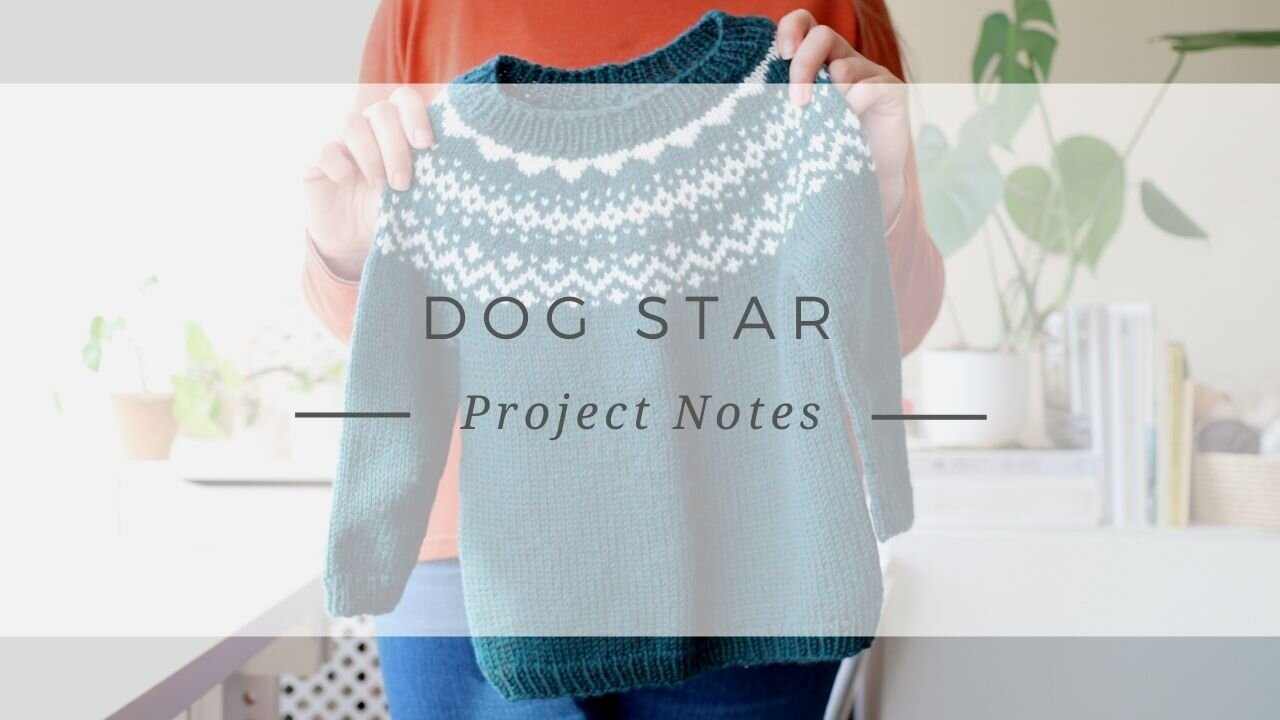
Handmade Wardrobe | Dog Star - A Children's Sweater Knitting Pattern
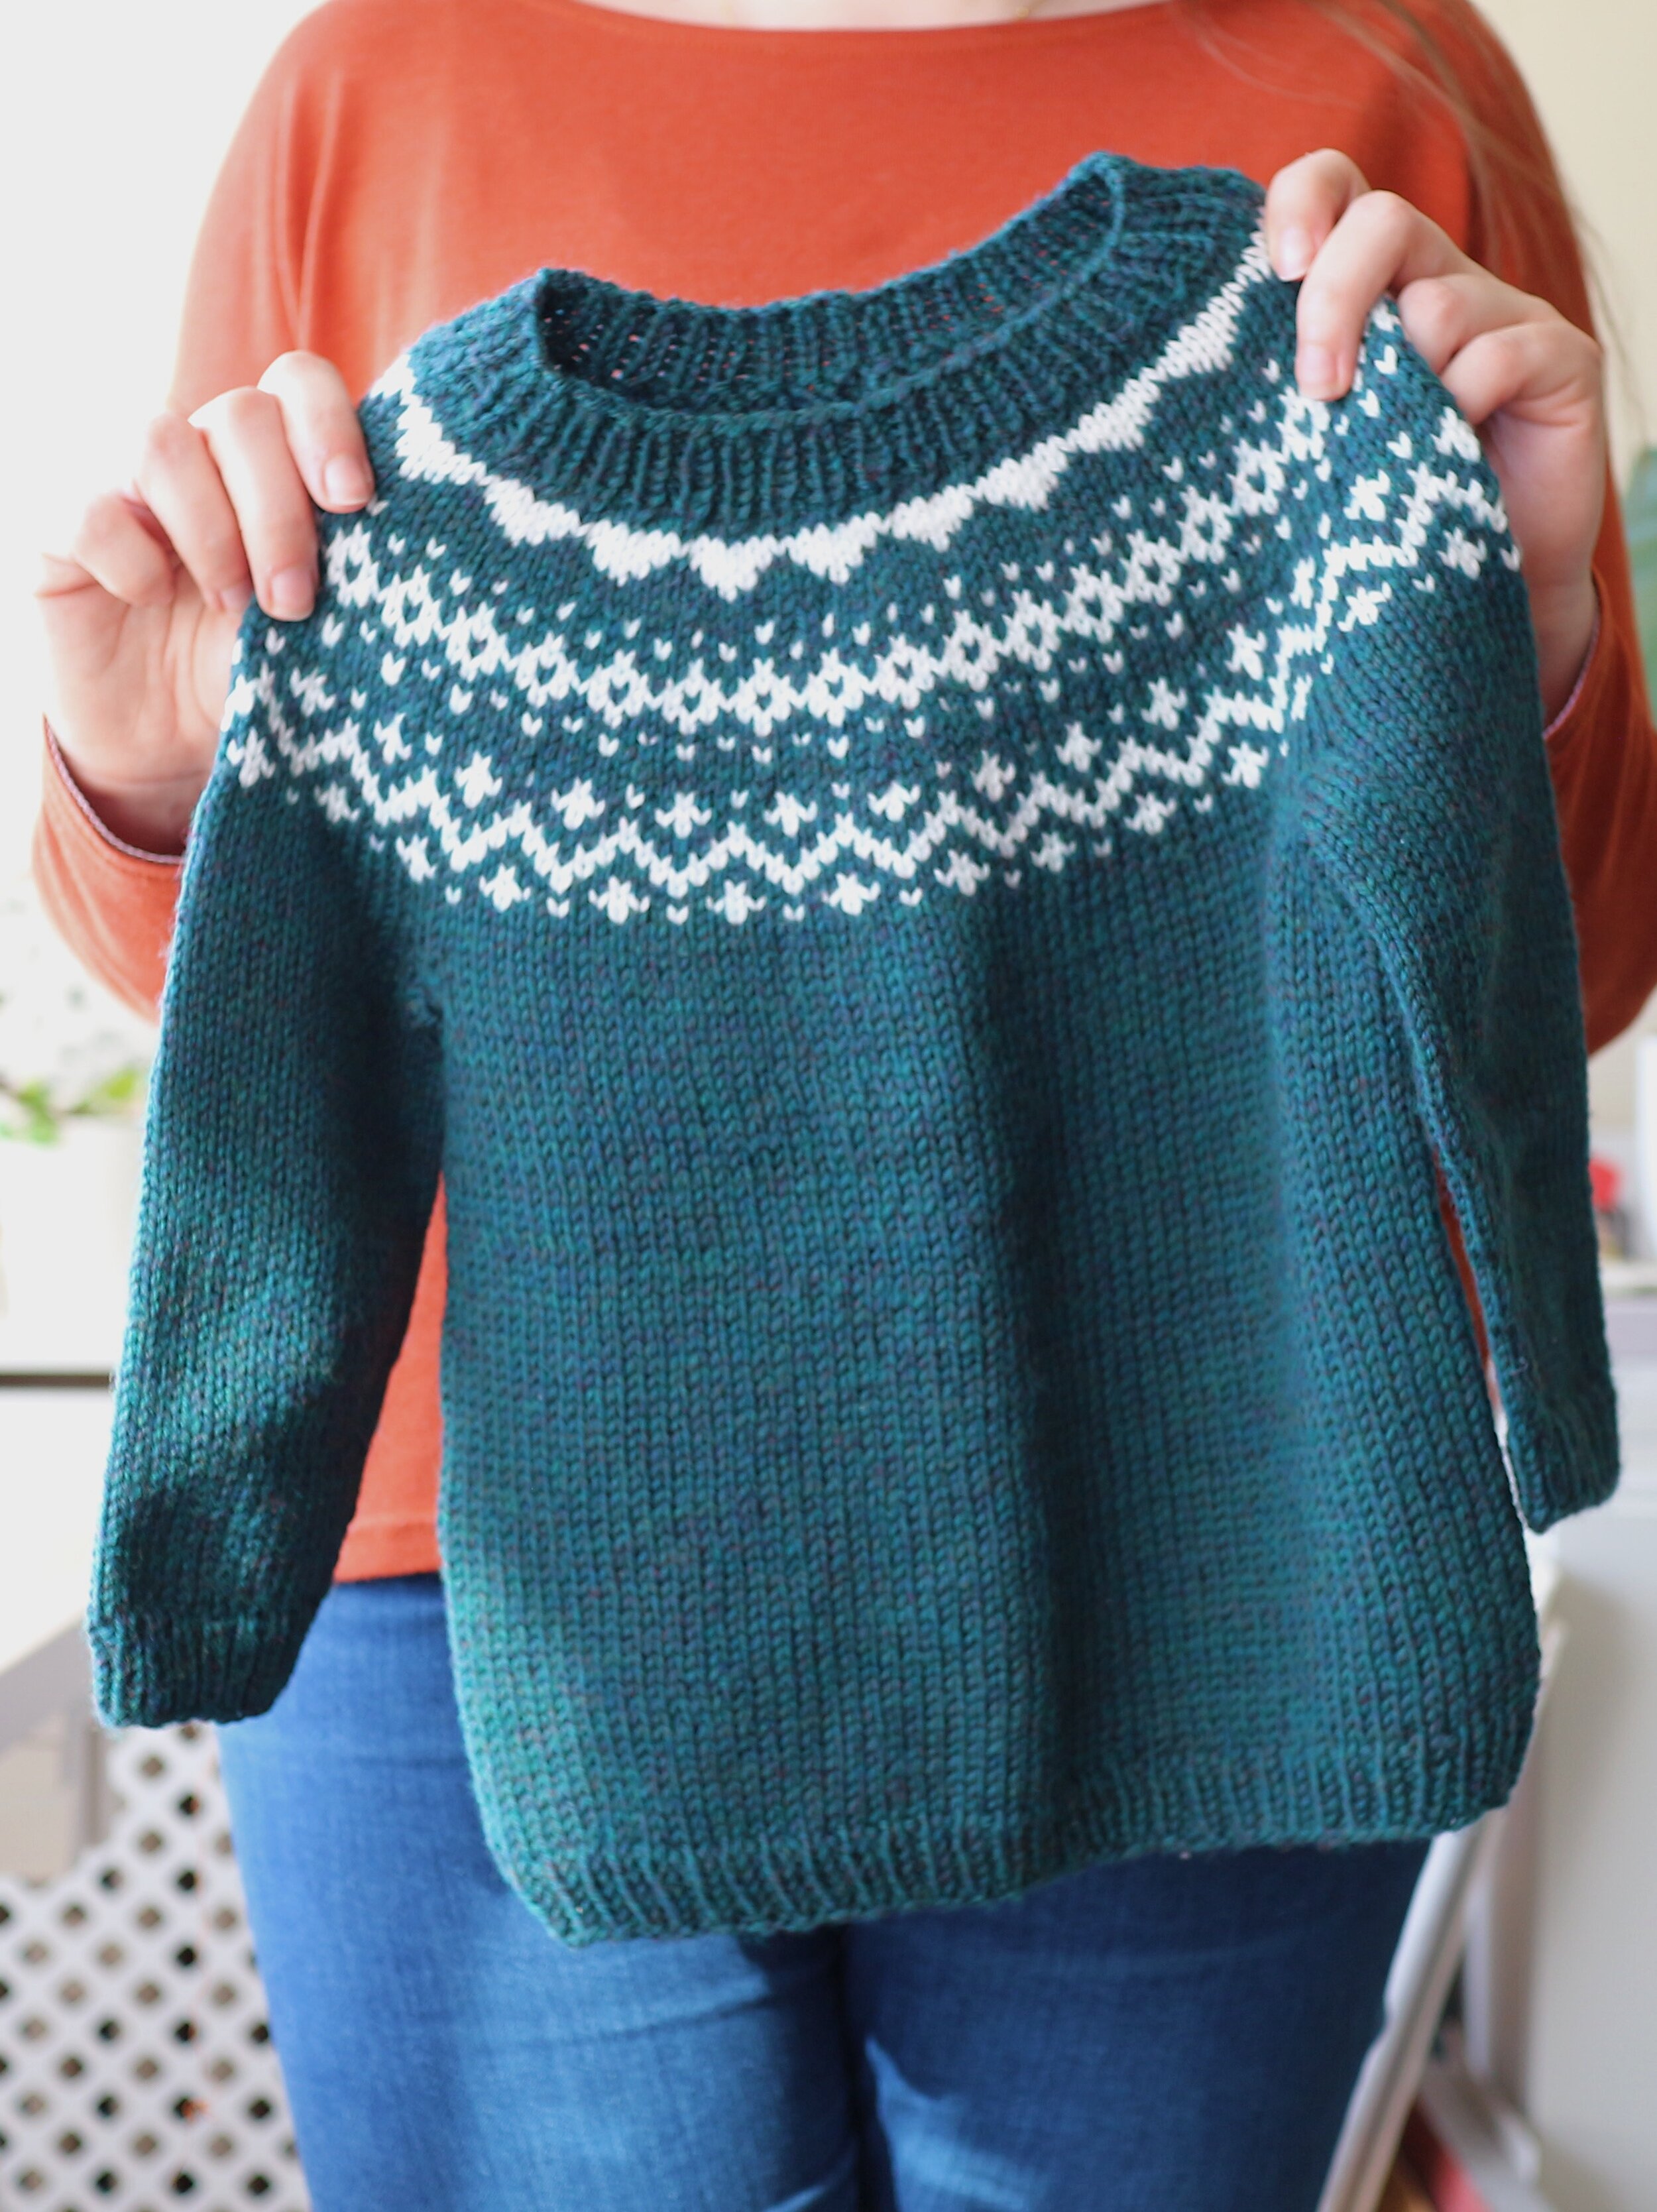
Alex is holding the Dog Star sweater she knitted in size 1-2 years. It’s dark green with a white pattern around the yoke.

I knit the Dog Star pullover by Tin Can Knits for my nephew in the size for a 1-2 year old, but as with all of the Tin Can Knits patterns, you can knit this sweater for the whole family. Sizes start at 0-6months and go up to a 63.5” chest adult.

I love the classic shape and style of this pullover and can’t wait for my nephew to wear it this year.

The Dog Star sweater was a bit too oversized for my nephew at just 1 years old when I bound off. He’ll be turning 2 this winter so I think he will have grown into it nicely when the temperatures drop this year.

Dog Star Children’s Knitting Pattern

Knitted from the bottom up, Tin Can Knits have a whole library of tutorials to help beginners, included one specifically on knitting a bottom up sweater.

I do think think the pattern would be easier to follow if you have some experience knitting sweaters and understand their construction.

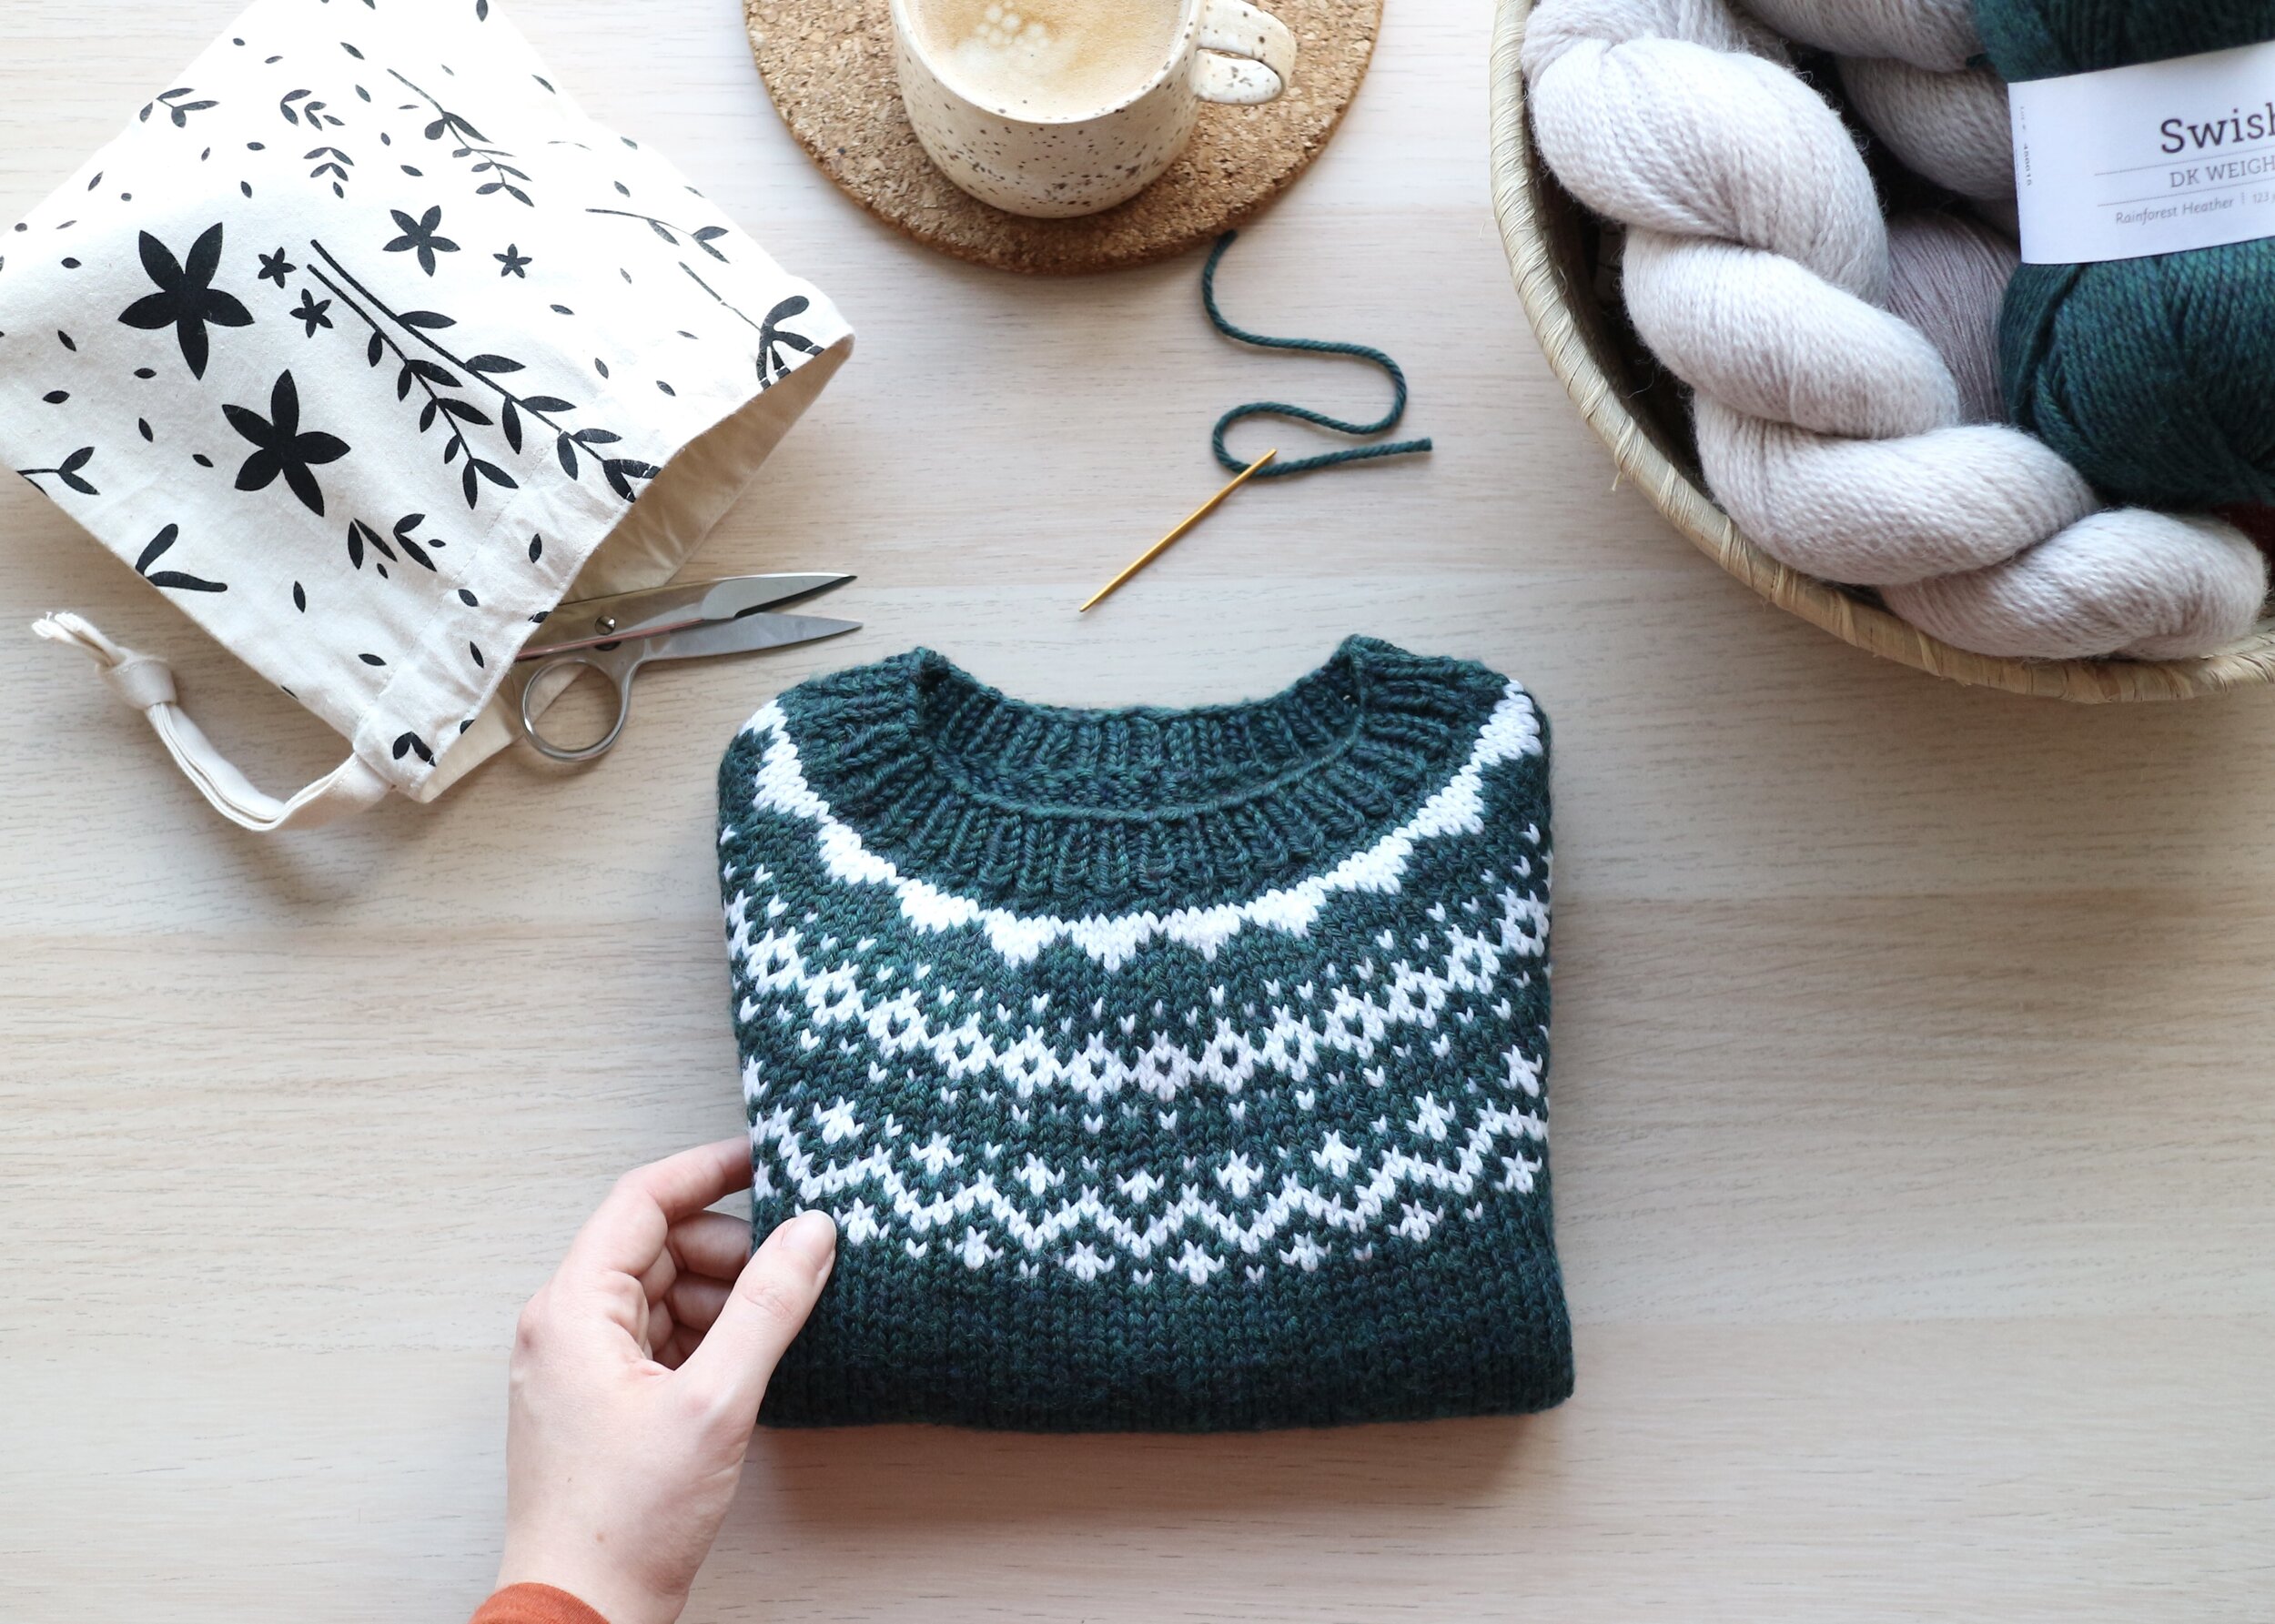
A children’s sweater in green and white is folded on a desk next to a basket of yarn and a notions bag and snips. There is a coffee cup in the background and you can see Alex’s hand touching the sweater.

I found that there are a few points in the pattern when they let you decide what techniques to use which I don’t think would be easy for beginners. I would have preferred them to have clear instructions for which increase to use and what sort of ribbing to use for each size for example. 

I chose to used the German Twisted Cast On method which is a nice stretchy cast on that is supposed to be durable too. When increasing I decided to do M1L and M1R.

The stitch count I started with was an odd number so I knit a 1x1 rib which has given the cuffs, collar and hem and neat finish.

Be sure to leave really long tails at the underarms. The holes on both sides of my sweater when joining the sleeves where bigger than I expected and I wished I’d had a bit more yarn for sewing up.

The colour work pattern is charted and easy to follow as you’re knitting with only two colours. The longest stretch between colours is just 5 stitches so it’s a great first colour work project with no long floats to manage.

The yoke is shaped a little using short rows before knitting the ribbing at the neck. I cast off using Jeny’s Surprising Stretchy Bind Off.

I hope me sharing the techniques I used is helpful if you’d like to knit your own Dog Star sweater. I’m really pleased with the finished sweater and I think it would look great in an adult size too. It’s such a classic look for winter.

Two colour yoke sweater knitting pattern. Dog Star by Tin Can Knits
Children’s colour work sweater knitting pattern | Alex holds up Dog Star by Tin Can Knits knitted in Knit Picks Swish DK using teal and white.

Knit Picks Swish DK

This was my first time using Knit Picks Swish DK yarn.

I prefer a yarn like Knit Picks Wool of the Andes Sport which I used for the Field Day cardigan for my own garments as I like more woolliness and structure in a sweater but this yarn is perfect for children and those with sensitive skin.

There is zero itch factor in my opinion and it created a wonderfully soft squishy fabric.

The yarn is machine washable but I chose to wet block the finished sweater in the sink with a little wool wash. I squeezed out the excess water and gently rolled the pullover in a towel to draw out as much water as possible.

The sweater really grew with washing but I was able to manipulate the stitches by massaging them together. With a lot of pushing and pressing with my hands I was able to get the pullover to fit the measurements given in the schematic.

Knit Picks Swish DK comes in a fantastic range of colours. There are 42 shades with a good range of neutrals and rich brighter shades that I’m drawn to when choosing colours.

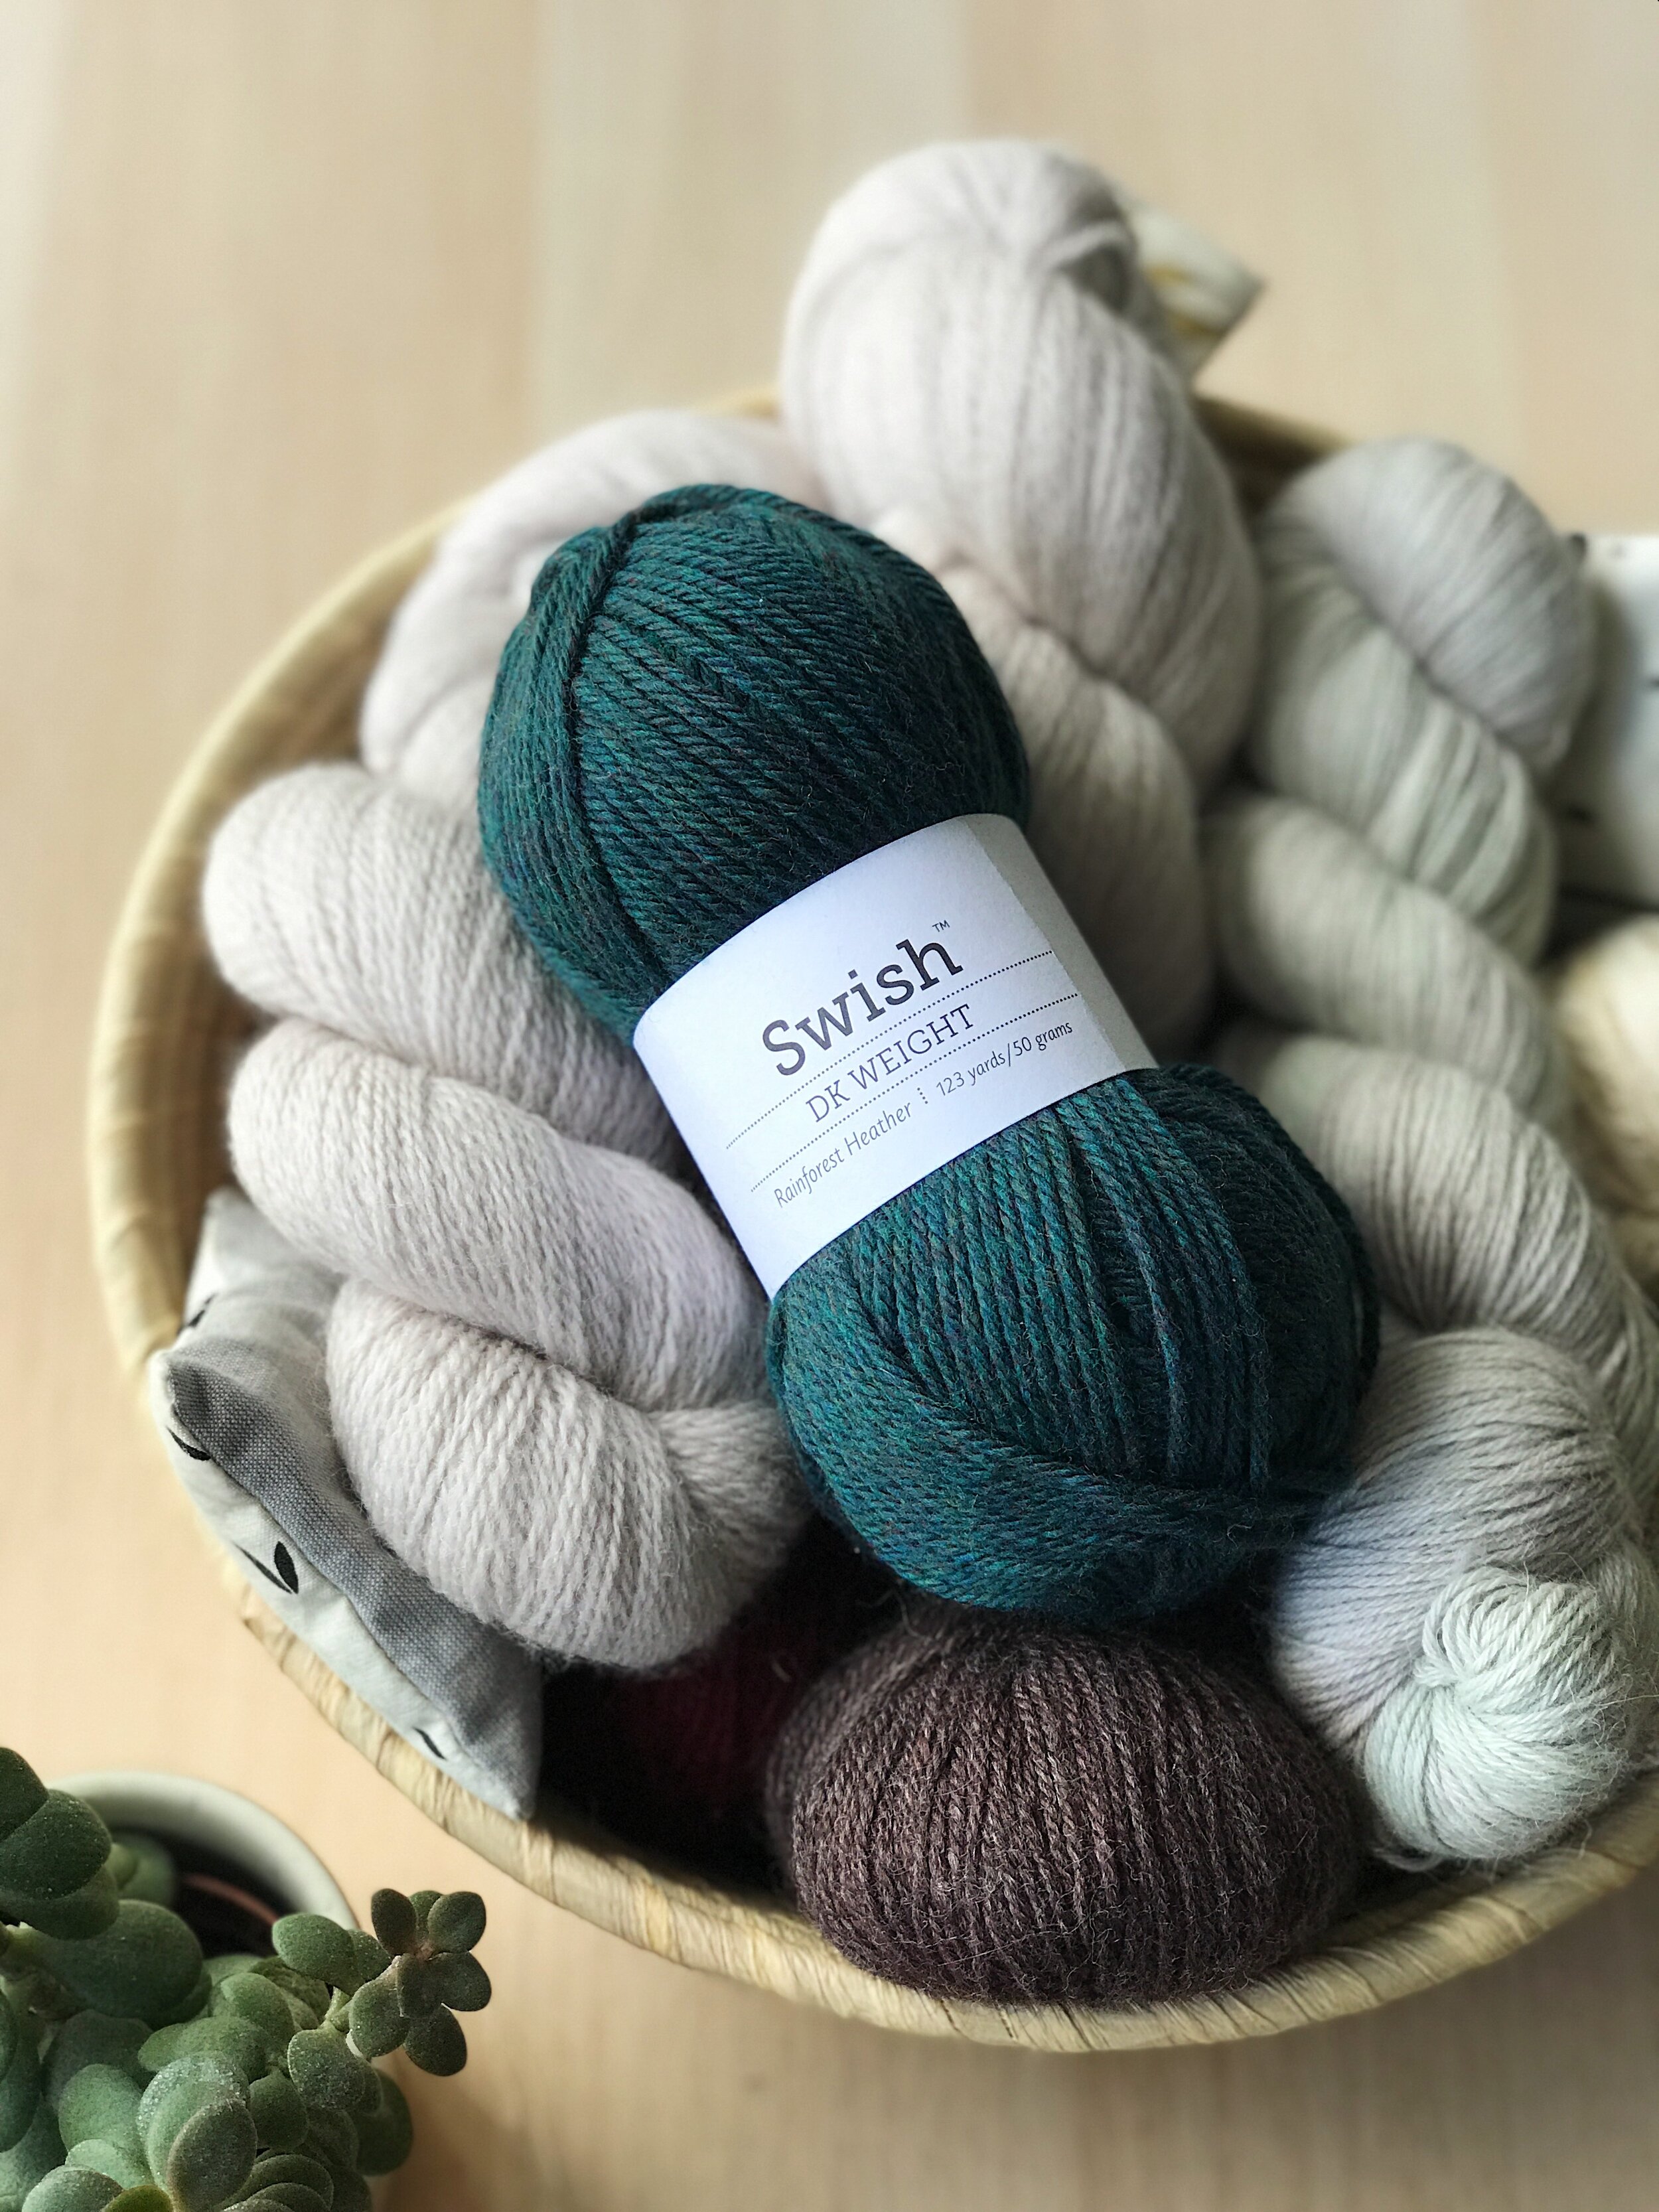
Knit Picks Swish DK in Rainforest Heather photographed in a basket of yarn.
Knit Picks Swish DK in Rainforest Heather

My sister picked out Rainforest Heather, this beautiful teal shade I used for the body. I had no problems with the dark rich green bleeding into the White which is a bright and clear contrast.

I might experiment with knitting a smaller size now I know how much the yarn can grow with blocking but I would happily use this yarn again, especially when knitting for children. I thought the quality, softness and price were just right for this project.

Alex is wearing Pheasant Pullover by Amy Christoffers

Project Notes

Pattern: Dog Star by Tin Can Knits

Yarn: 3 balls of Knit Picks Swish DK (50g each) in Rainforest Heather and 1 ball in White

Size: 1-2 years

Needles: 3.5 mm (US 4) & 4 mm (US 6) Hiya Hiya Sharp Interchangeable Circular Needle

Techniques Used: German Twisted Cast On, M1L, M1R, 1x1 Rib, Jeny’s Surprisingly Stretchy Bind Off,

Started: 12st Feb 2021

Finished: 6th March 2021


You Might Like…

Classic Project Bag

The classic drawstring bags are great for knitting projects as there is no zip to catch on your yarn.

Each bag can hold approximately 3 skeins (300g) of fingering weight yarn so it's a wonderful choice for socks, accessories, toys and children’s wear.

  • 100% GOTs Certified Organic Cotton

  • Screen printed from my original drawing

  • Approx: 15"(38cm) x 15" (38cm)

They are lovingly made in the UK and shipped worldwide.

£41.00
Add To Cart

Where do you want to go next?


Handmade Wardrobe | Pheasant Pullover
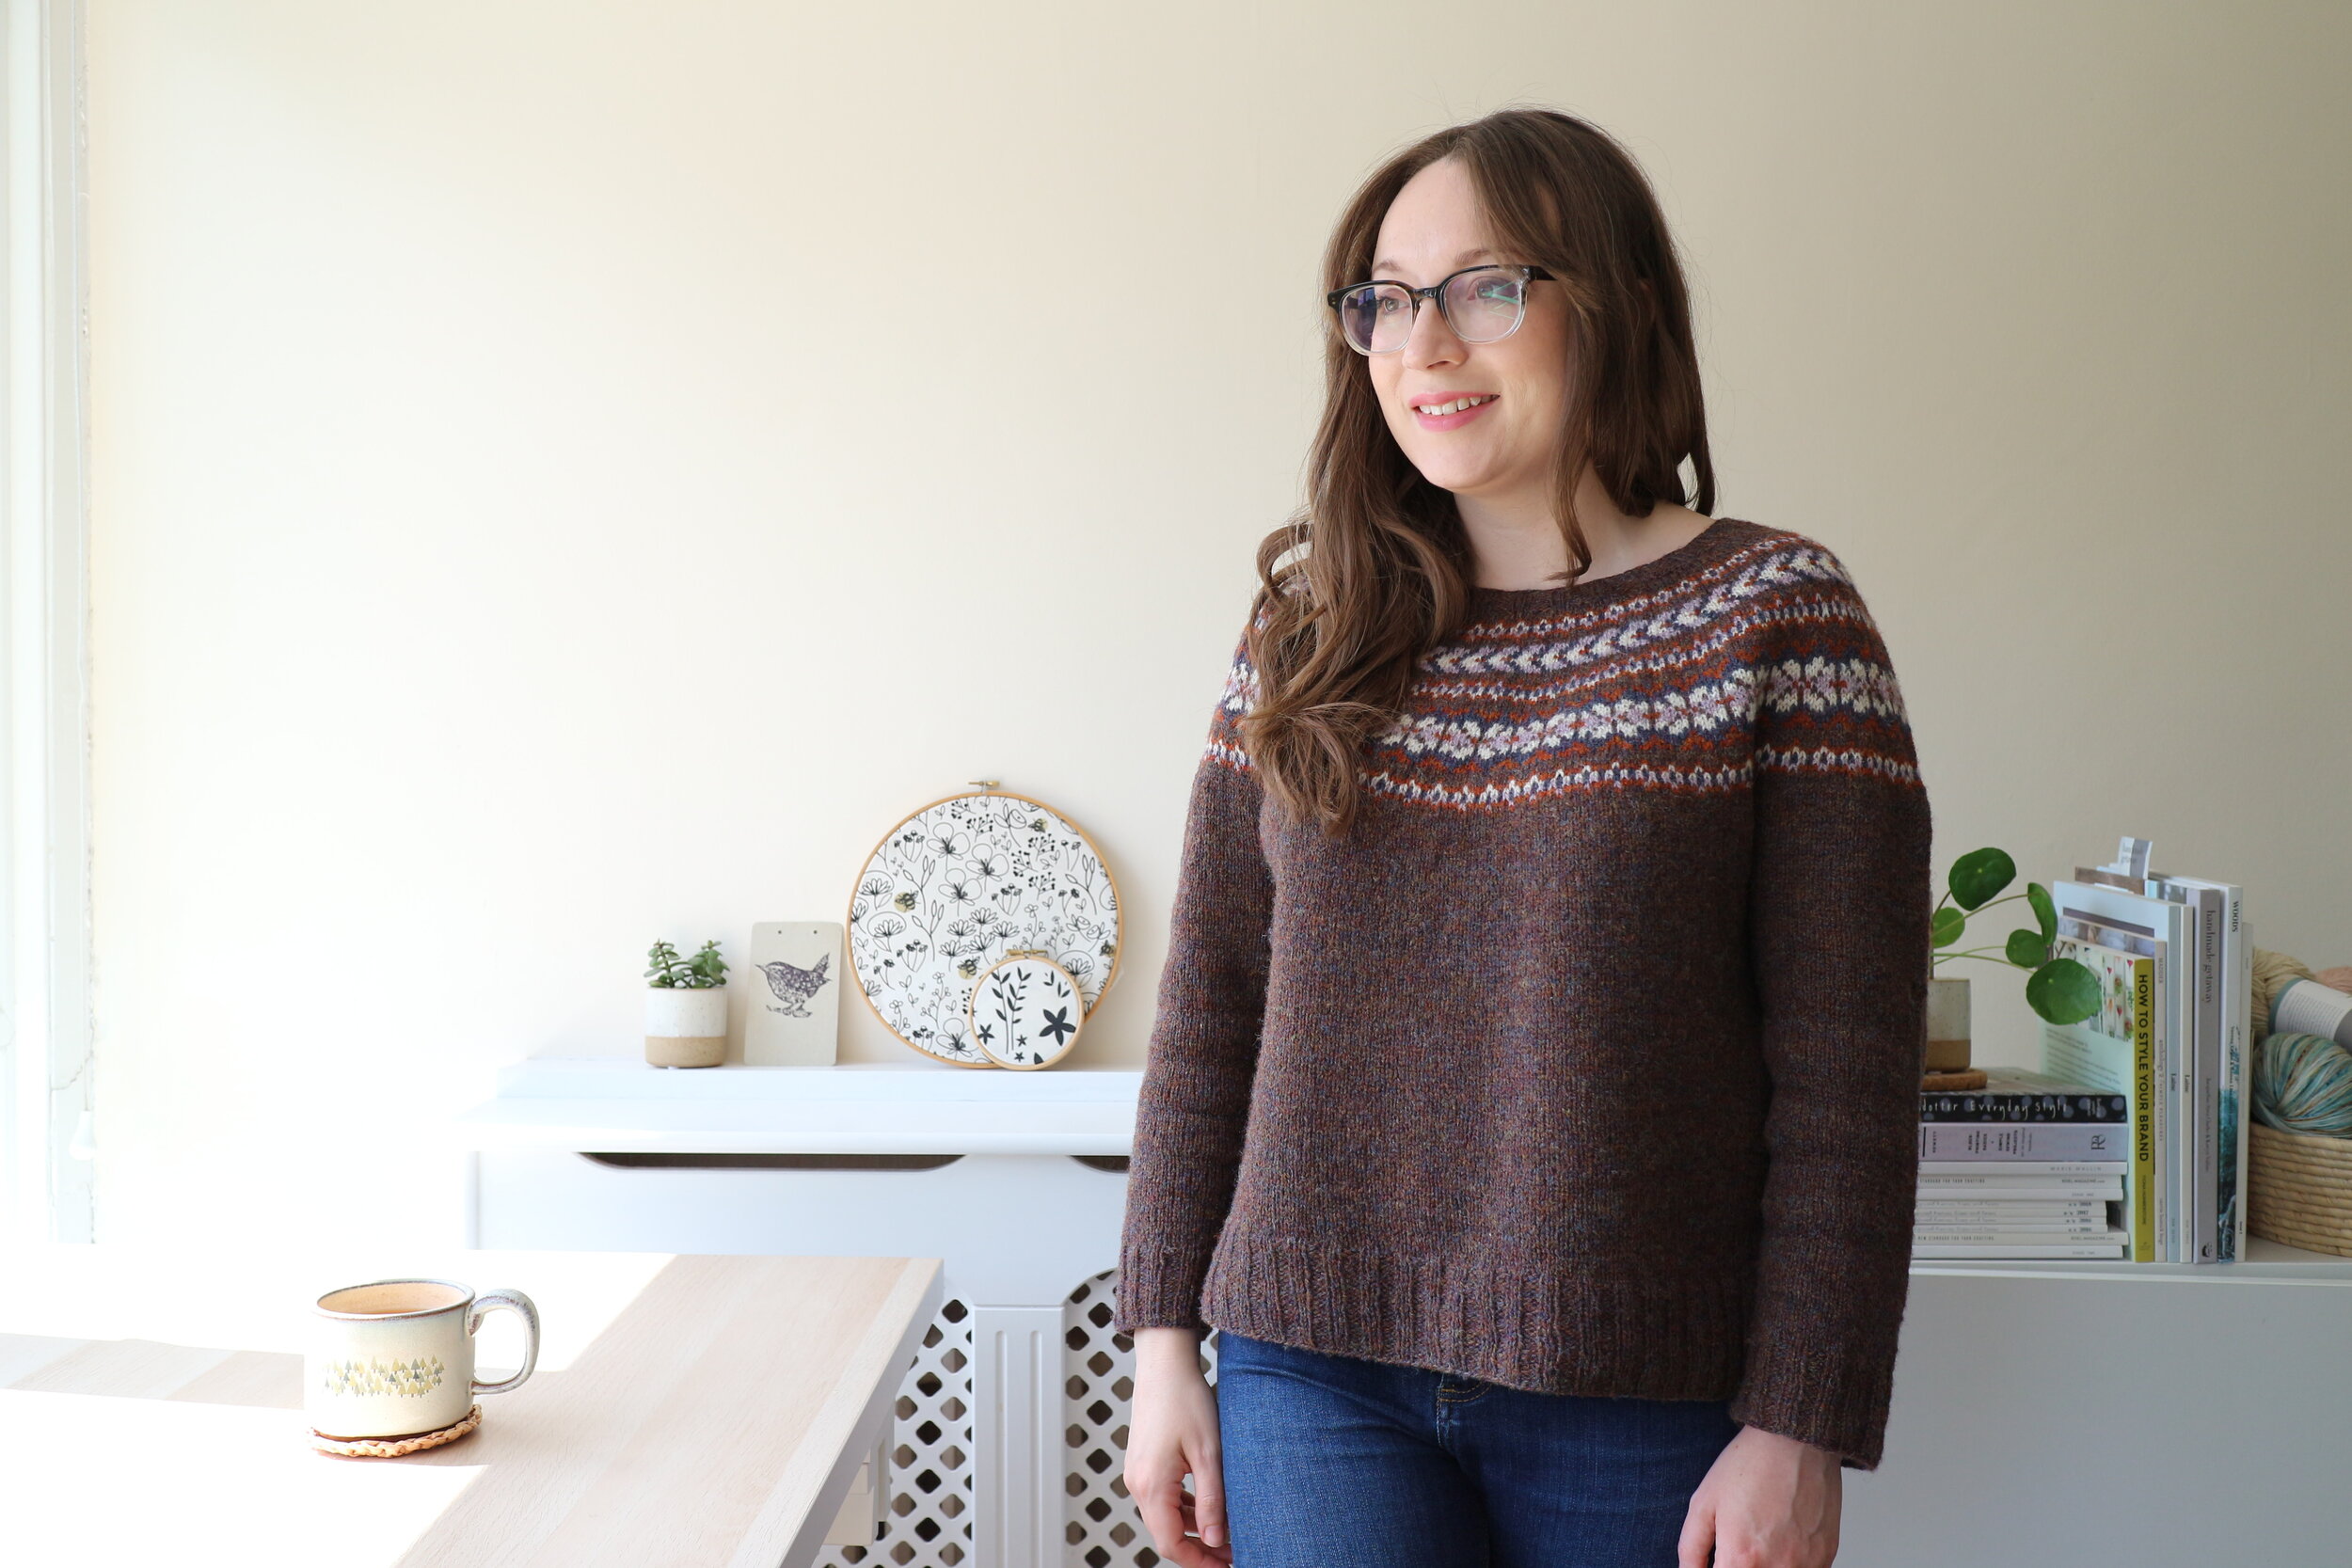
Alex is wearing a brown sweater with colour work yoke called the Pheasant Pullover. She is standing next to her desk with a cup of tea.

The Pheasant Pullover by Amy Christoffers has been off my needles for over a year at the time of writing this, and I can truly say it’s become a staple in my wardrobe.

The boxy straight fit gives this colour work sweater pattern a modern feel and the Jamieson & Smith 2ply Jumper Weight yarn is wonderfully lightweight and comfortable. I honestly reach for this colour work sweater all the time as it’s so easy to wear.

Pheasant Pullover Knitting Pattern

Knitted from the top down, the pattern was simple to follow and could be a fun project for an adventurous beginner ready to tackle colour work.

The colour work pattern is charted and easy to follow as it’s shown in colour. Each round uses only two colours and float management is fairly easy as the longest stretch between colours is just 5 stitches.

The yoke is shaped a little using short rows before the chart begins and the body is knitted straight once you divide for the sleeves.

Alex is knitting the Pheasant Pullover, a colour work yoke sweater pattern by Amy Christoffers
Alex is knitting a colour work yoke sweater pattern using Jamieson & Smith 2ply Jumper Weight Yarn
Alex is knitting the Pheasant Pullover, a fair isle yoke sweater pattern by Amy Christoffers in Jamieson & Smith yarn

Jamieson & Smith 2ply Jumper Weight Yarn

This was my first time using a Jamieson & Smith yarn and I’m really happy with how the 2ply Jumper Weight performed.

I initially started swatching with my favourite set of interchangeables from Hiya Hiya but I quickly changed to an Addi circular that had a more rounded tip which was a better match for this airy 2ply 100% Shetland wool.

The yarn has produced a beautiful lightweight, cosy fabric that has worn incredibly well. There is minimal pilling after many, many wears and it’s held its shape well.

Because of the fine, light fabric, I find the Pheasant Pullover more versatile than some of the thicker DK and worsted weight jumpers in my handmade wardrobe. I just love how cosy it is with zero bulk.

Everyone’s tolerance to wearing wool against the skin is different, but this is a woolly yarn I can happily wear without irritation.

Jamieson & Smith have a wonderful range of colours with depth and variation in every shade. I think you can see in the images below that the brown is not a flat, natural brown, but it’s a colour that subtly incorporates shades of blue, green, and red which bring the yarn to life.

I’m so pleased I went with Amy Christoffers original colour selection as the shades she chose are absolutely perfect together.

I’m drawn to browns and warm shades of orange but I never would have chosen the lilac or the deep blue/purple which has pops of a rich teal shade running through it. Knitted together in the yoke, the colours are nicely balanced and they compliment each other beautifully.

Alex is wearing a colour work yoke sweater knitting pattern called the Pheasant Pullover by Amy Christoffers
A colour work yoke sweater knitted in Jamieson & Smith 2ply jumper weight yarn.
Alex is wearing a fair isle sweater designed by Amy Christoffers knitted in Jamieson and Smith 2ply Jumper Weight yarn

Fit and Modifications

Once I had separated for the sleeves the yoke looked very deep and the arm holes very low.

I decided to knit 3 or 4 inches on the body and then transfer it to some scrap yarn so I could begin knitting one of the sleeves. Once I had knit half the sleeve I was able to try the sweater on to see how the garment felt and check the fit. This is the beauty of knitting a top down sweater.

I needn’t have worried as the sweater felt comfortable and I realised there was no reason not to trust the designer and continued on with the pattern as it was written.

I knit the body for 8.5” and added the 2” of ribbing called for in the pattern. I also only knit the sleeves for 10.5” before adding the ribbing so my sleeves are 12.5” from under arm to cuff which fit me well.

I really do enjoy this type of sweater construction as I can check the fit as I go and make sure the length is just right for me.

My finished sweater is approx 21.5” from the top neck to hem which matches my actual body measurement from shoulder to hip bone.

The sweater fit well before blocking so I measured yoke depth, sleeves and body so I could make sure the garment didn’t change too much after soaking in water with a little wool wash. The yarn blocked nicely, my stitches bloomed and looked even throughout.

The size didn’t change drastically so I gently blocked, pinning my Pheasant Pullover to the measurements I took pre-soak.

As I said earlier, the Pheasant Pullover has worn well over the last year and I’m happy to say it looks almost as good as the day it came off the blocking boards. There is little pilling or change to the shape so I won’t hesitate to use Jamieson & Smith 2ply Jumper Weight yarn in a future project.

Alex is wearing Pheasant Pullover by Amy Christoffers

Project Notes

Pattern: Pheasant Pullover by Amy Christoffers

Yarn: 8 balls of Jamieson & Smith 2ply Jumper Weight (25g each) in FC58 and 1 ball of each contrast colour in FC14, FC38, 202 and FC51.

Size: 38"

Needles: 3 mm (US 2.5) Addi Circular Needle

Started: 1st Feb 2020

Finished: 25th April 2020


You Might Like…

Medium Project Bag

Each fully lined organic cotton project bag is screen printed by hand and sewn by Alex.

Surprisingly roomy, each bag can hold approximately 9 skeins (900g) of fingering weight yarn so it's a wonderful choice for large shawls, summer tops and tees, sweaters and cardigans.

  • 100% GOTs Certified Organic Cotton

  • Screen printed from my original drawing

  • Approx: 15"(38cm) x 15" (38cm)

They are lovingly made in the UK and shipped worldwide.


Where do you want to go next?


Knitting Needle Organisation

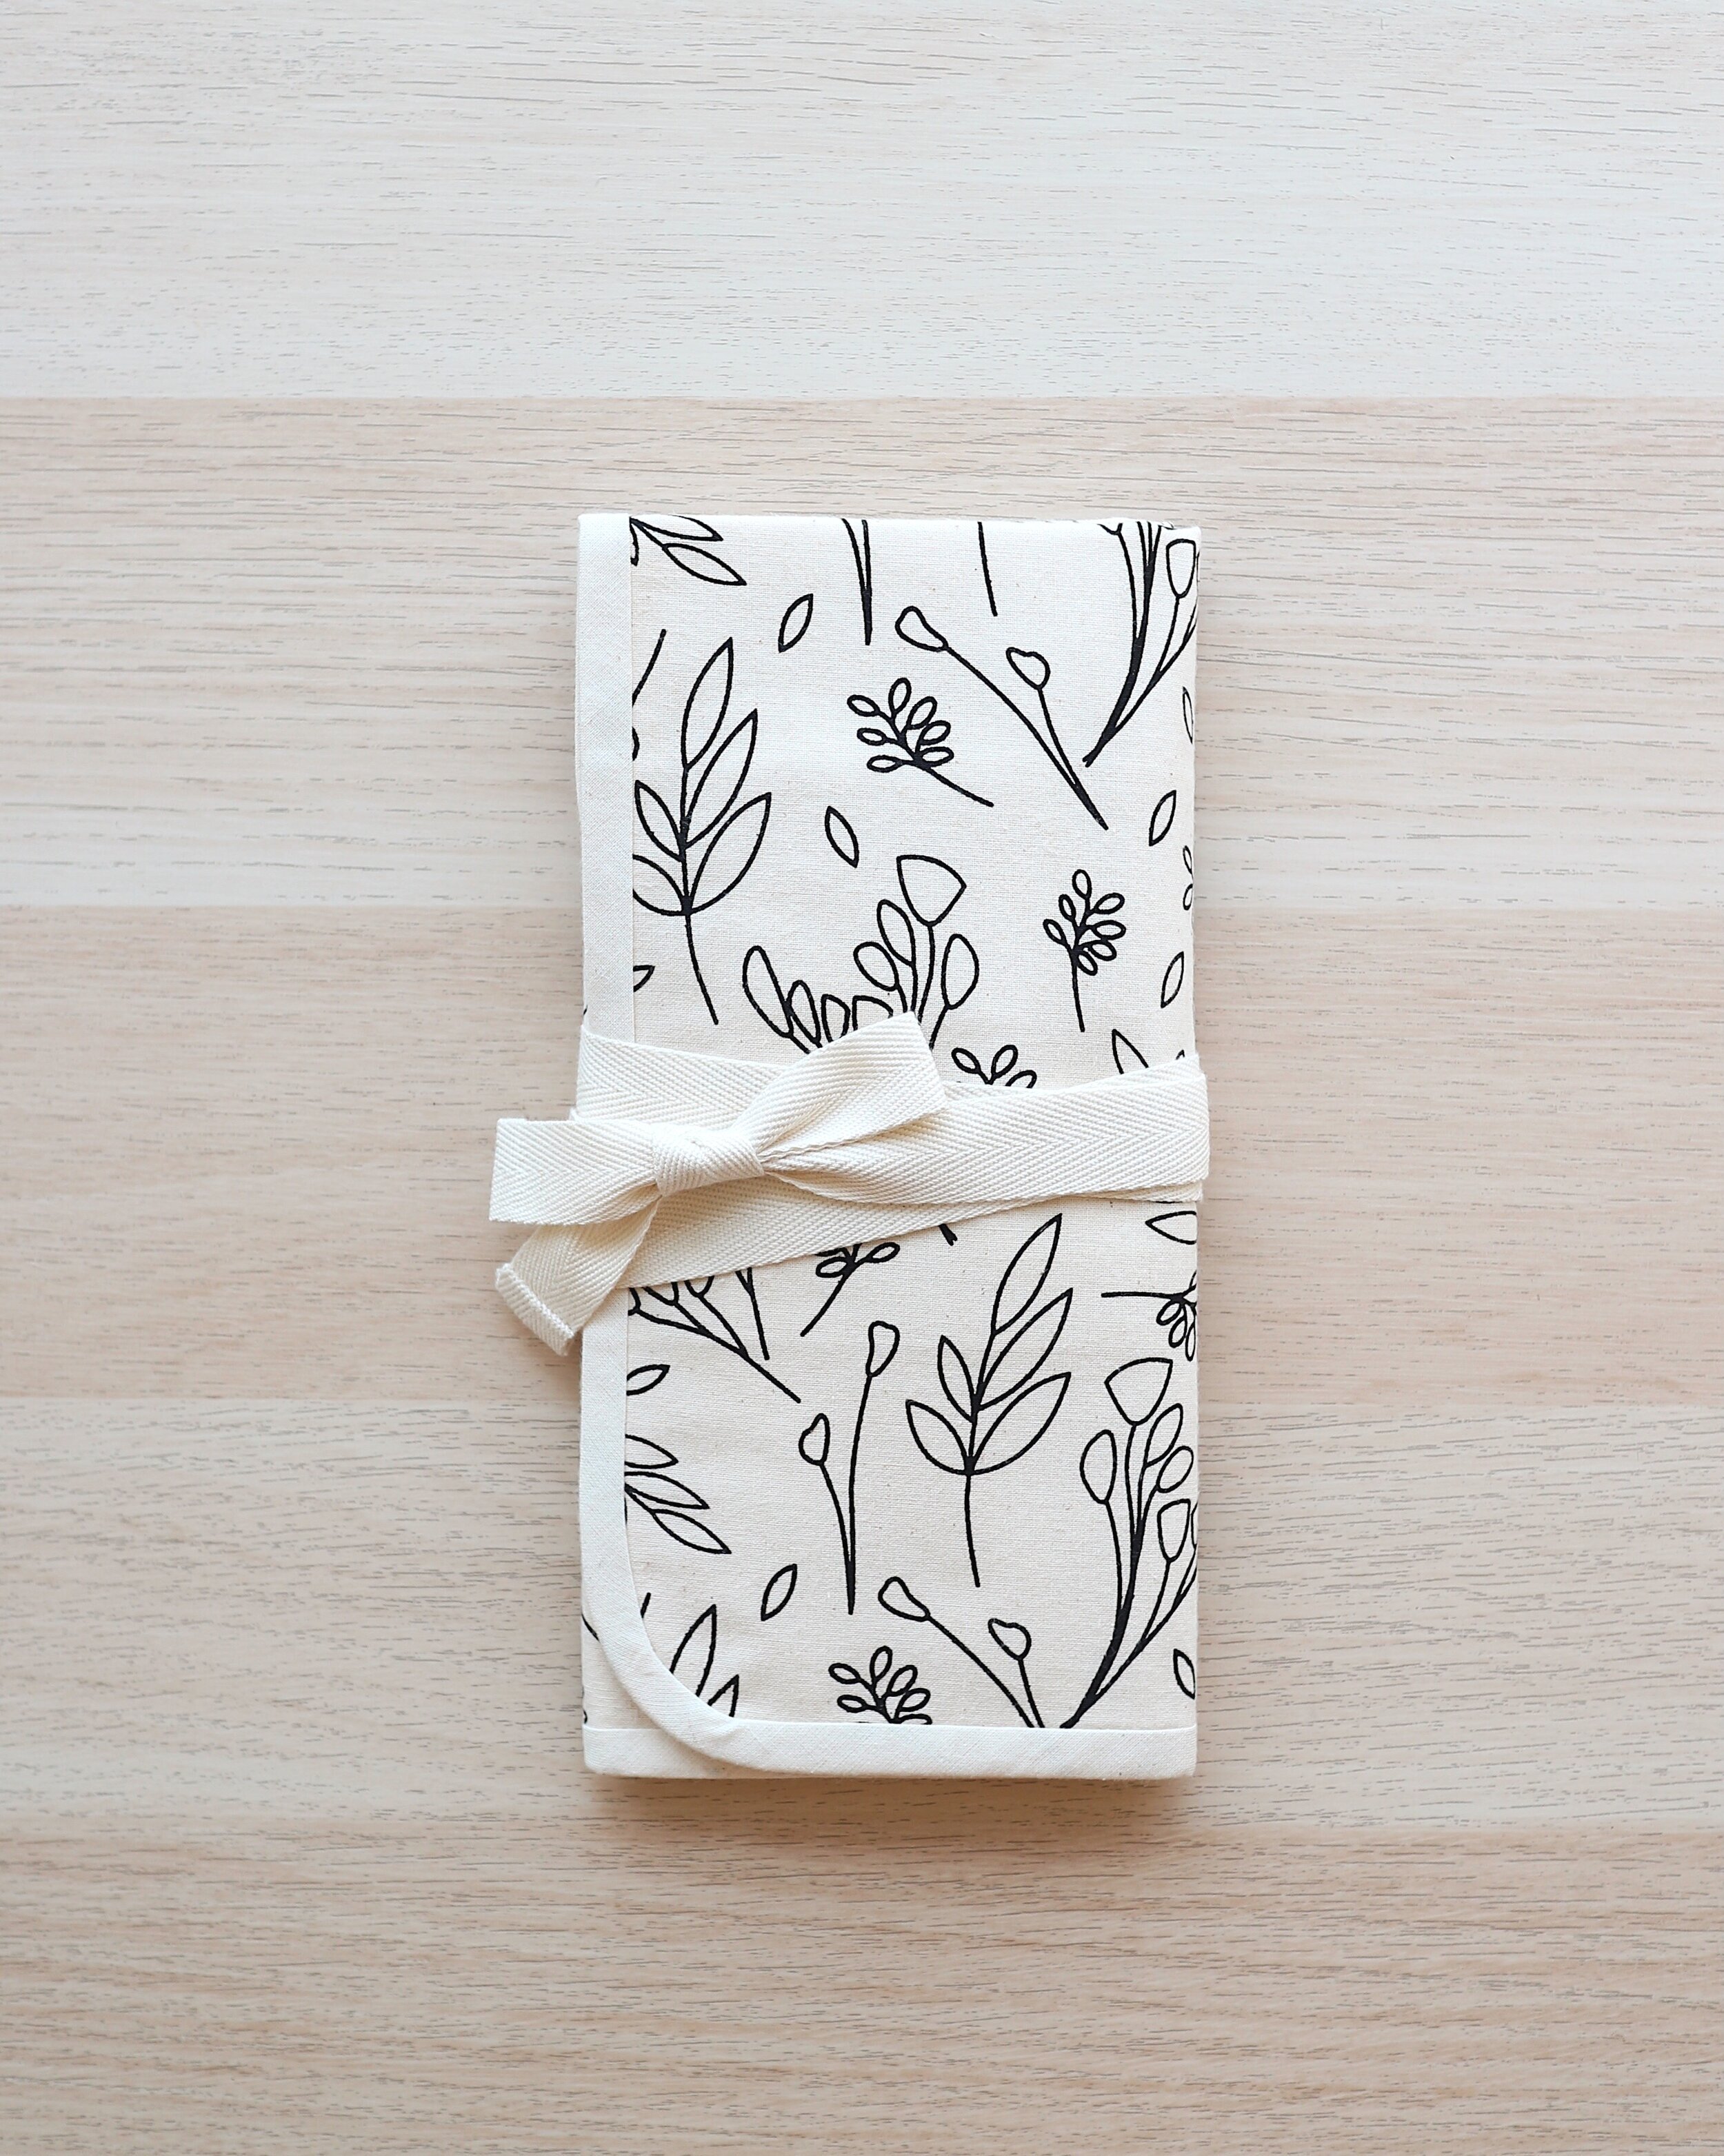
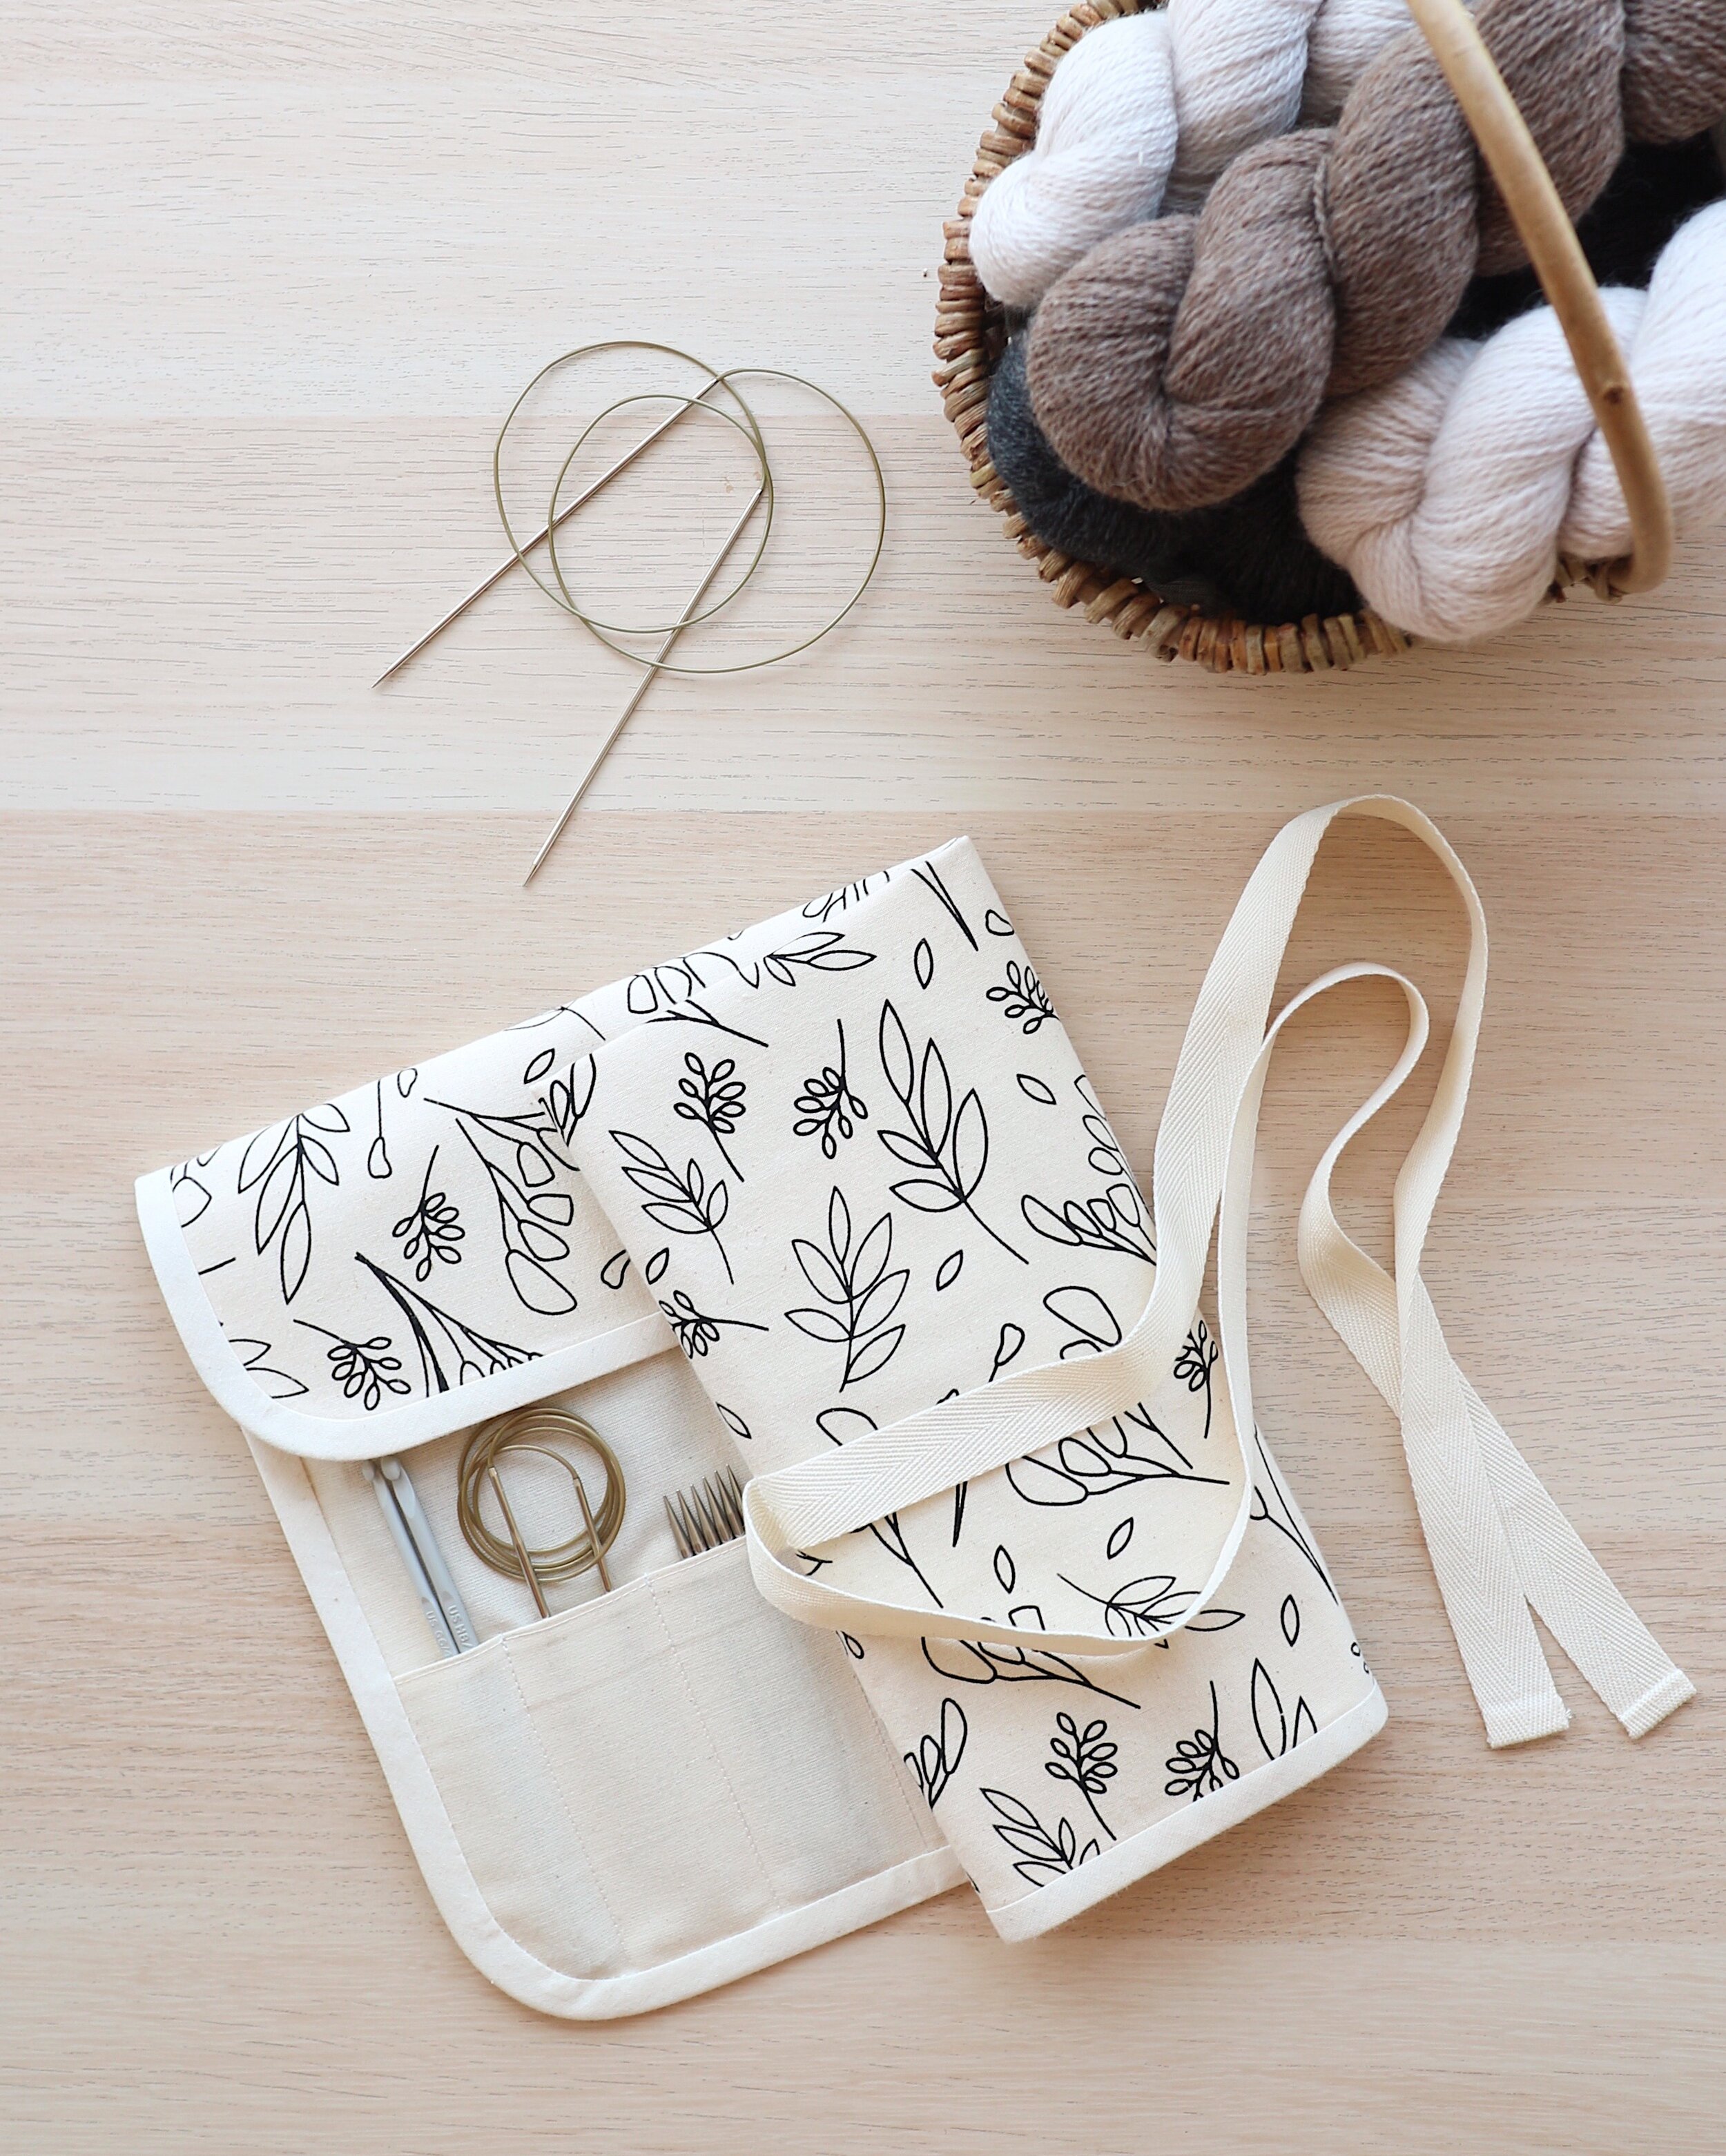
Do you have a good system for keeping your knitting needles organised? I’ve recorded a quick 2-minute video showing how I organise my knitting needles using this needle case.

You'll see how fixed circulars, interchangeable tips and cables, DPN's, cable needles and crochet hooks can all be neatly stored in one place.

If you've been on the fence about investing in an Alex Collins Knitting Needle Case, I think this short video will help you decide if it’s the right case for you.


Storing Your Knitting Needles

I’ve seen several methods for storing needles. You can keep them in a binder or case with clear pockets, buy a rack with holes for DPN’s or thread fixed circulars through a hanging needle holder or organiser.

What’s great about using the case I’ve designed is you can safely store a variety of different needles and hooks all in one place.

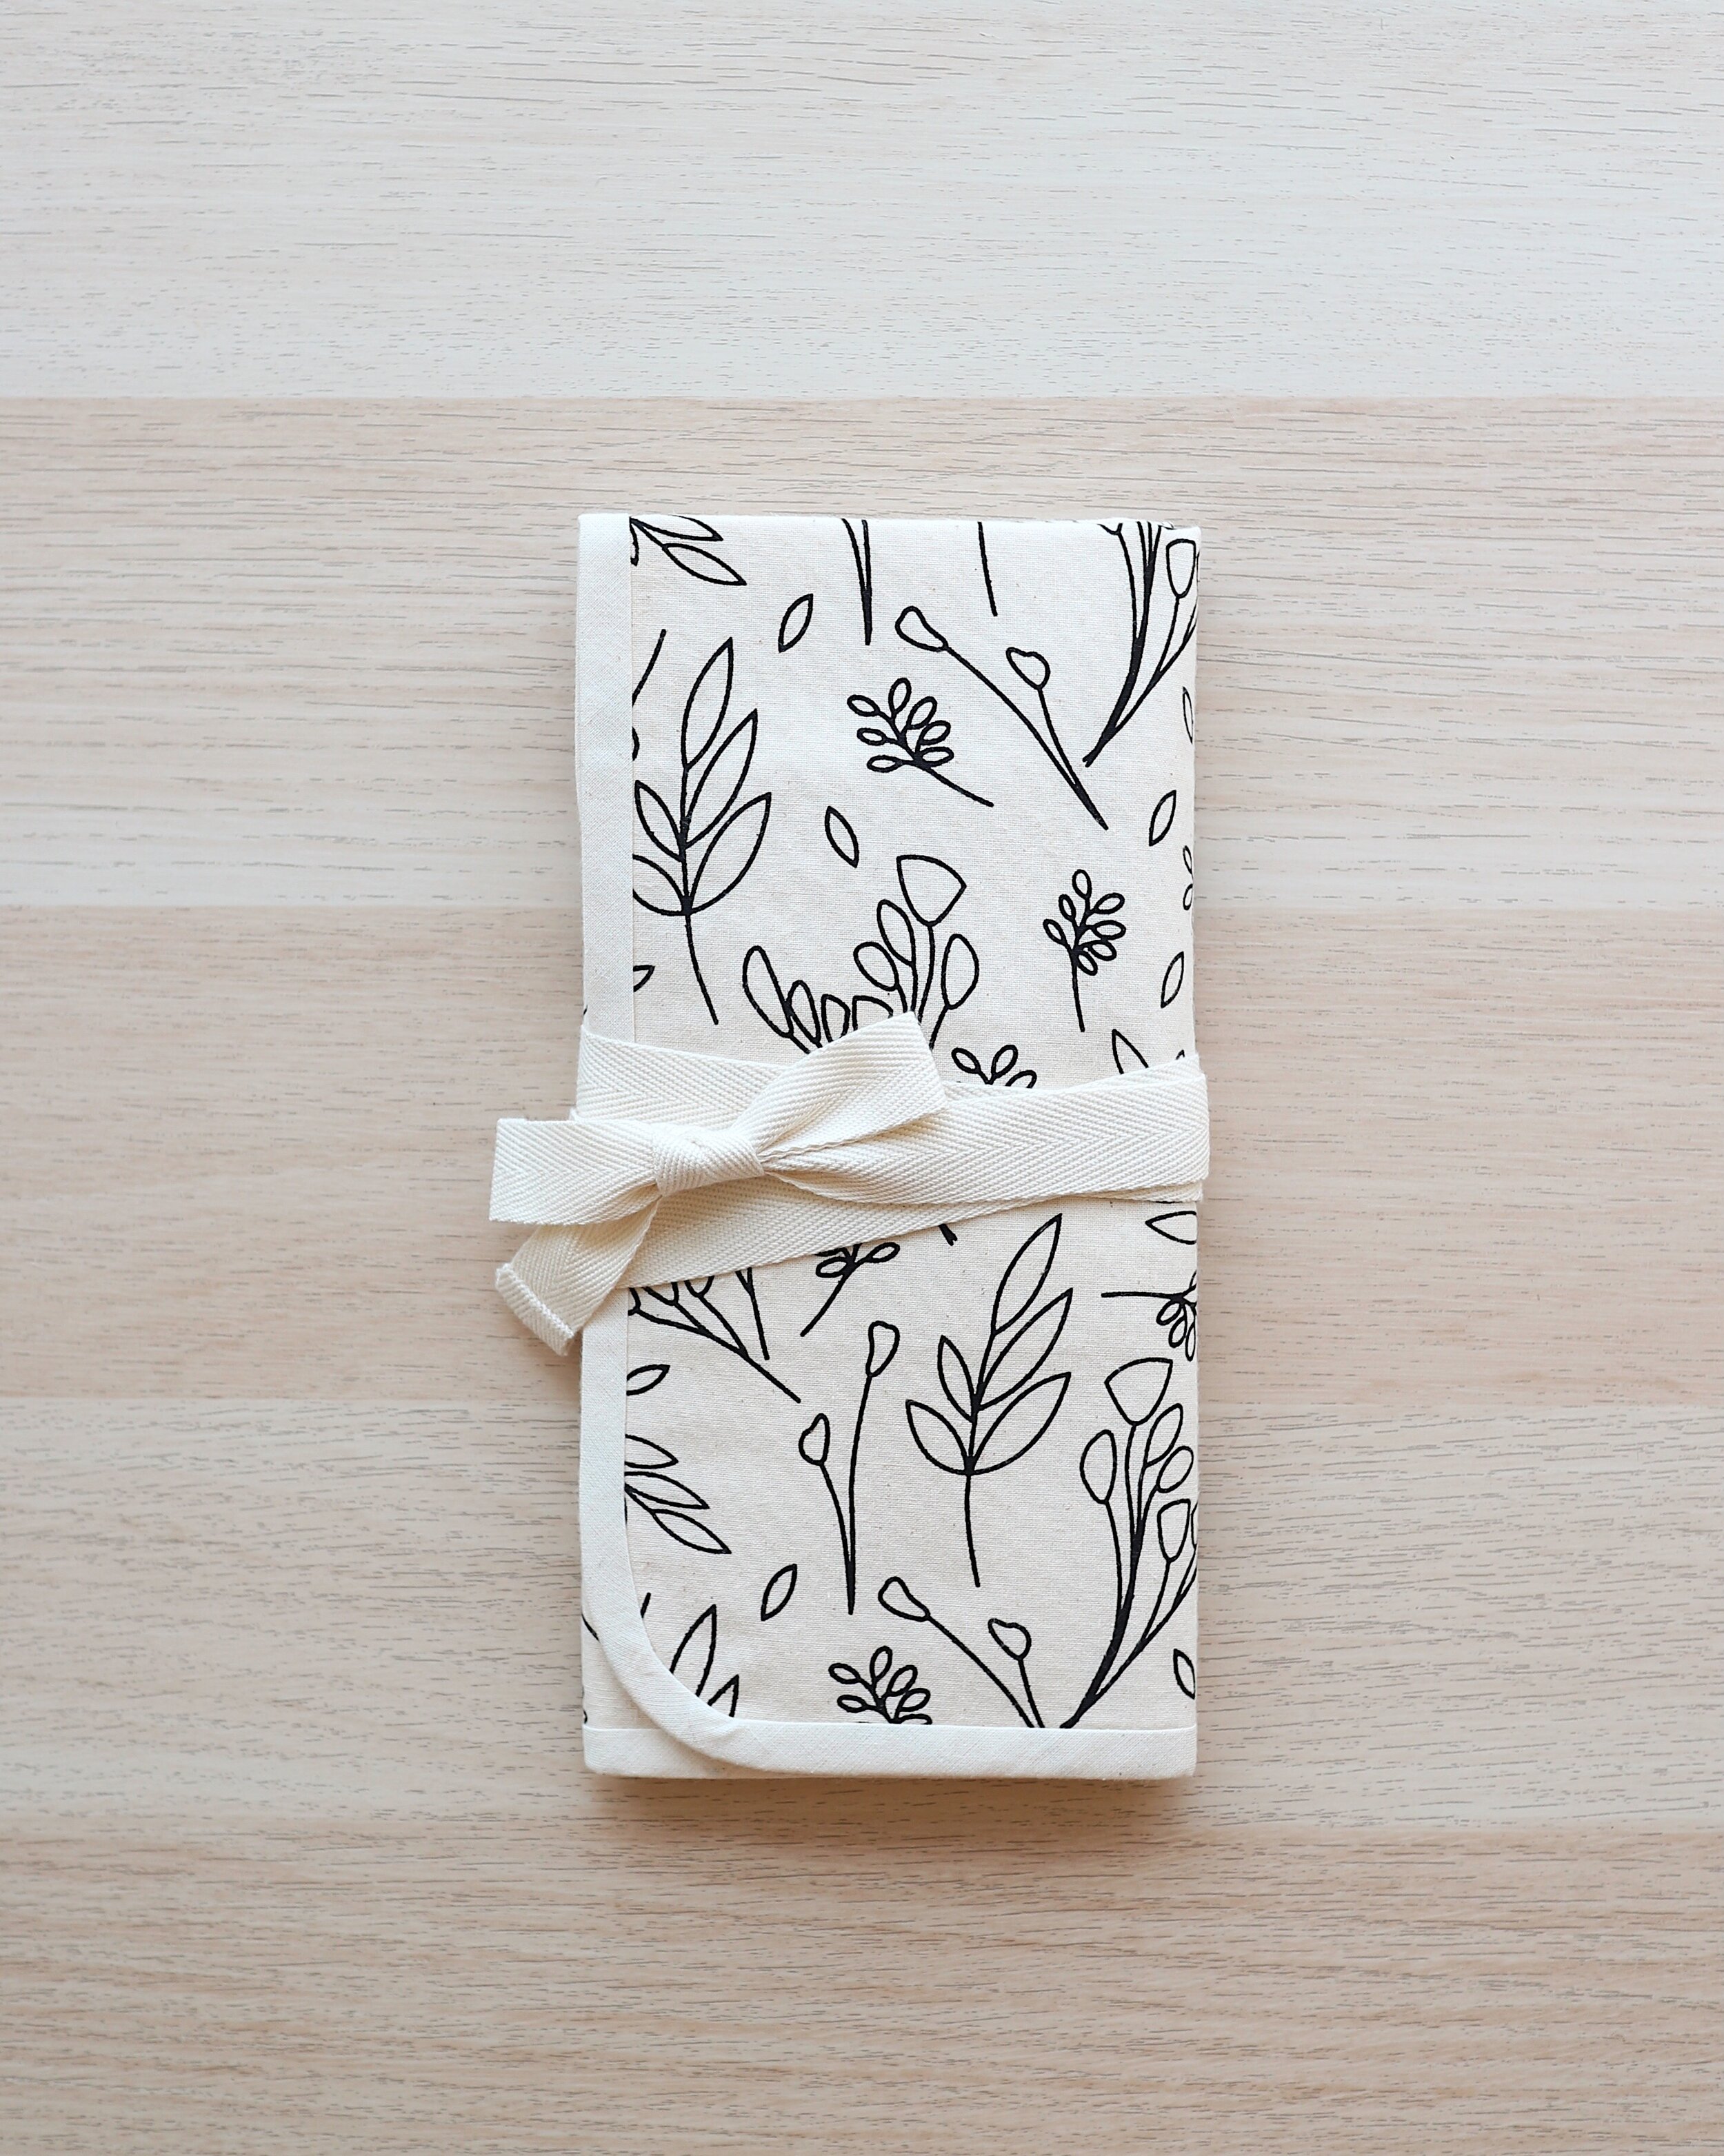
The top flap keeps everything secure when the case is closed and it’s surprisingly compact considering the amount of needles it holds. It’s around 10” tall and 5” wide when closed.


🌟 It’s a game-changer…🌟

I’ve been meaning to write to tell you how much I LOVE the needle case I ordered last month!  The design is just perfect, and I’m amazed at how many sets of DPNs and circular needles I can fit in it!  It’s been a game-changer for my needle storage and organization.  Thank you!!
— Amy-Jo, New York

How I Use The Knitting Needle Case

There are 12 small pockets which are perfectly sized for interchangeable tips, DPN’s, crochet hooks and cable needles. I like to keep smaller fixed circulars with long cables in the bottom pockets too.

All my chunky needles with shorter cables are kept in the top pockets. I’ve found that I can comfortably store 3 large needles in each of the 5” (12.75cm) wide pockets.

The cables for my interchangeable needles are stored in their original ziplock bags and they too fit perfectly in the wide top pockets. 

TIP - Keep a needle gauge in one of the top pockets so it’s quick and easy to check the size of any needles without a clear marking. 

Handmade with Organic Cotton

As with all the bags and accessories in my shop, the knitting needle cases are constructed using organic cotton. That includes the tie closure and an organic cotton interfacing.

Every needle case is finished by hand as I sew the binding using a slip stitch for a neat, clean finish even on the inside. My logo is then hand stamped in the top corner.

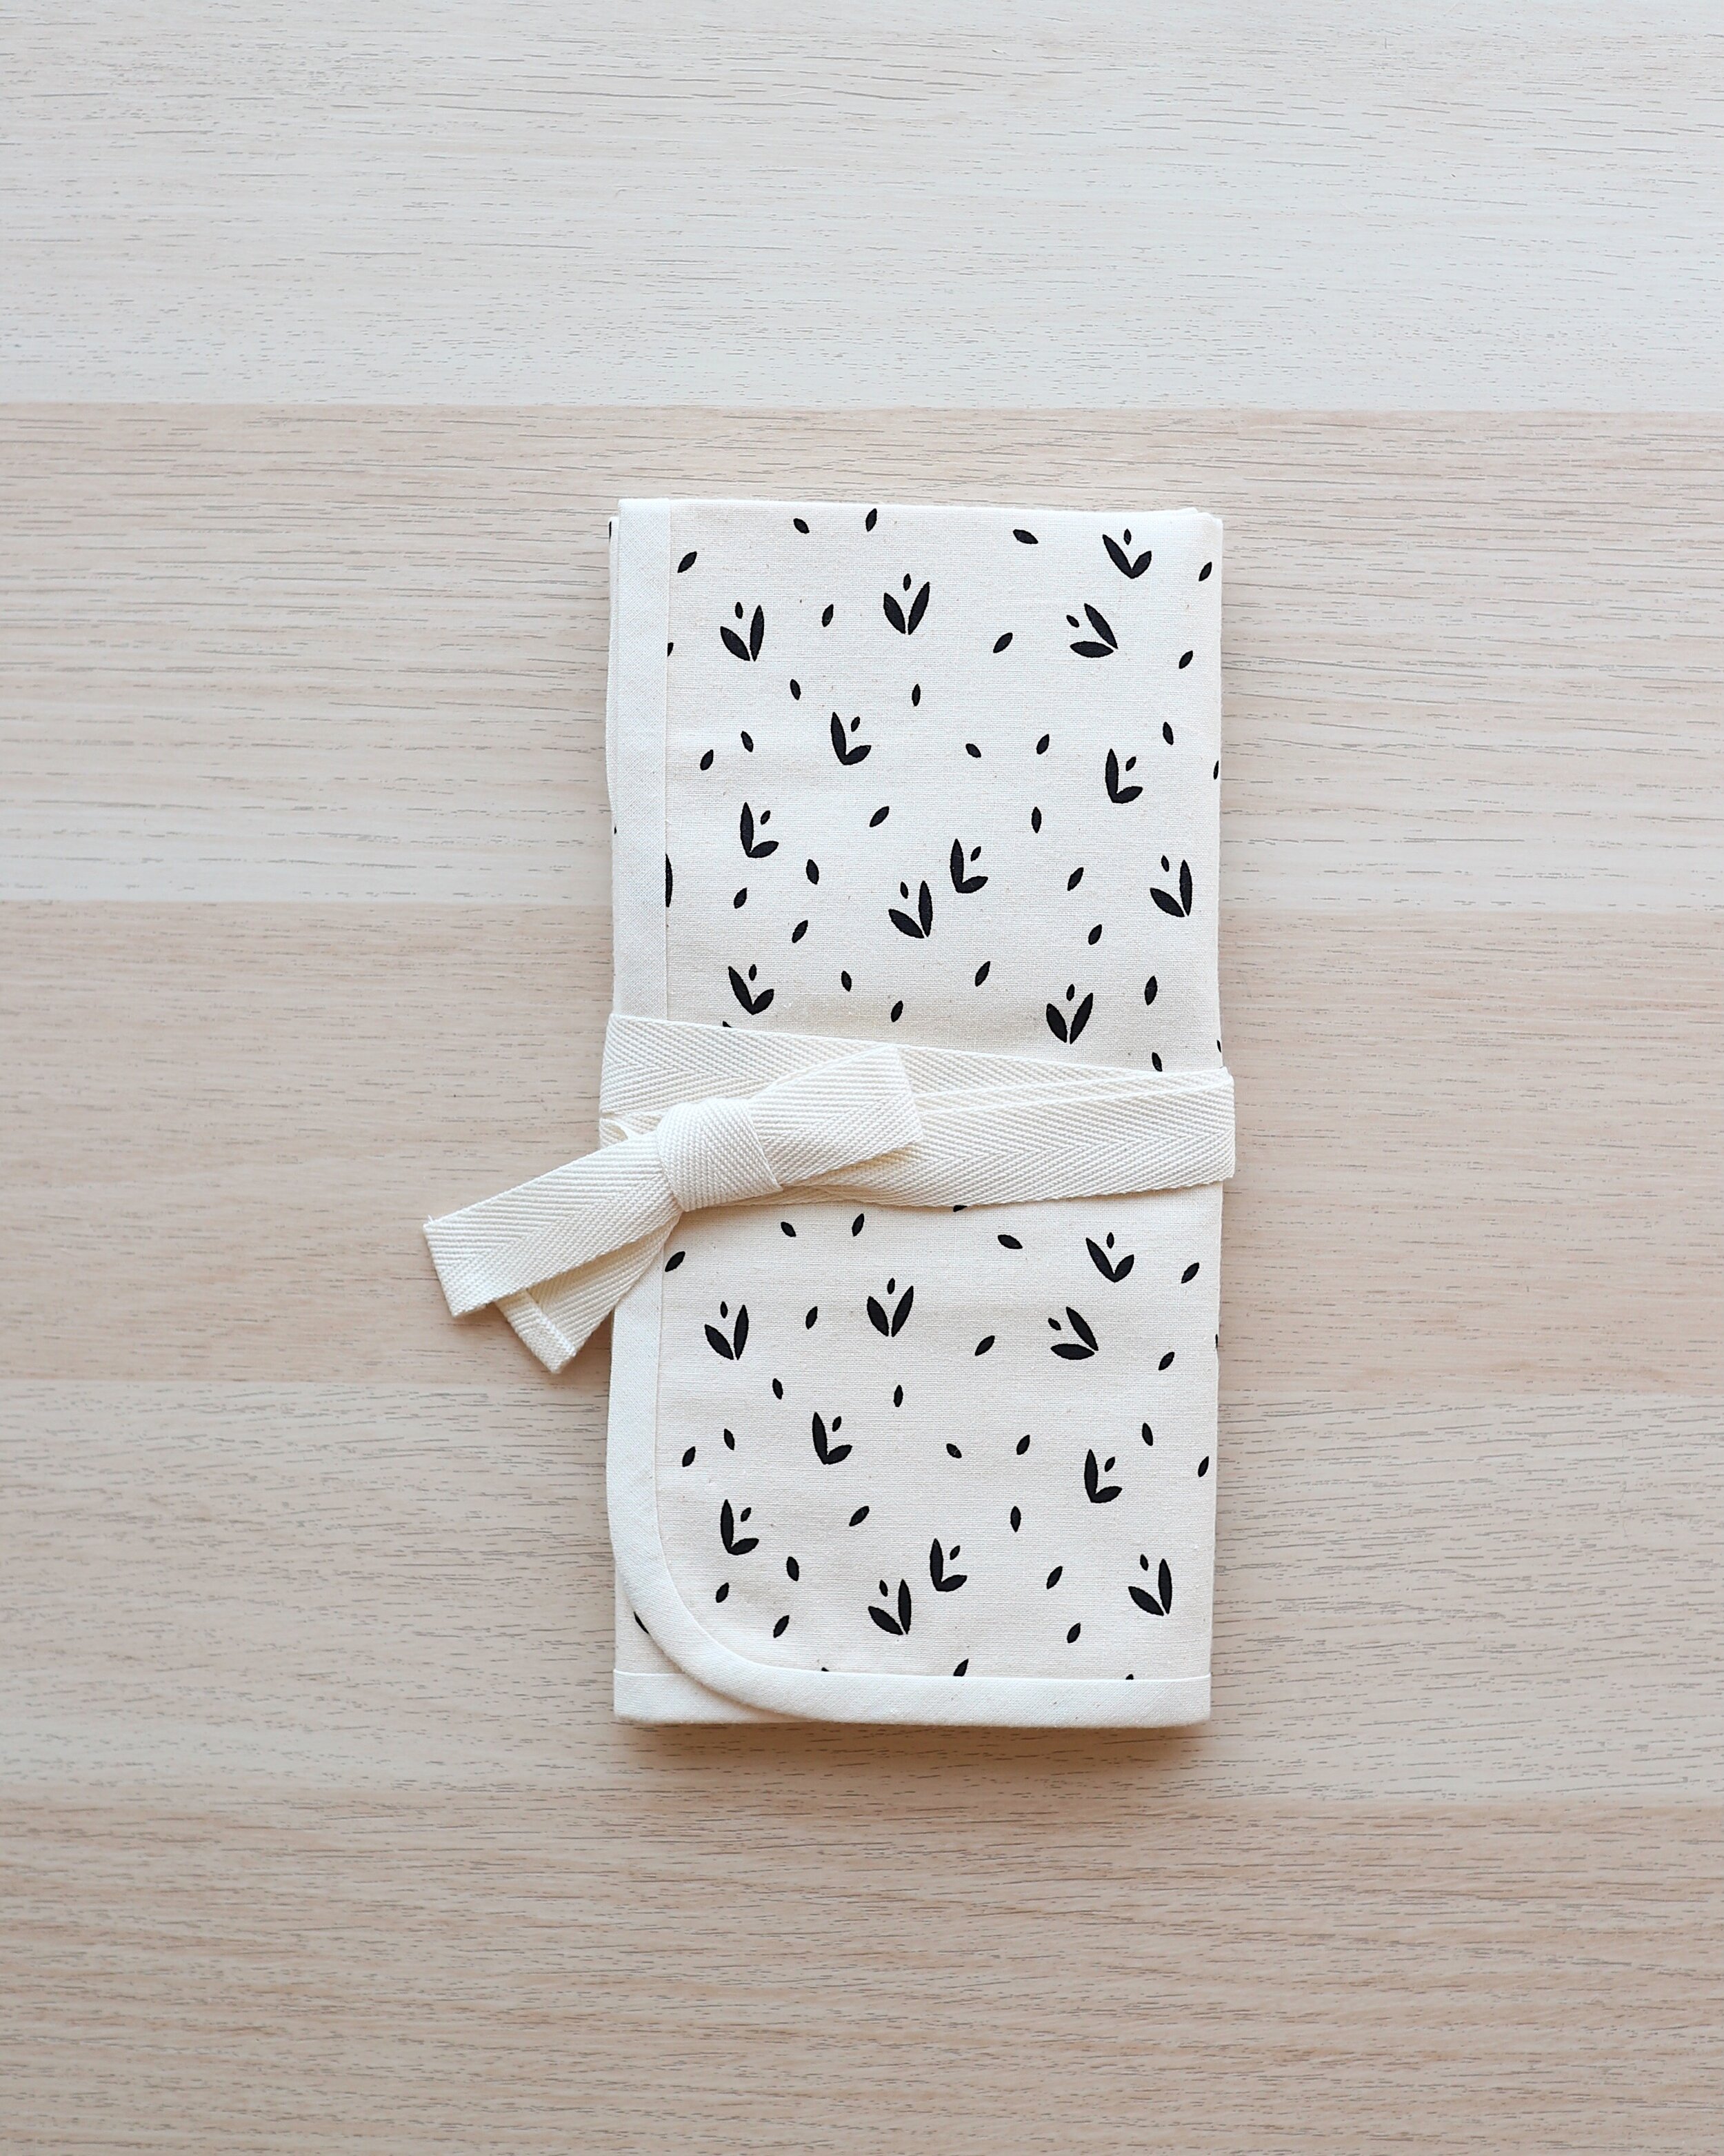
There are three prints available, each screen printed from one of my original drawings.


Where would you like to go next?


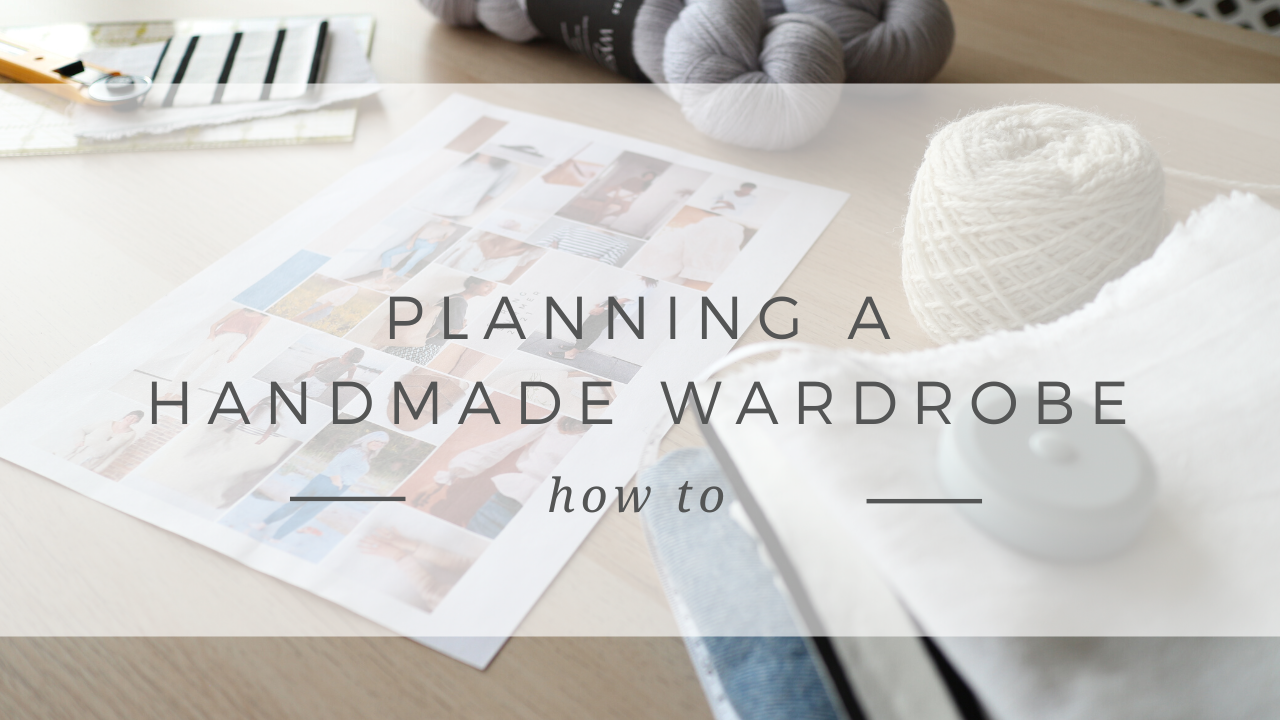
Planning a Handmade Wardrobe
a mood board for planning spring and summer outfits. The colour palette is denim blue, terracotta and white.

I’ve had so many fails since I started making my own clothes, but each one has helped me better understand how to create a handmade wardrobe of garments I actually wear and love. It’s all in the planning! 

I’m going to share how I decide what to make each season and I’ll summarise at the end with 5 steps you can follow, to build and curate your own handmade wardrobe each season.

For me, a successful handmade wardrobe is made up of pieces that can be worn together to create outfits that work for my lifestyle. When I started looking at which shop bought pieces I wore most often, and began replacing those with handmade alternatives, my handmade wardrobe really grew and started to work for me. I embraced sewing with stretch fabrics and knitted sweaters in colours that were really wearable. 

Current Wardrobe

I try everything in my wardrobe on to see what fits, what needs mending and if there’s anything that should be retired. I take note of the things I’m excited to wear and the things that don’t make me feel good anymore. I analyse the fit, fabric, colour and style to see why something does or doesn’t work. Then I can take what I’ve learnt into the planning stage. 

3.jpg
IMG_4467.JPG

Planning for the season ahead

Every season I look for holes in my wardrobe that could be filled, what’s new in the shops that I could recreate and if there are any new trends that would fit my style. 

I start a new Pinterest board and Pin anything I like without giving too much thought at this stage. It just has to fit the season and be a look I love. Then I see if there are any common themes. Usually I’ll start to see a particular colour palette I’ve been drawn to and garments of a similar style.

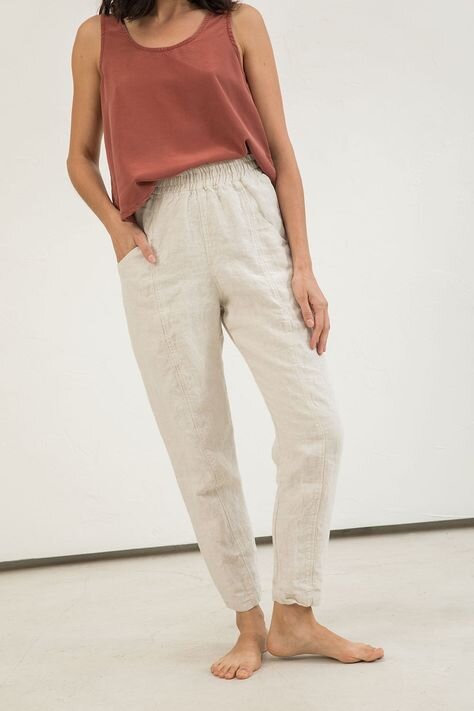
For example, I pinned several linen trousers, all with an elasticated waist, pockets and a tapered leg that was more fitted at the ankle

Mood board

I start editing my Pins down until I’m left with a selection of outfits that include garments similar to those I own, that fill a hole in my wardrobe or add something fresh

I like to save all my favourite Pins and create a mood board in Canva that I can print. I find it really inspiring and motivating to have a physical copy somewhere I can look at often, and if I was going to a yarn or fabric store I’d take it with me. 

IMG_4322.jpg

In this mood board I already have the white shorts and striped long sleeve tees. The linen trousers fill a hole in my wardrobe for a trouser that’s not a jean or a sweat pant, and the light spring appropriate sweaters are something I’m missing too. The white blouses are something new that will update my wardrobe for the season and I can mix with the basics I already have. 

Now here’s the important bit! If a garment in my closet doesn’t fit with this plan but I still love it, I’m going to wear it. This isn’t about scraping what you’ve got and starting from scratch each season. Having a plan is about making smart choices going forward so you’re always building a wardrobe of considered, wearable pieces.

When I feel myself getting swept up in the excitement around a new pattern launch or yarn update I can see if it fits with my mood board and check it really is in keeping with my style.

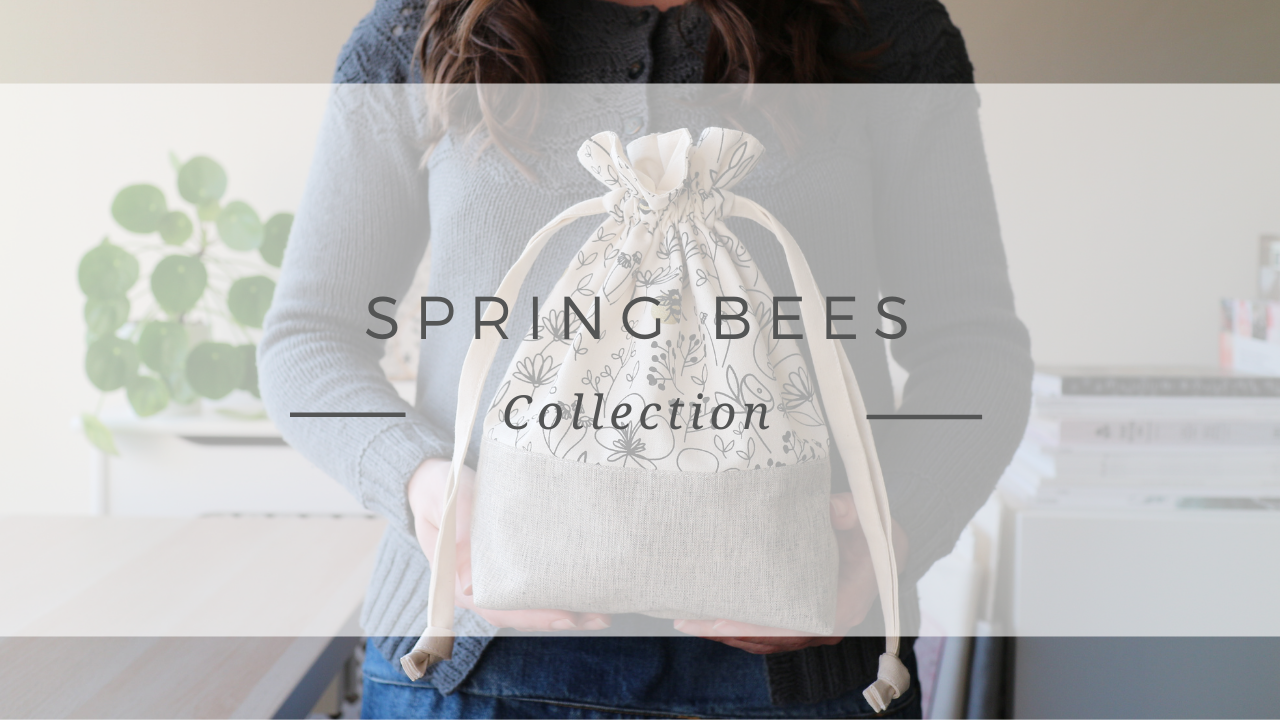
Knitting project bags featuring a floral design with bees by Alex Collins - A drawstring bag is held in two hands as Alex looks down smiling.

Make a list

Next I trawl the internet for patterns, yarn and fabrics that I can use to recreate the looks on my mood board. Having a plan means I can budget for projects and set aside time to work on them. Knitting is more easy to work on at odd intervals, but sewing takes space and time. I don’t rush to make a whole new wardrobe, I break projects down into small steps. If I’m sewing, one day I’ll print and tape the pattern together, another I’ll cut the fabric and so on. I want to enjoy the process. 


Try not to cut corners

I know it’s tempting to skip this but an important step to creating a wardrobe full of wearable garments is to swatch and make a toile or muslin to make sure the finished pieces fit properly. I spend quite a bit of time choosing my size and selecting the right yarn or fabric so I have a better chance of success and a well fitting garment.


So, how can you apply this to creating your own spring wardrobe?

  1. Try on everything you own that’s seasonally appropriate and see where the holes are in your wardrobe. Note which are your most worn and loved items. What makes these pieces work so well compared to other less worn garments? Is it the fabric, fit, colour or style?

  2. Create a mood board of outfits you love that include favourite pieces you already own, garments your wardrobe is missing and a couple of new styles you think will update your wardrobe this season.

  3. Choose one outfit from your mood board to recreate. Find a pattern and gather your materials.

  4. Before you cast-on or start cutting into your new fabric make a swatch or toile so you can be sure of the fit before you start.

  5. And finally, you’re ready to start your first make of the season! Take your time and enjoy the process.

I aim for quality over quantity when it comes to building my handmade wardrobe so I work on pieces slowly and purchase fabrics and yarn thoughtfully. The goal isn’t to make everything on my mood board this year it’s just a guide and a source of inspiration when I feel like starting a new project.

Subscribe to my YouTube channel now, and you can follow along each month to see the projects I’m working on to build my handmade wardrobe.


A Guide to Project Bag Sizes

Have you been wondering which size project bag is best for your knitting or crochet projects?

I’ve recorded a quick 5-minute video comparing four different project bag sizes to help you decide which will be the perfect choice for the projects you’d like to store.

I show you how many skeins of yarn fit inside each bag and which projects they are ideal for.

If you've been feeling unsure about which bag to start with or what would be the most useful size, I hope this video helps.


Size Guide

Sock Sack

1-2 yarn cakes

Suitable for socks and mittens.

Classic Drawstring Project Bag

3 x 100g skeins of fingering weight yarn.

Suitable for socks, accessories, toys and children’s wear.

Small Project Sack

3 x 100g skeins of fingering weight yarn.

Suitable for socks, accessories, toys and children’s wear.

Medium Project Sack

9 x 100g skeins of fingering weight yarn.

Suitable for tops, tees, and small adult sweaters and cardigans.

Large Project Sack

13 x 100g skeins of fingering weight yarn.

Suitable for adult sweaters, cardigans and blankets.


Where would you like to go next?


Handmade Wardrobe | Deep Moss Pot Sweater
Alex is wearing an oatmeal coloured wool sweater with a textured yoke pattern. She is standing next to her desk holding a cup of tea.

When it comes to shape, style and fit, Deep Moss Pot by Kari-Helene Rane ticks all the boxes for me when knitted in The Fibre Co. Lore.

The fit is loose without being shapeless or baggy and the yarn creates a wonderfully warm and durable fabric that’s comfortable for me to wear. Lore has great stitch definition so the twisted rib of the cuffs gives a beautiful finish and the textured yoke pops, adding something special to an otherwise every day sweater I’ll reach for over and over again.

Deep Moss Pot Sweater Knitting Pattern

The pattern is easy to follow and the beautiful texture is simple to achieve and requires no cabling. 

This would be a great project for an adventurous beginner who is confident knitting, purling, slipping stitches and doing simple increases and decreases. 

It will stretch your skills just a little and you’ll soon have techniques such as knitting through the back loop and knitting into the stitch below under your belt.

As someone who has been knitting sweaters for several years, I appreciated the simple yet still interesting to knit yoke. It kept my brain engaged without being challenging to knit or hard to follow the pattern. As this is a top down sweater, I happily knit round and round after finishing the yoke section and the body grew quickly in the airy, springy DK weight yarn.

The Fibre Co. Lore Yarn

I’ve previously used The Fibre Co. Lore to knit the Dove Cottage sweater, which I finished in February 2019. Having worn that sweater often, I know the yarn will hold up with lots of wear. I’ve found this bouncy, woolly yarn keeps it’s shape well and does not pill too easily or noticeably for quite some time.  

Everyones tolerance to the feel of yarn against their skin is different, but as a yarn that could be described as rustic, I find it very comfortable and will happily wear Lore next to my skin.

Lore is a woollen-spun 100% lambswool from the Romney sheep breed that is lovely and woolly. To me, I find Lore to be on the softer end of the spectrum when it comes to rustic, crunchy yarns and it’s very warm and light weight.  If you’re interested in trying British, breed specific yarns, I highly recommend adding a skein to your stash to try. 

With 4mm needles I got a gauge of 18 stitches per 4 inches which created a really nice fabric that I knew would be perfect for my sweater. 

Fit and Modifications

To account for me having a a few less stitches per 4 inches than the pattern calls for, I decided to knit the smallest size but would block the finished piece to have 4-6 inches of ease. Looking at the number of stitches in the pattern when knitting the body I could see this was possible with my gauge.

I made no modification to the pattern and knit both the sleeves and body to the length specified. The sweater changed very little with blocking in terms of size. The stitches bloomed, the yoke stitches popped and the fabric became a little more drapey.

Looking at the schematic and the sweater laid out on the blocking boards, I decided to follow the measurements given for the size 34-36, and block my sweater to those measurements. 

With a 39.5” finished chest circumference I knew I would have 4.5” of positive ease which is close to the 4” of ease written in the pattern. 

Having soaked my sweater in wool wash for 30mins, I squeezed out as much excess water using a towel as I could, and laid my sweater to dry on a set of blocking matts. It required very little pinning or manipulating to block my sweater to all the measurements on the schematic and the wool was dry within 24hours. 

604ABA69-81B5-4FA9-81FB-C4B2363CAABB.jpg

Project Notes

Pattern: Deep Moss Pot by Kari-Helene Rane for The Fibre Co.

Yarn: 3 Skeins of The Fibre Co. Lore in Stable (note: I managed not to break into my 4th skein of yarn but I used every last bit of yarn in the 3rd cake)

Size: 30-32” (knitted) 34-36” (finished size) 

Needles: 4.0 mm (US 6) Hiya Hiya Interchangeables

Started: 19th Sept 2020

Finished: 22nd April 2021


You Might Like…

Medium Project Bag

Knitting Bag | Limited Edition Alex Collins Project Bag Front Image Square.jpg

Each fully lined organic cotton project bag is screen printed by hand and sewn by Alex.

Surprisingly roomy, each bag can hold approximately 9 skeins (900g) of fingering weight yarn so it's a wonderful choice for large shawls, summer tops and tees, sweaters and cardigans.

  • 100% GOTs Certified Organic Cotton

  • Screen printed from my original drawing

  • Approx: 15"(38cm) x 15" (38cm)

They are lovingly made in the UK and shipped worldwide.


Where do you want to go next?


Using Lavender As A Moth Repellent - Protect Your Yarn Stash
Using lavender as a moth repellent. Does it work?

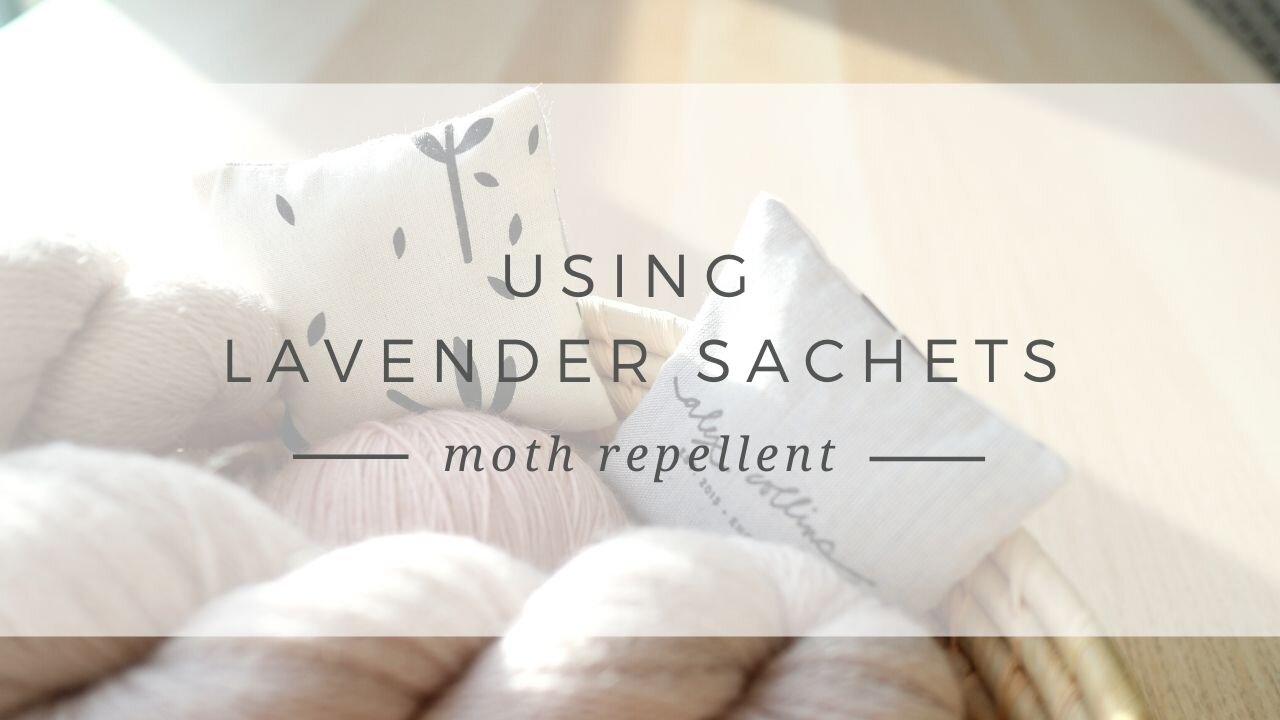
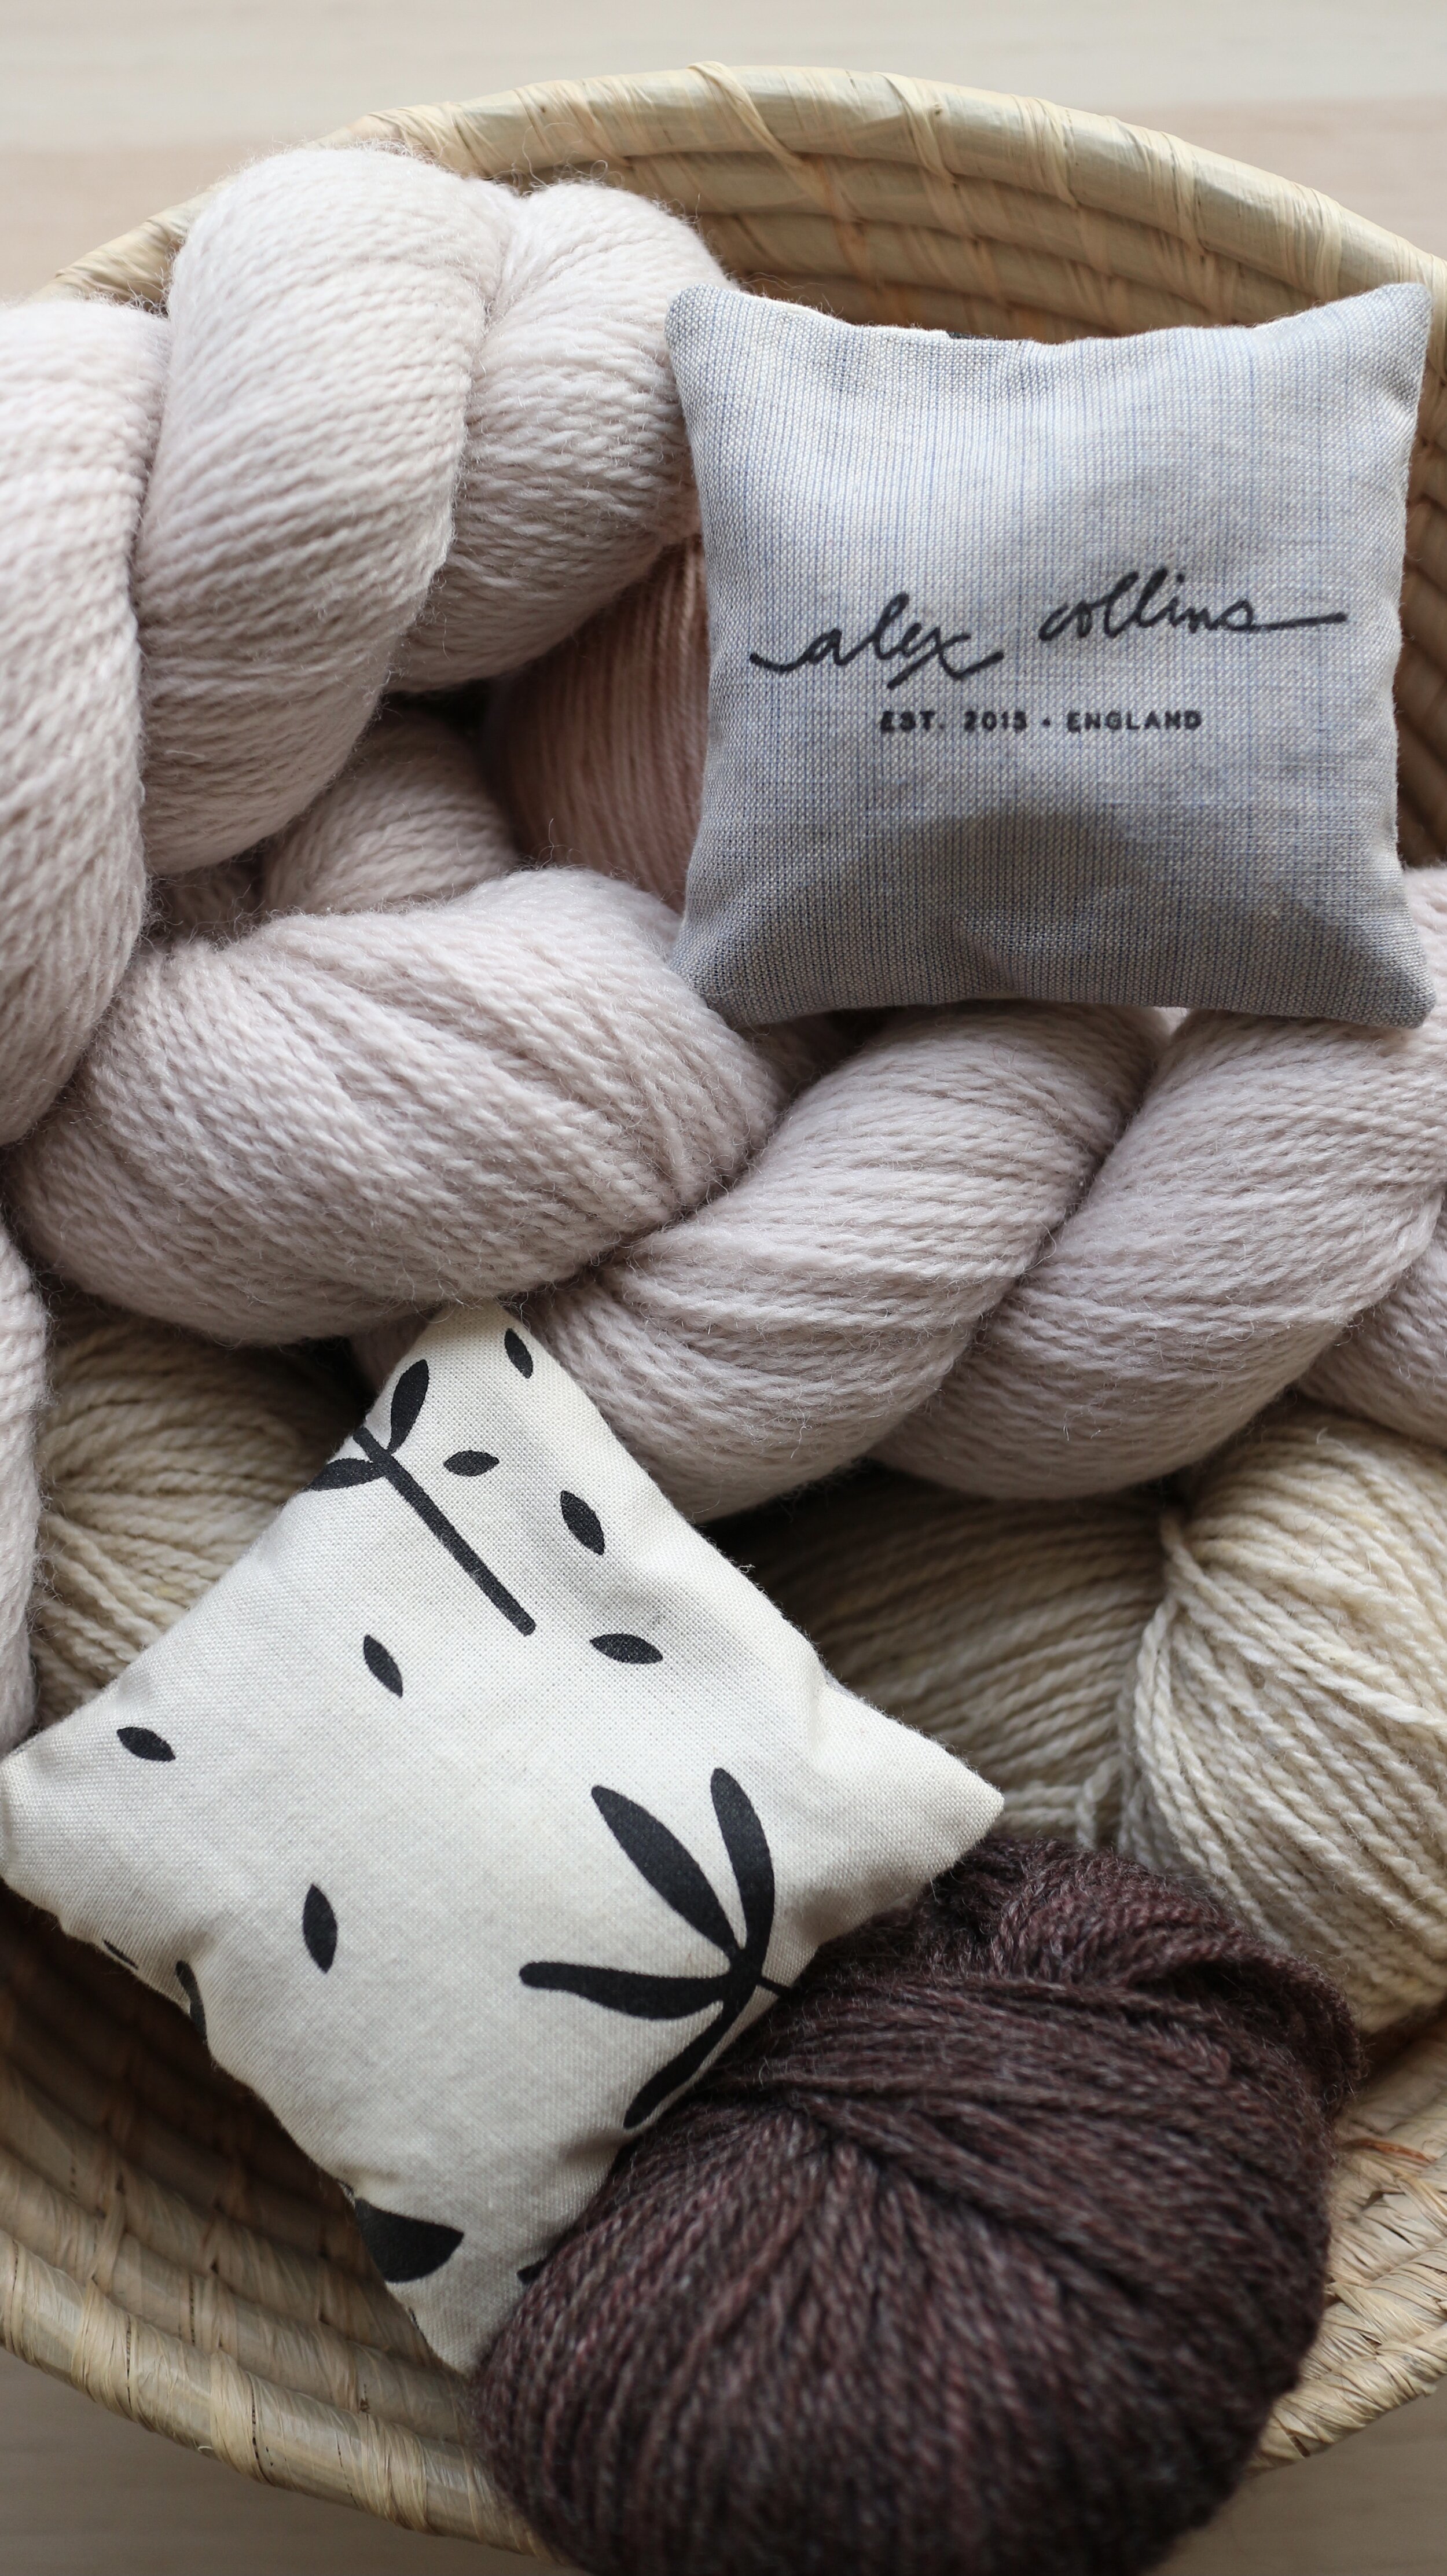
Lavender is well known for being a natural moth repellent which is why I started making and using these fragrant sachets to protect my yarn stash and hand knit sweaters.

Tuck these lavender sachets between precious pieces of knitwear and around your yarn, or carry them in your knitting bag to lightly scent your woolens.

Moths like dark cosy spaces so regularly playing with your yarn stash is actually a good idea if it’s not stored in sealed plastic containers or bags. Let the air circulate and get some light on your wool! 

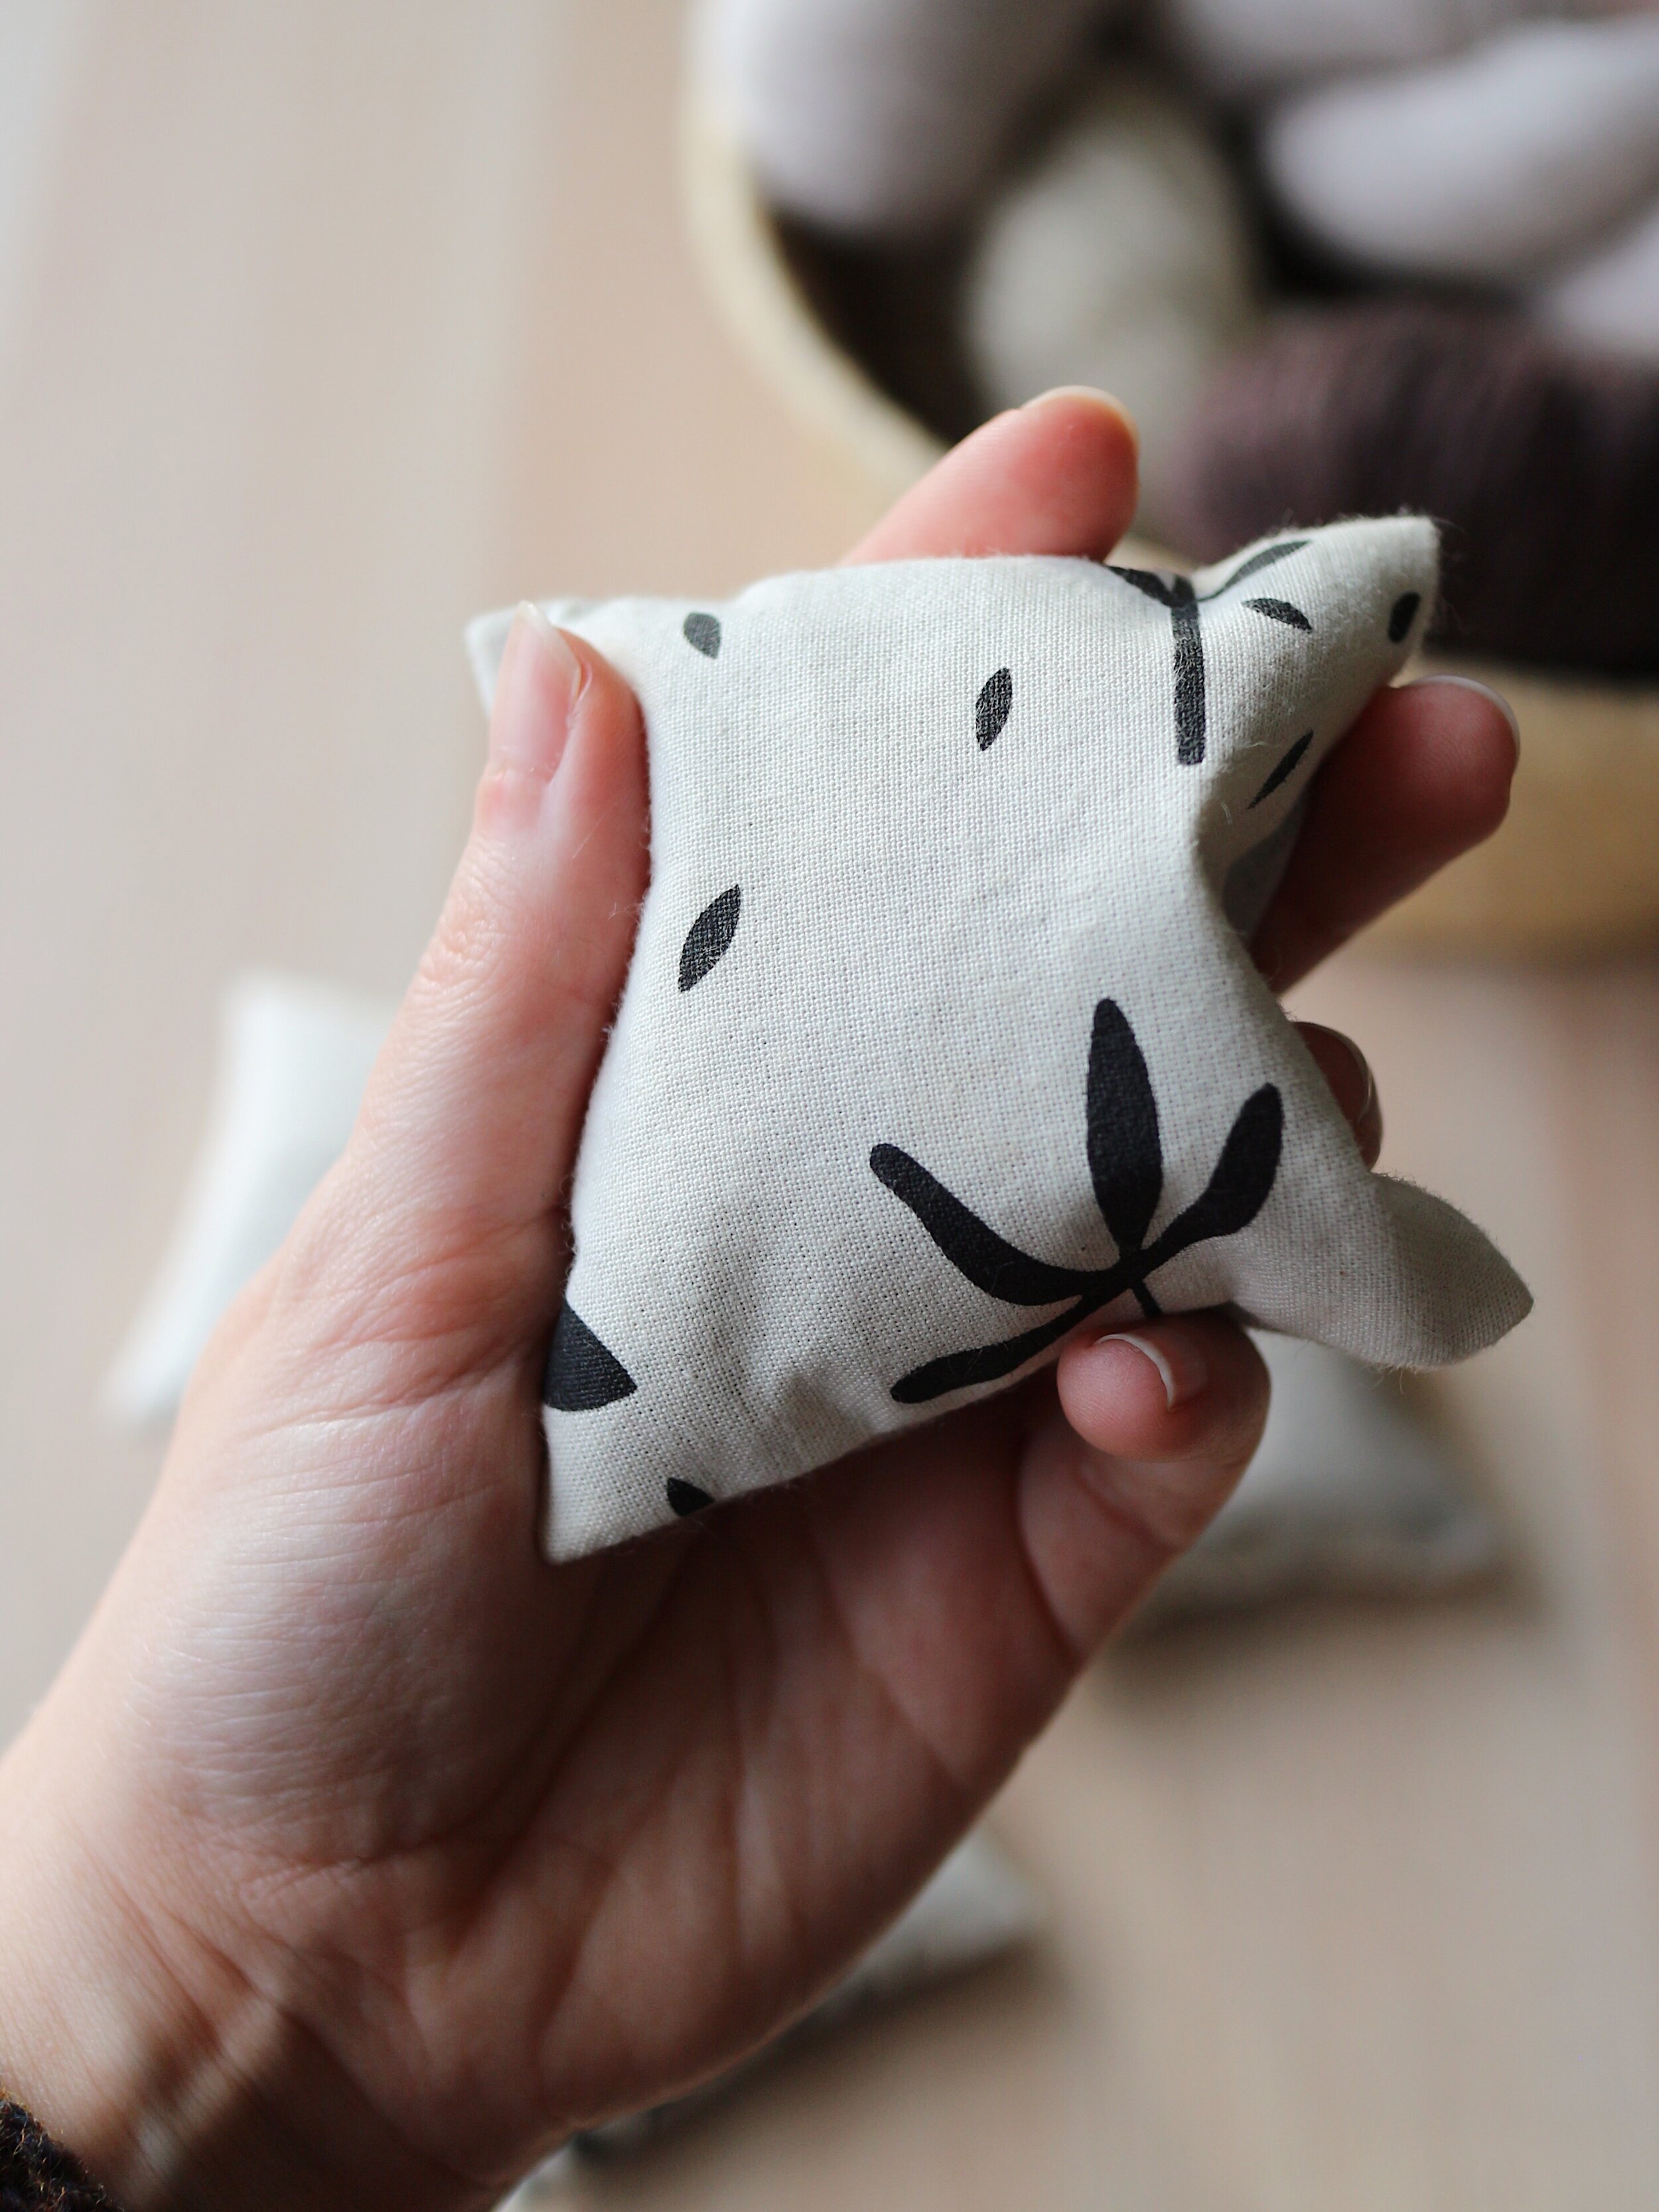
While you’re having a rummage in your yarn stash and finding long forgotten skeins, give your lavender sachets a squeeze. This will release the lavender scent which is what deters the moths. Doing this regularly will keep your lavender sachets smelling great. 

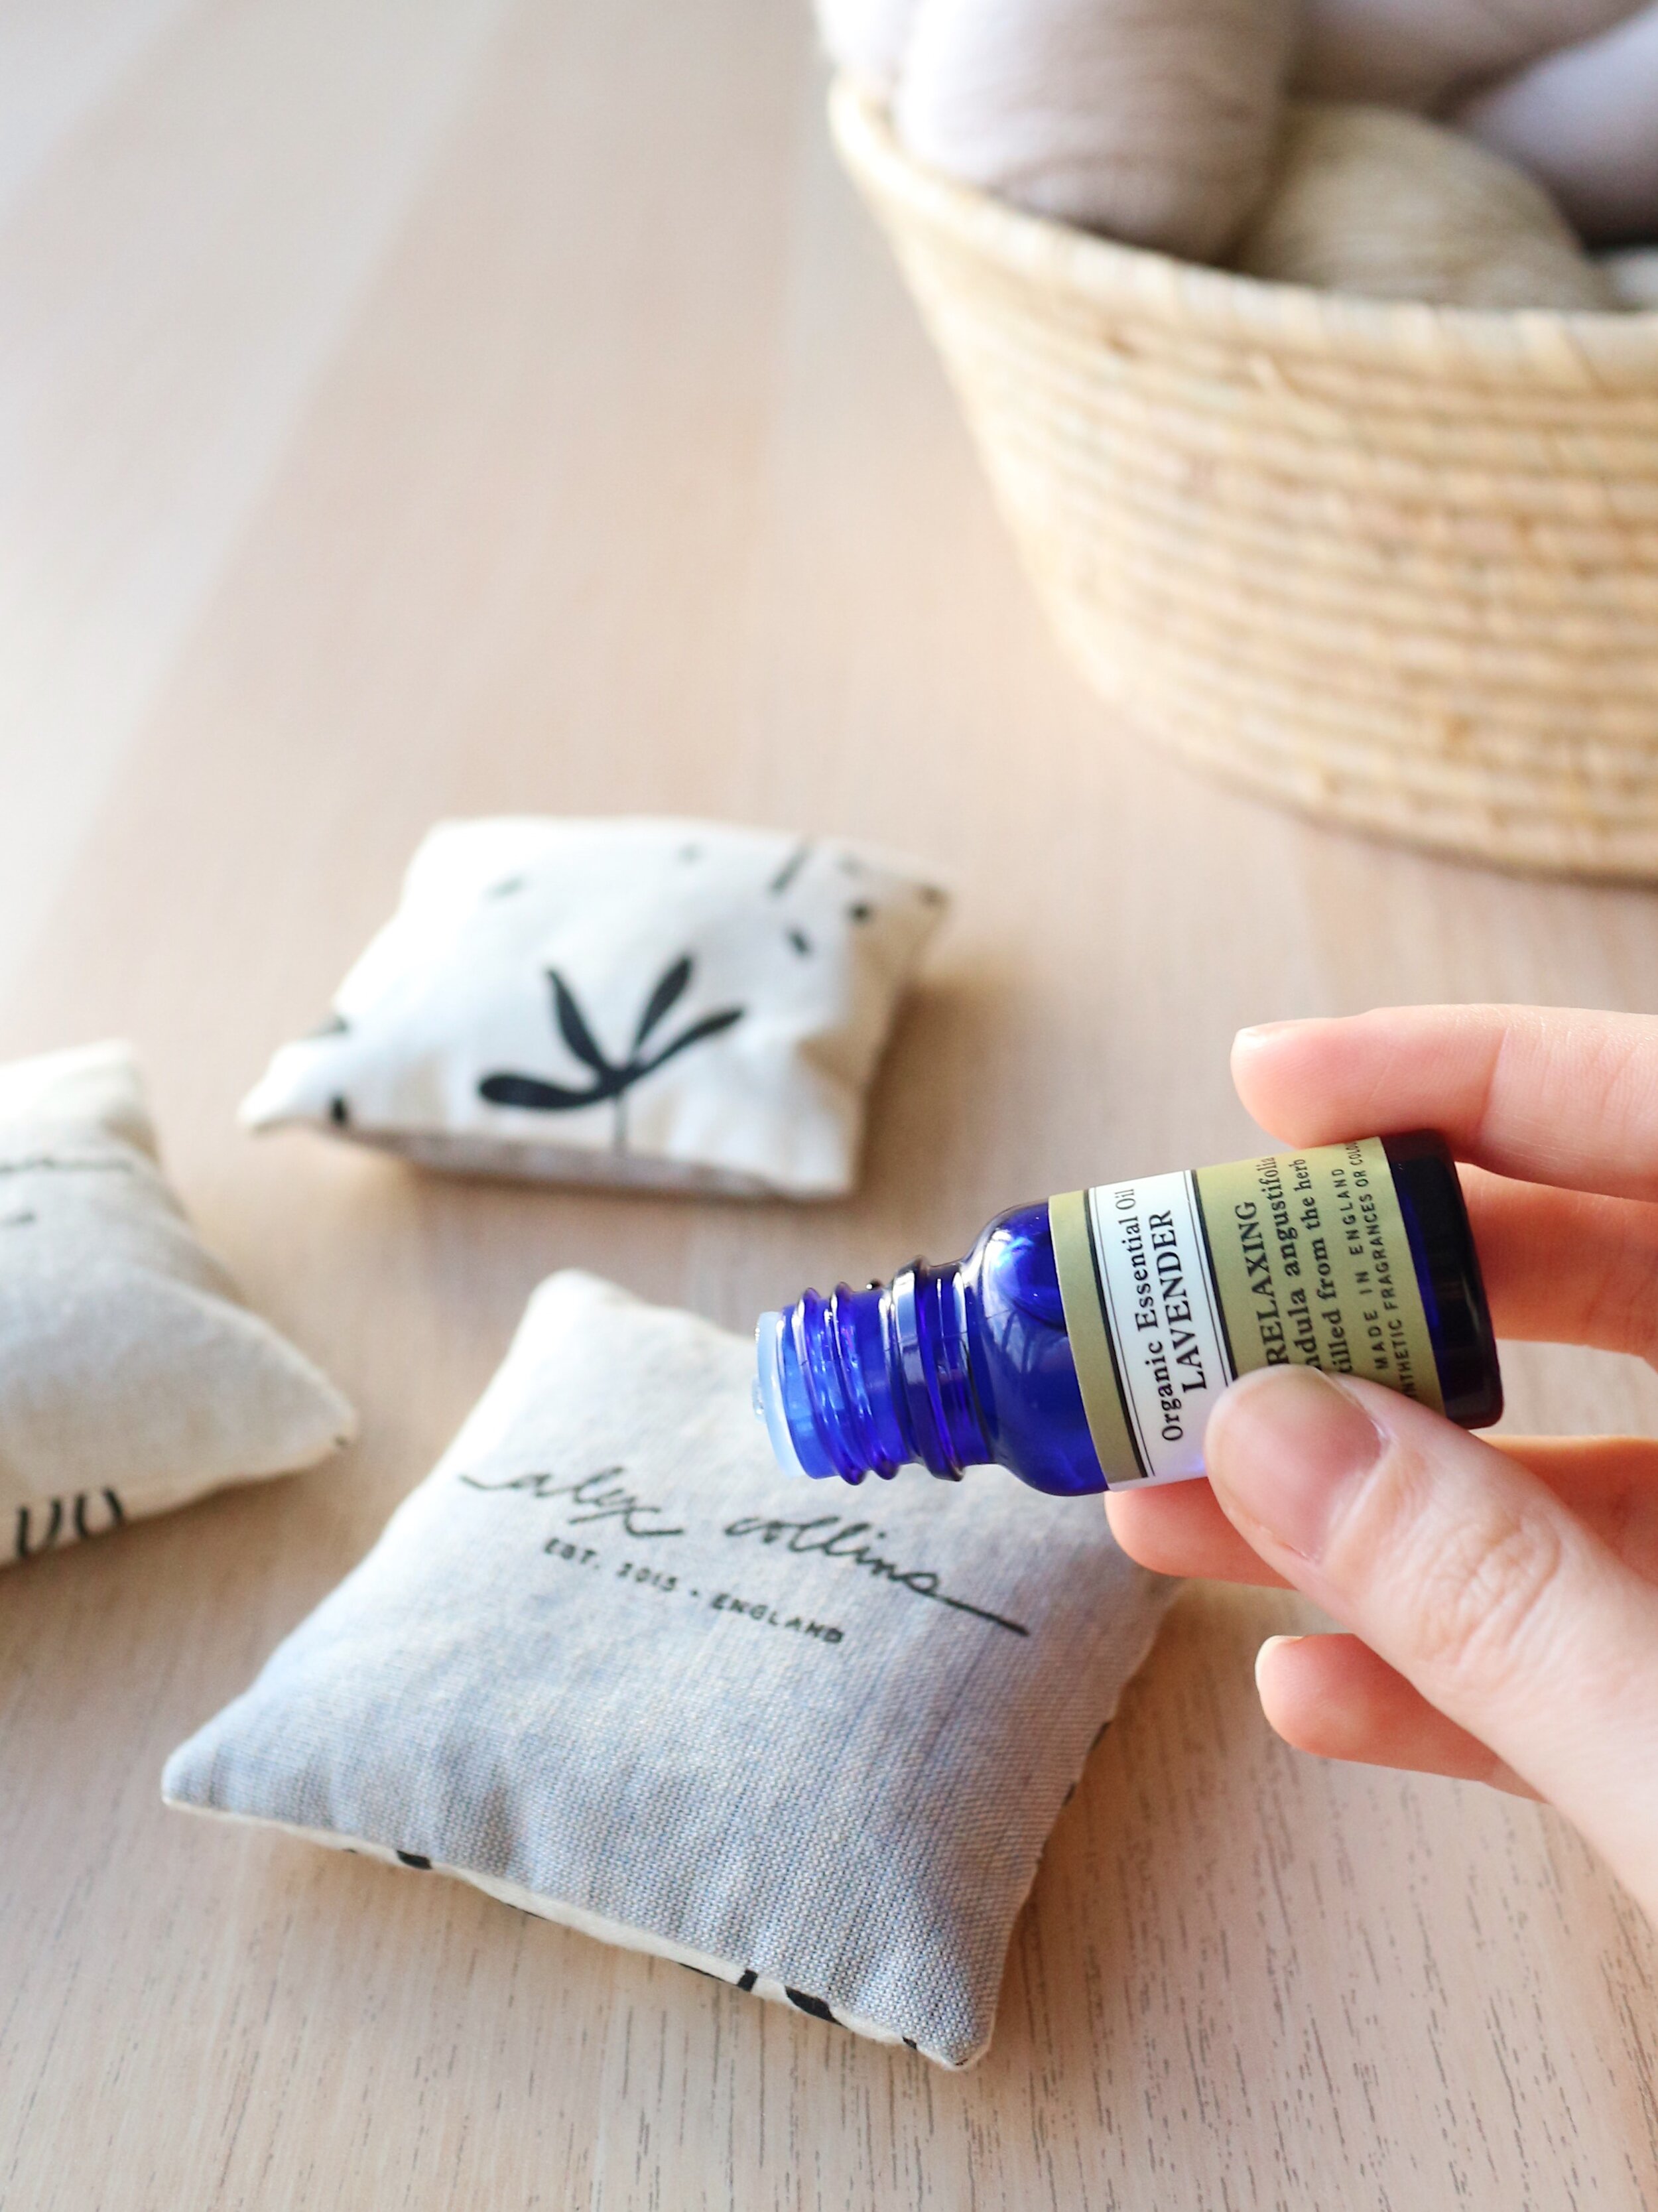
If the fragrance has faded considerably in old lavender sachets, you can refresh them by adding a few drops of lavender oil.

Be sure to test the lavender oil on a scrap piece of cotton fabric before sprinkling a few drops on your Alex Collins Lavender Sachet. You want to make sure the lavender oil doesn’t stain or mark the cotton when it dries.

I find a good quality pure organic lavender oil such as Neal’s Yard Remedies works well to refresh the lavender sachets in my own stash.

Whilst I wouldn’t rely solely on lavender to stop moths in their tracks, there is some scientific evidence that lavender really can work as a moth repellent. Quite honestly I’m willing to try anything to prevent moths from getting to my yarn. It’s a bonus that using lavender as a moth repellent adds such a wonderful scent to my stash.

In a future post, I’ll share how I organise and store my yarn which is another layer of defense I employ against the dreaded moth.


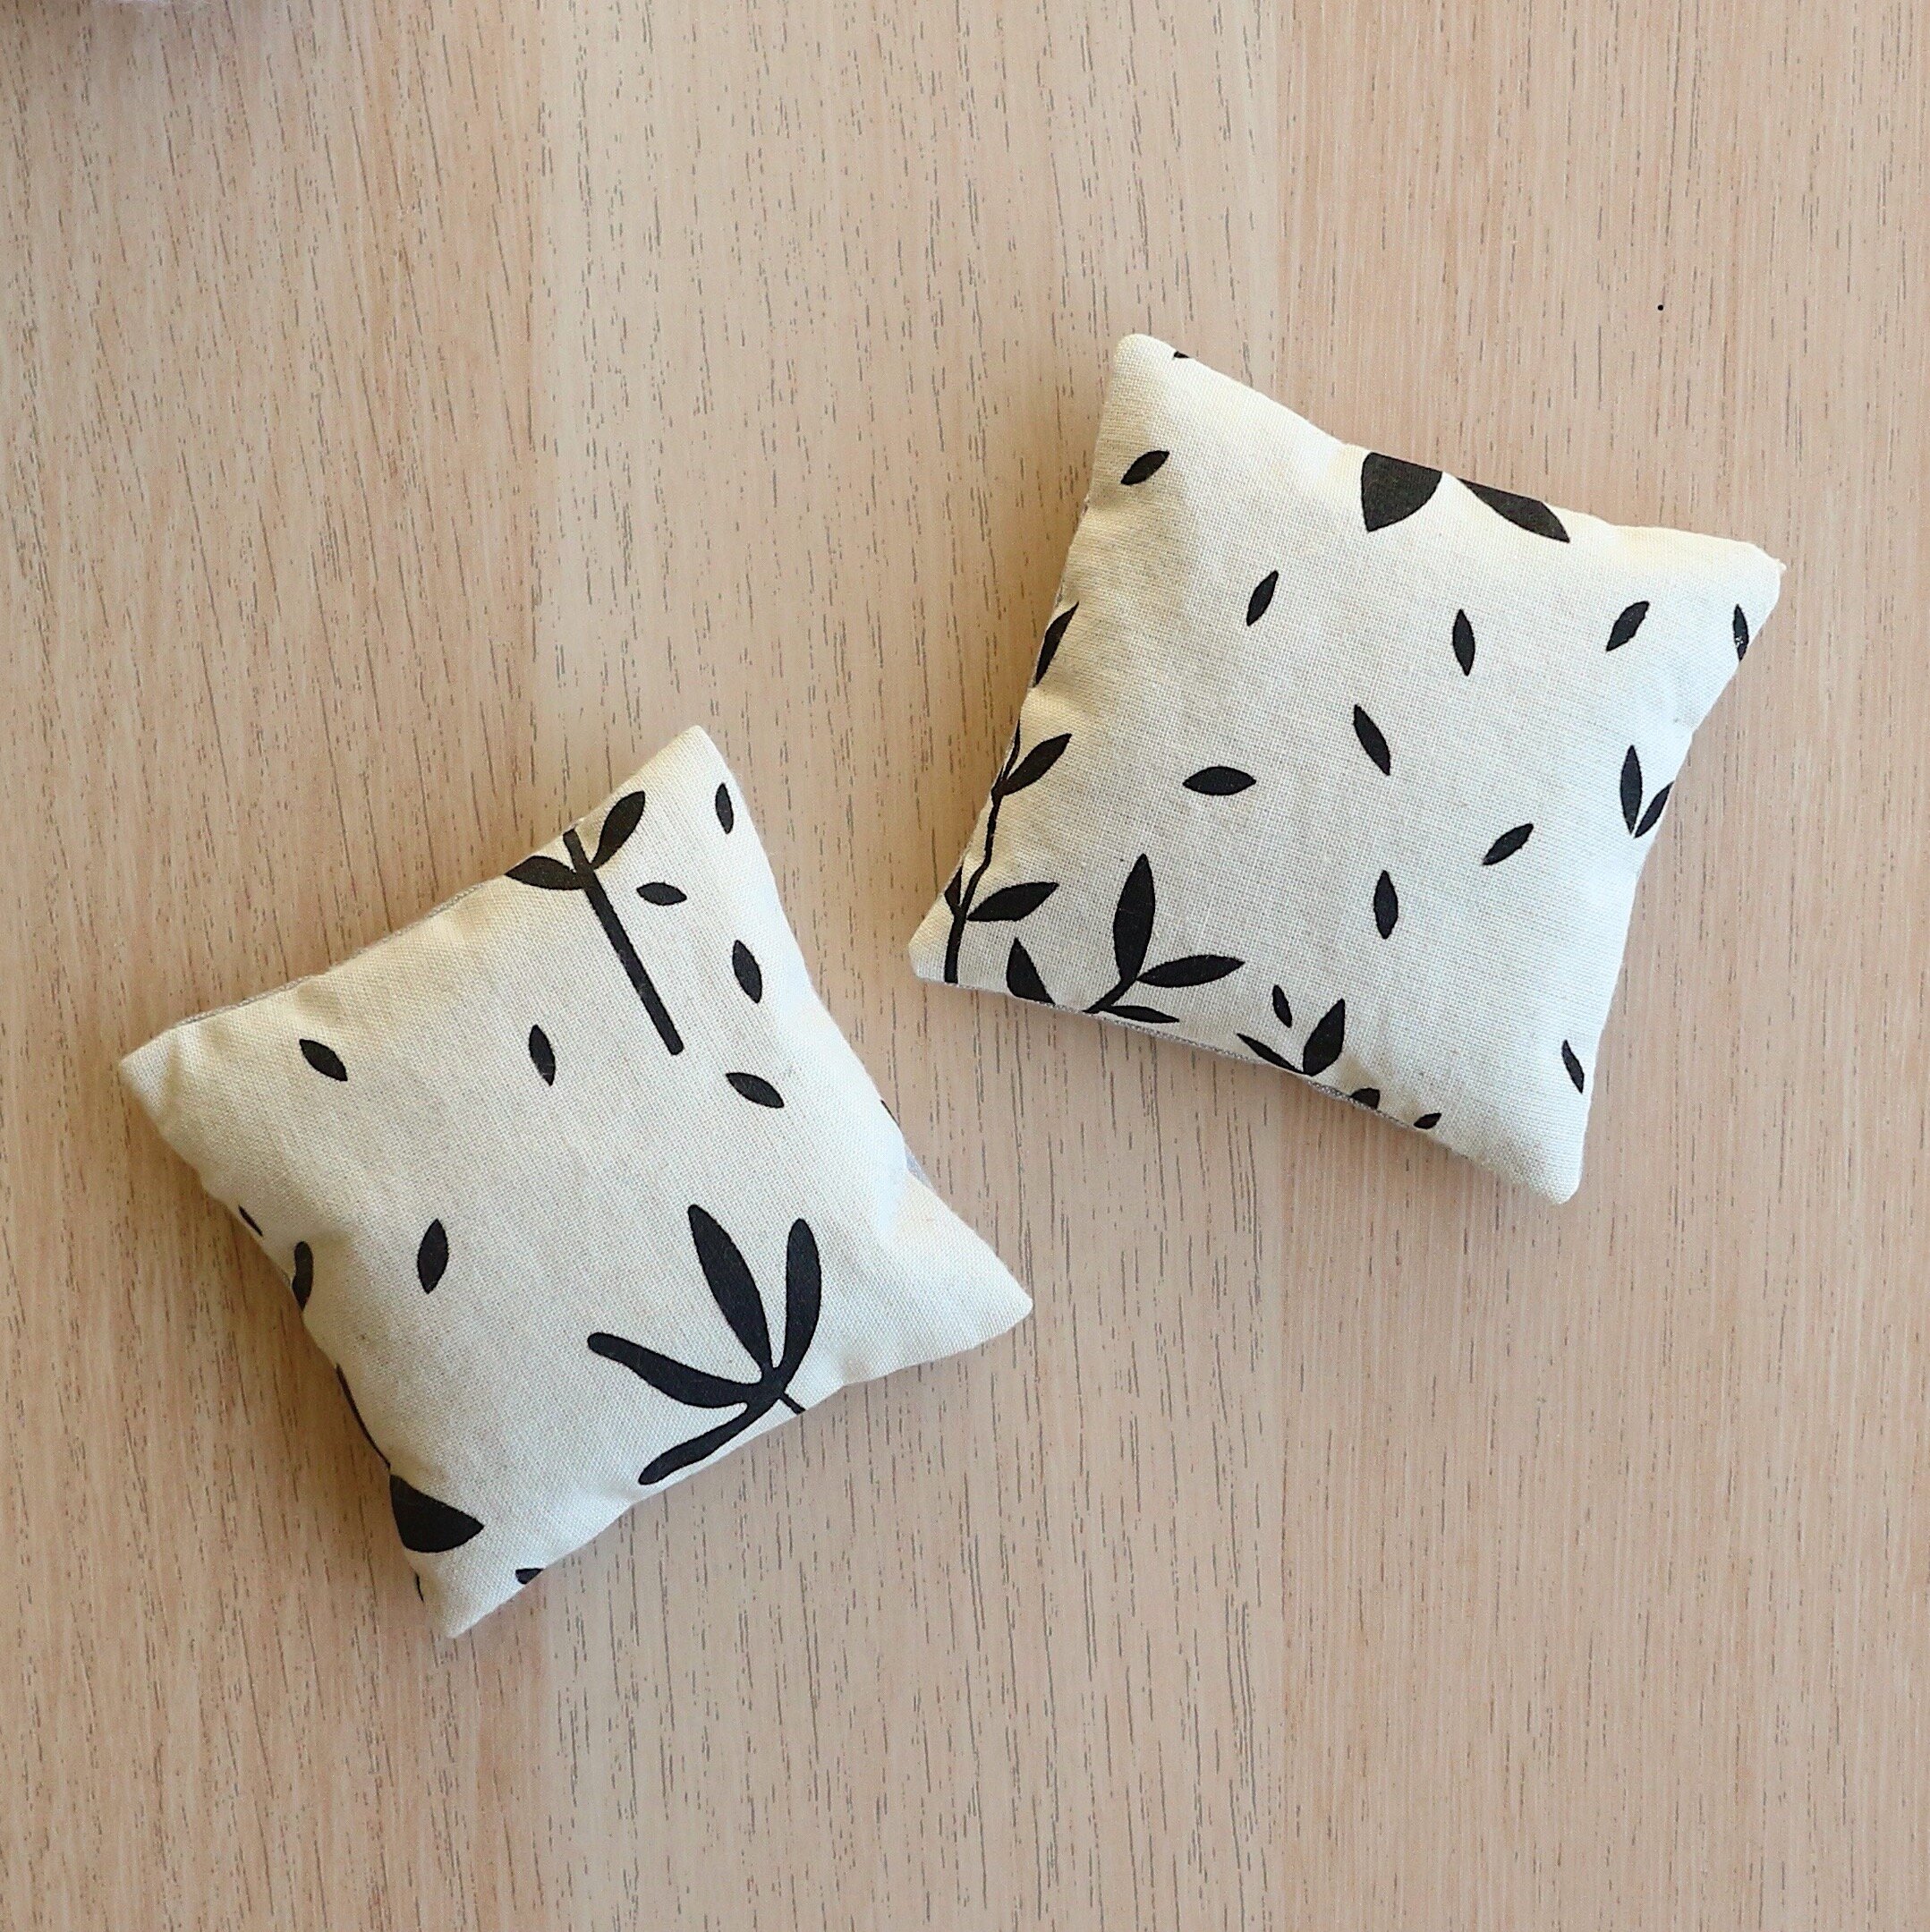
Set of Two Lavender Sachets

Two Lavender Sachets by Alex Collins

The lavender that fills these sachets is wonderfully fragrant and said to be a natural moth repellent. Tuck them between your precious knits or carry them in your knitting bag to lightly scent your woolens.

  • 100% GOTs Certified Organic Cotton

  • 100% Organic Lavender from Provence, France

  • Approx: 3 1/4" (8.25cm) x 3 1/4" (8.25cm) x 3/4" (2cm)

Every sachet has been screen printed with non-toxic solvent-free black ink, hand stamped with my logo, and filled with organic lavender from a small co-operative of growers in Provence France.

They are lovingly made in the UK and shipped worldwide.

£10.00
Quantity:
Add To Cart

Where do you want to go next?


What Are Knitting Notions? - The Tools Every Knitters Needs
What are knitting notions graphic.jpg

Have you been wondering what knitters are talking about when they mention their knitting notions? Perhaps you’ve seen notions mentioned in a knitting pattern or on a knitting podcast or YouTube channel.

Notions is a word many people in the knitting community use when talking about the tools and accessories they have in their knitting kit. 

Even as a new knitter there are a few essential knitting notions you'll need right from the start to complete a project. 

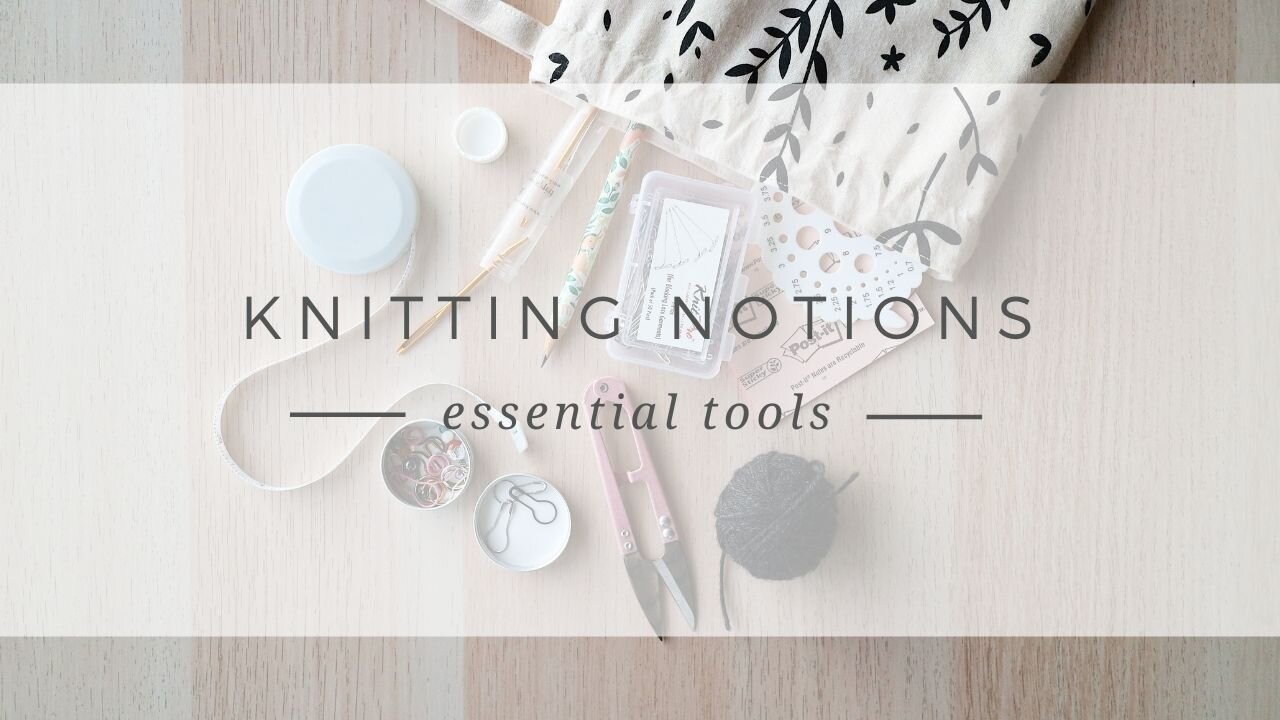
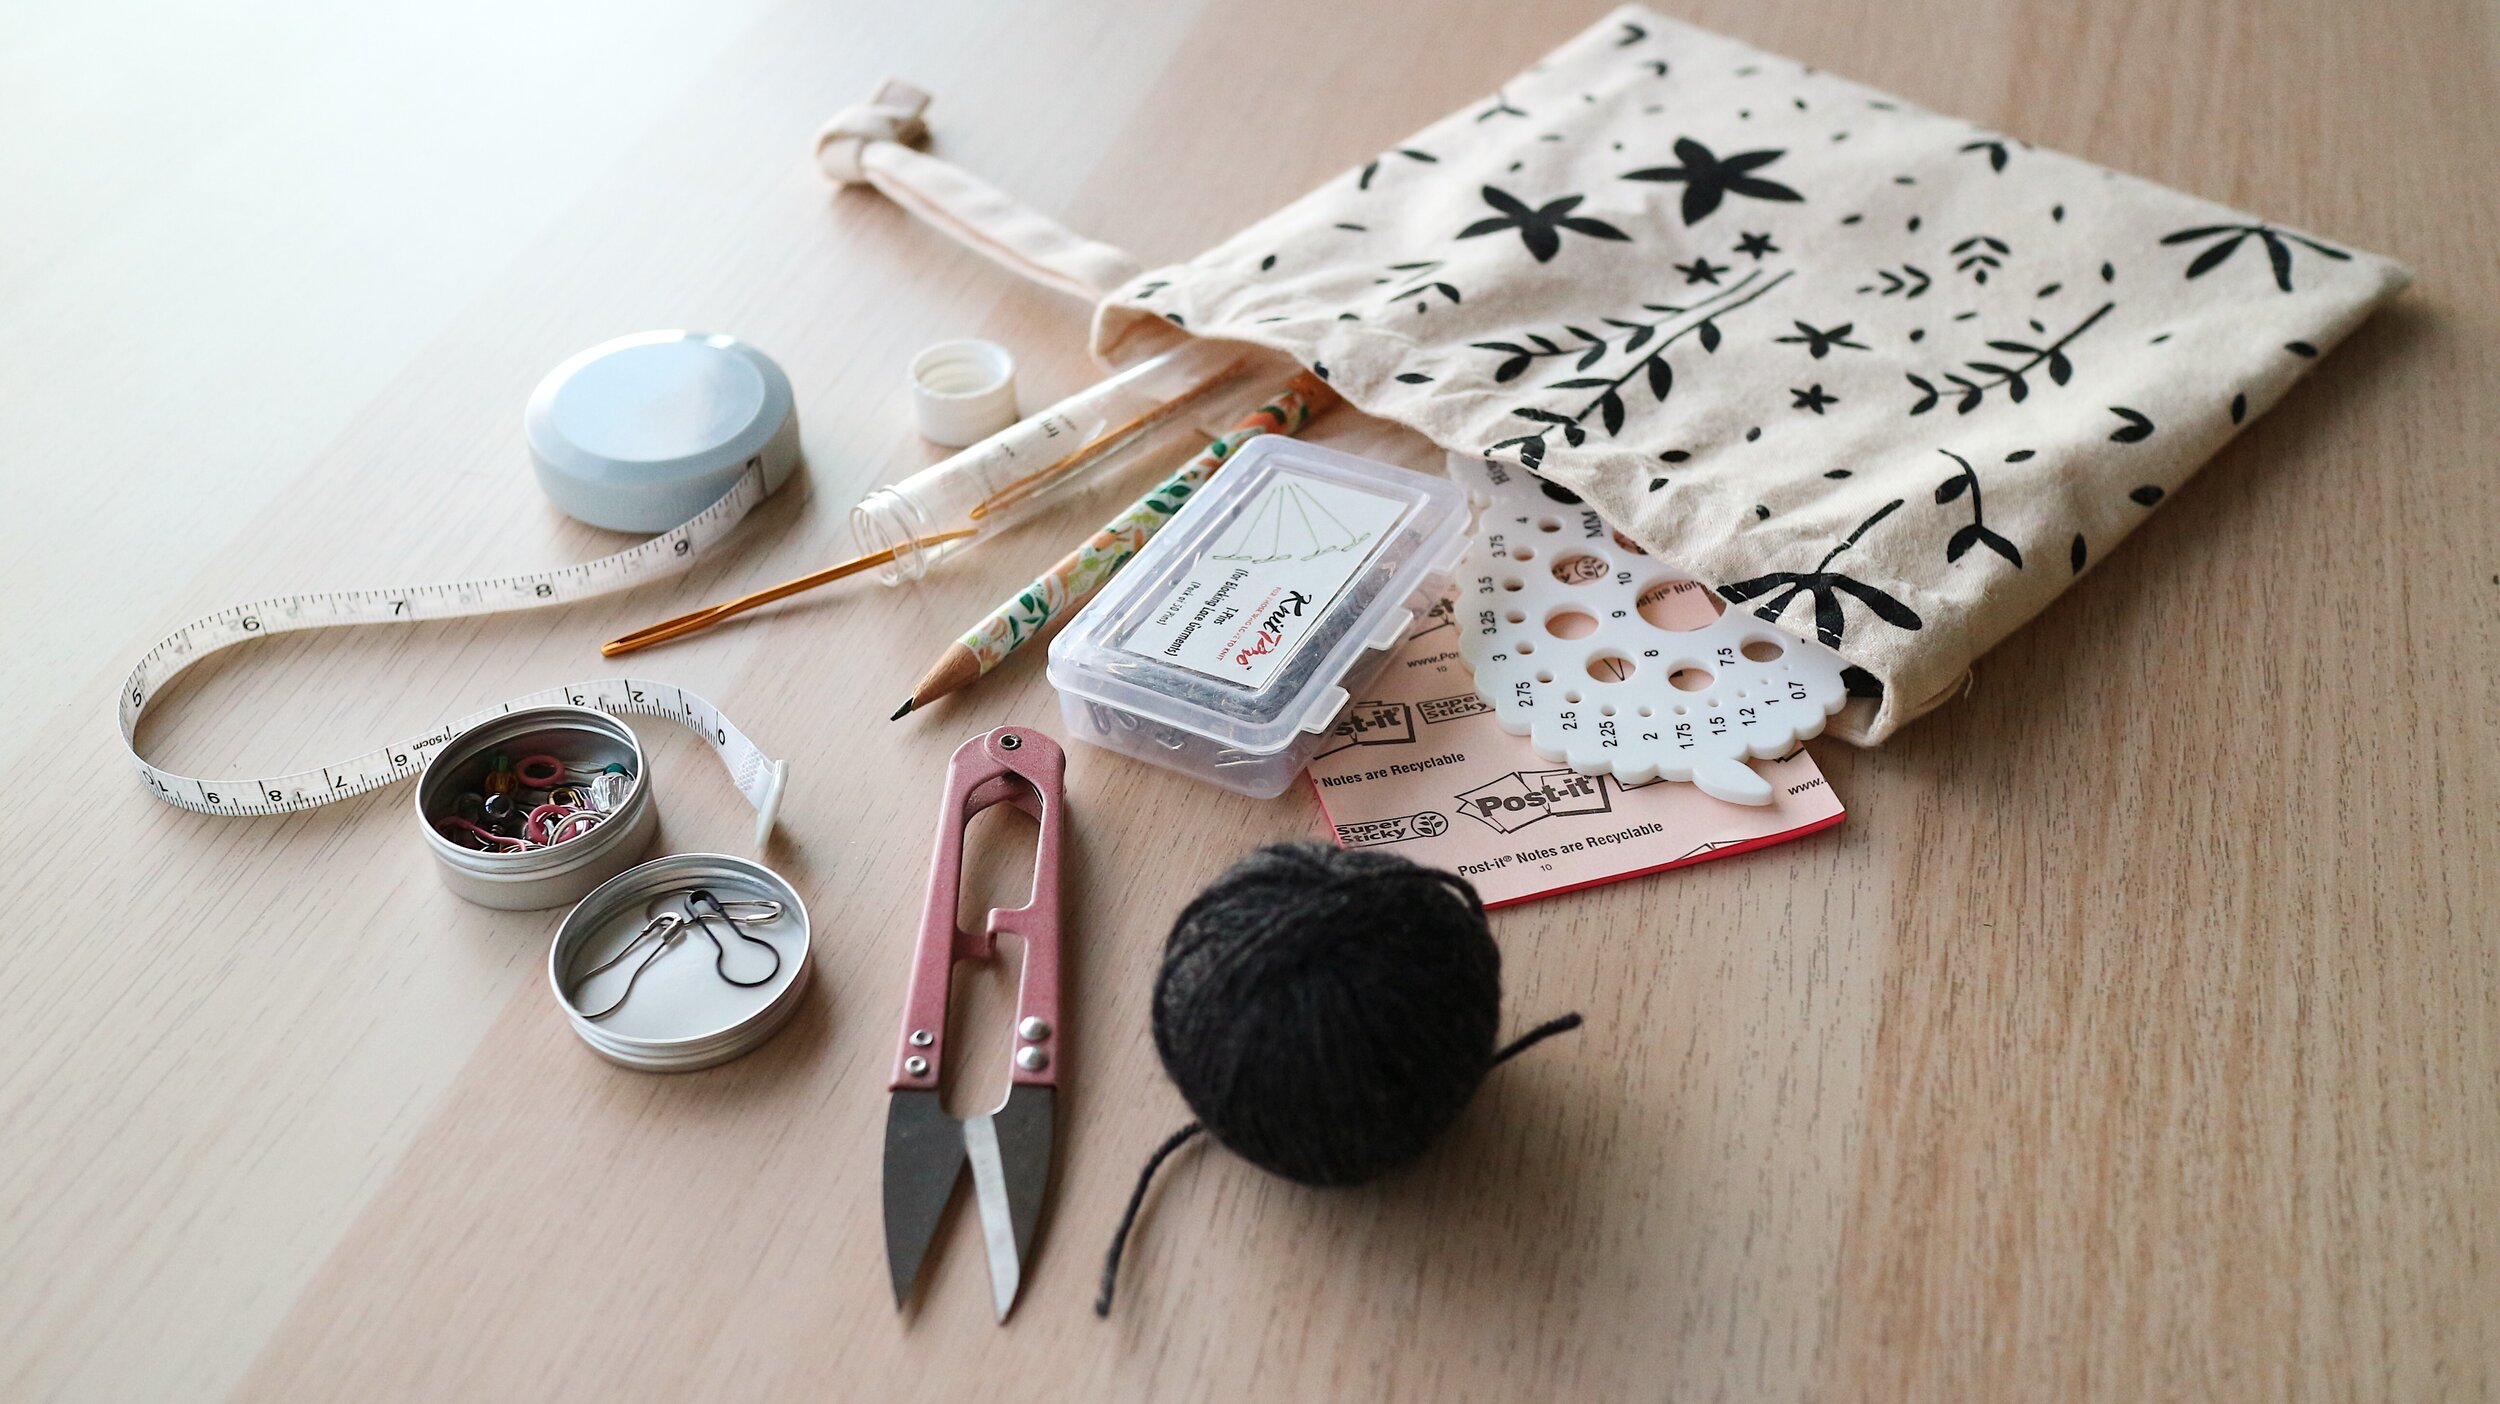
These are the essential knitting tools I have in my notions pouch.

Knitting Notions Kit.jpg

Essential knitting notions for your kit

  • Tape Measure - A tape measure is essential for measuring your body and picking out the right size when knitting a garment. Patterns often instruct you to knit so many inches/cm before moving onto the next instruction which is when a tape measure comes in handy too.

  • Darning Needles - When you finish a project you need to weave your ends in. Choose a needle with a large eye to make threading yarn easy. A bent tip is also helpful when working into small stitches.

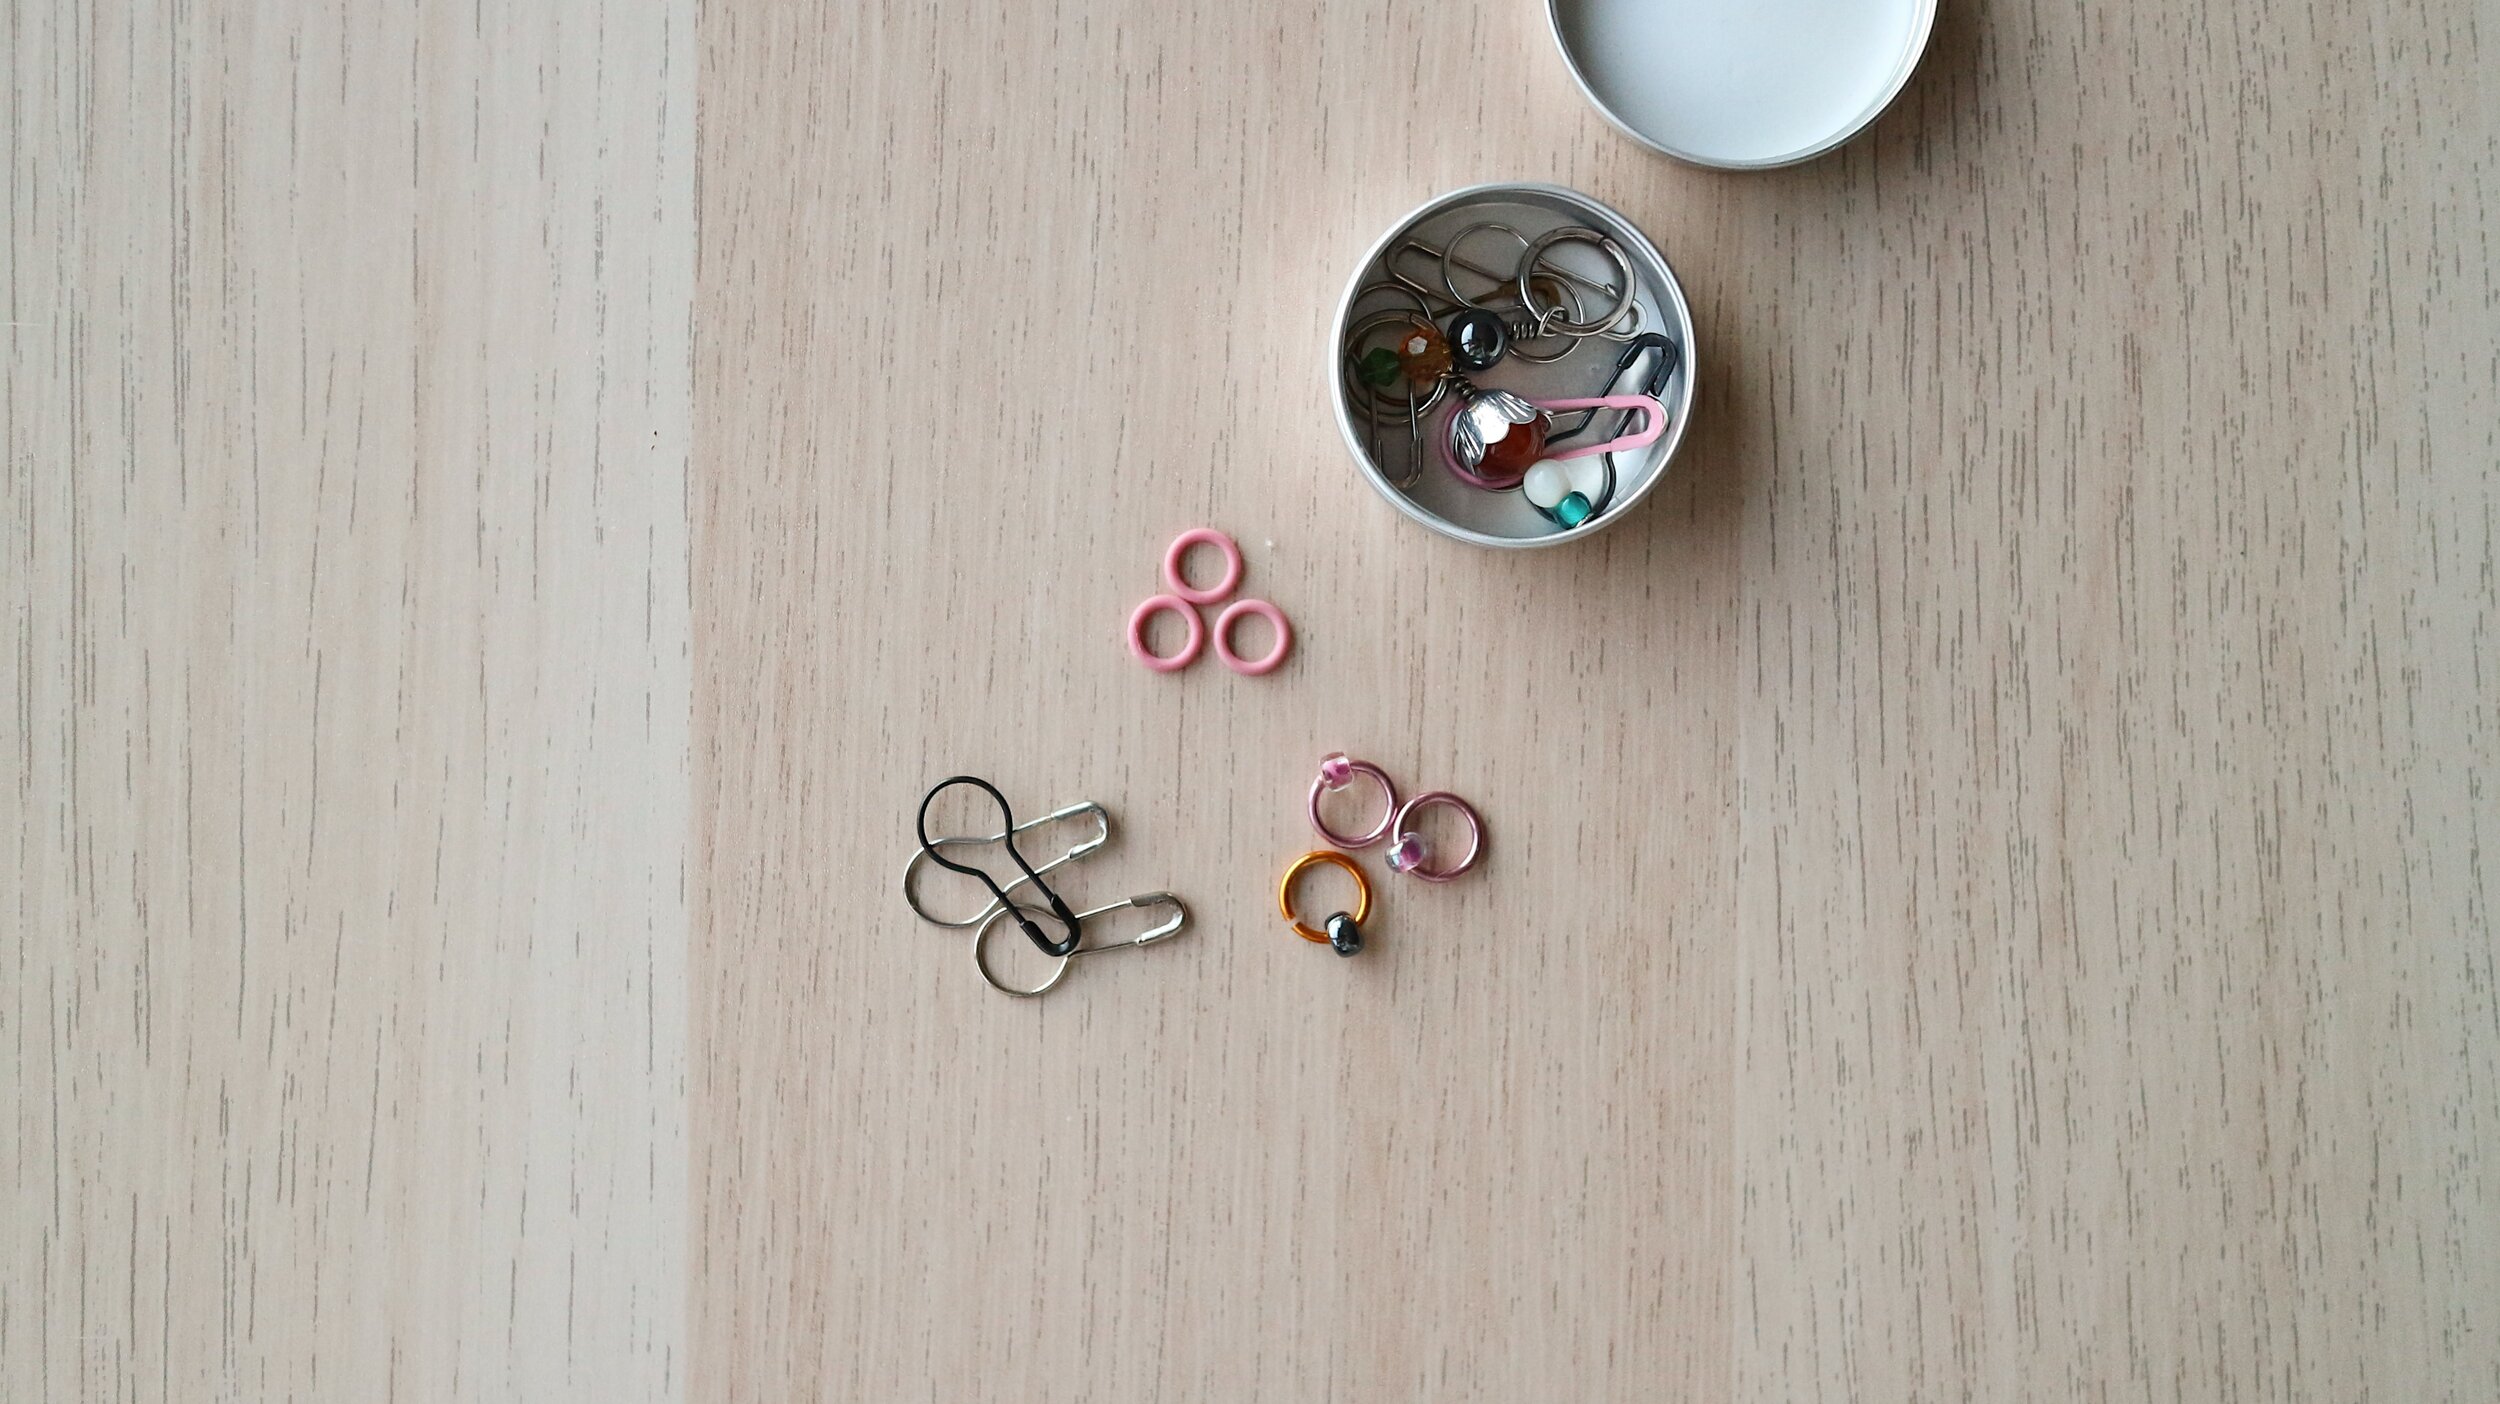
  • Stitch Markers - Removable and non-removable stitch markers are used to mark a point in your knitting such as the beginning of a round or where an increase or decrease is being worked.

Knitting Stitch Markers
  • Snips or Small Scissors - Have a small tool for cutting yarn to hand.

  • Needle Gauge - This is essential for checking the size of your needle tips if the size is not clearly marked on you knitting needles.

  • Ruler - Fabric tape measures can stretch over time so you also need a small ruler that can be used to accurately measure stitches and rows, particularly when working out your gauge.

  • Scrap Yarn - Fine yarns can be used to add a lifeline to your knitting or as a stitch holder.

Rifle Paper Co. Pencil
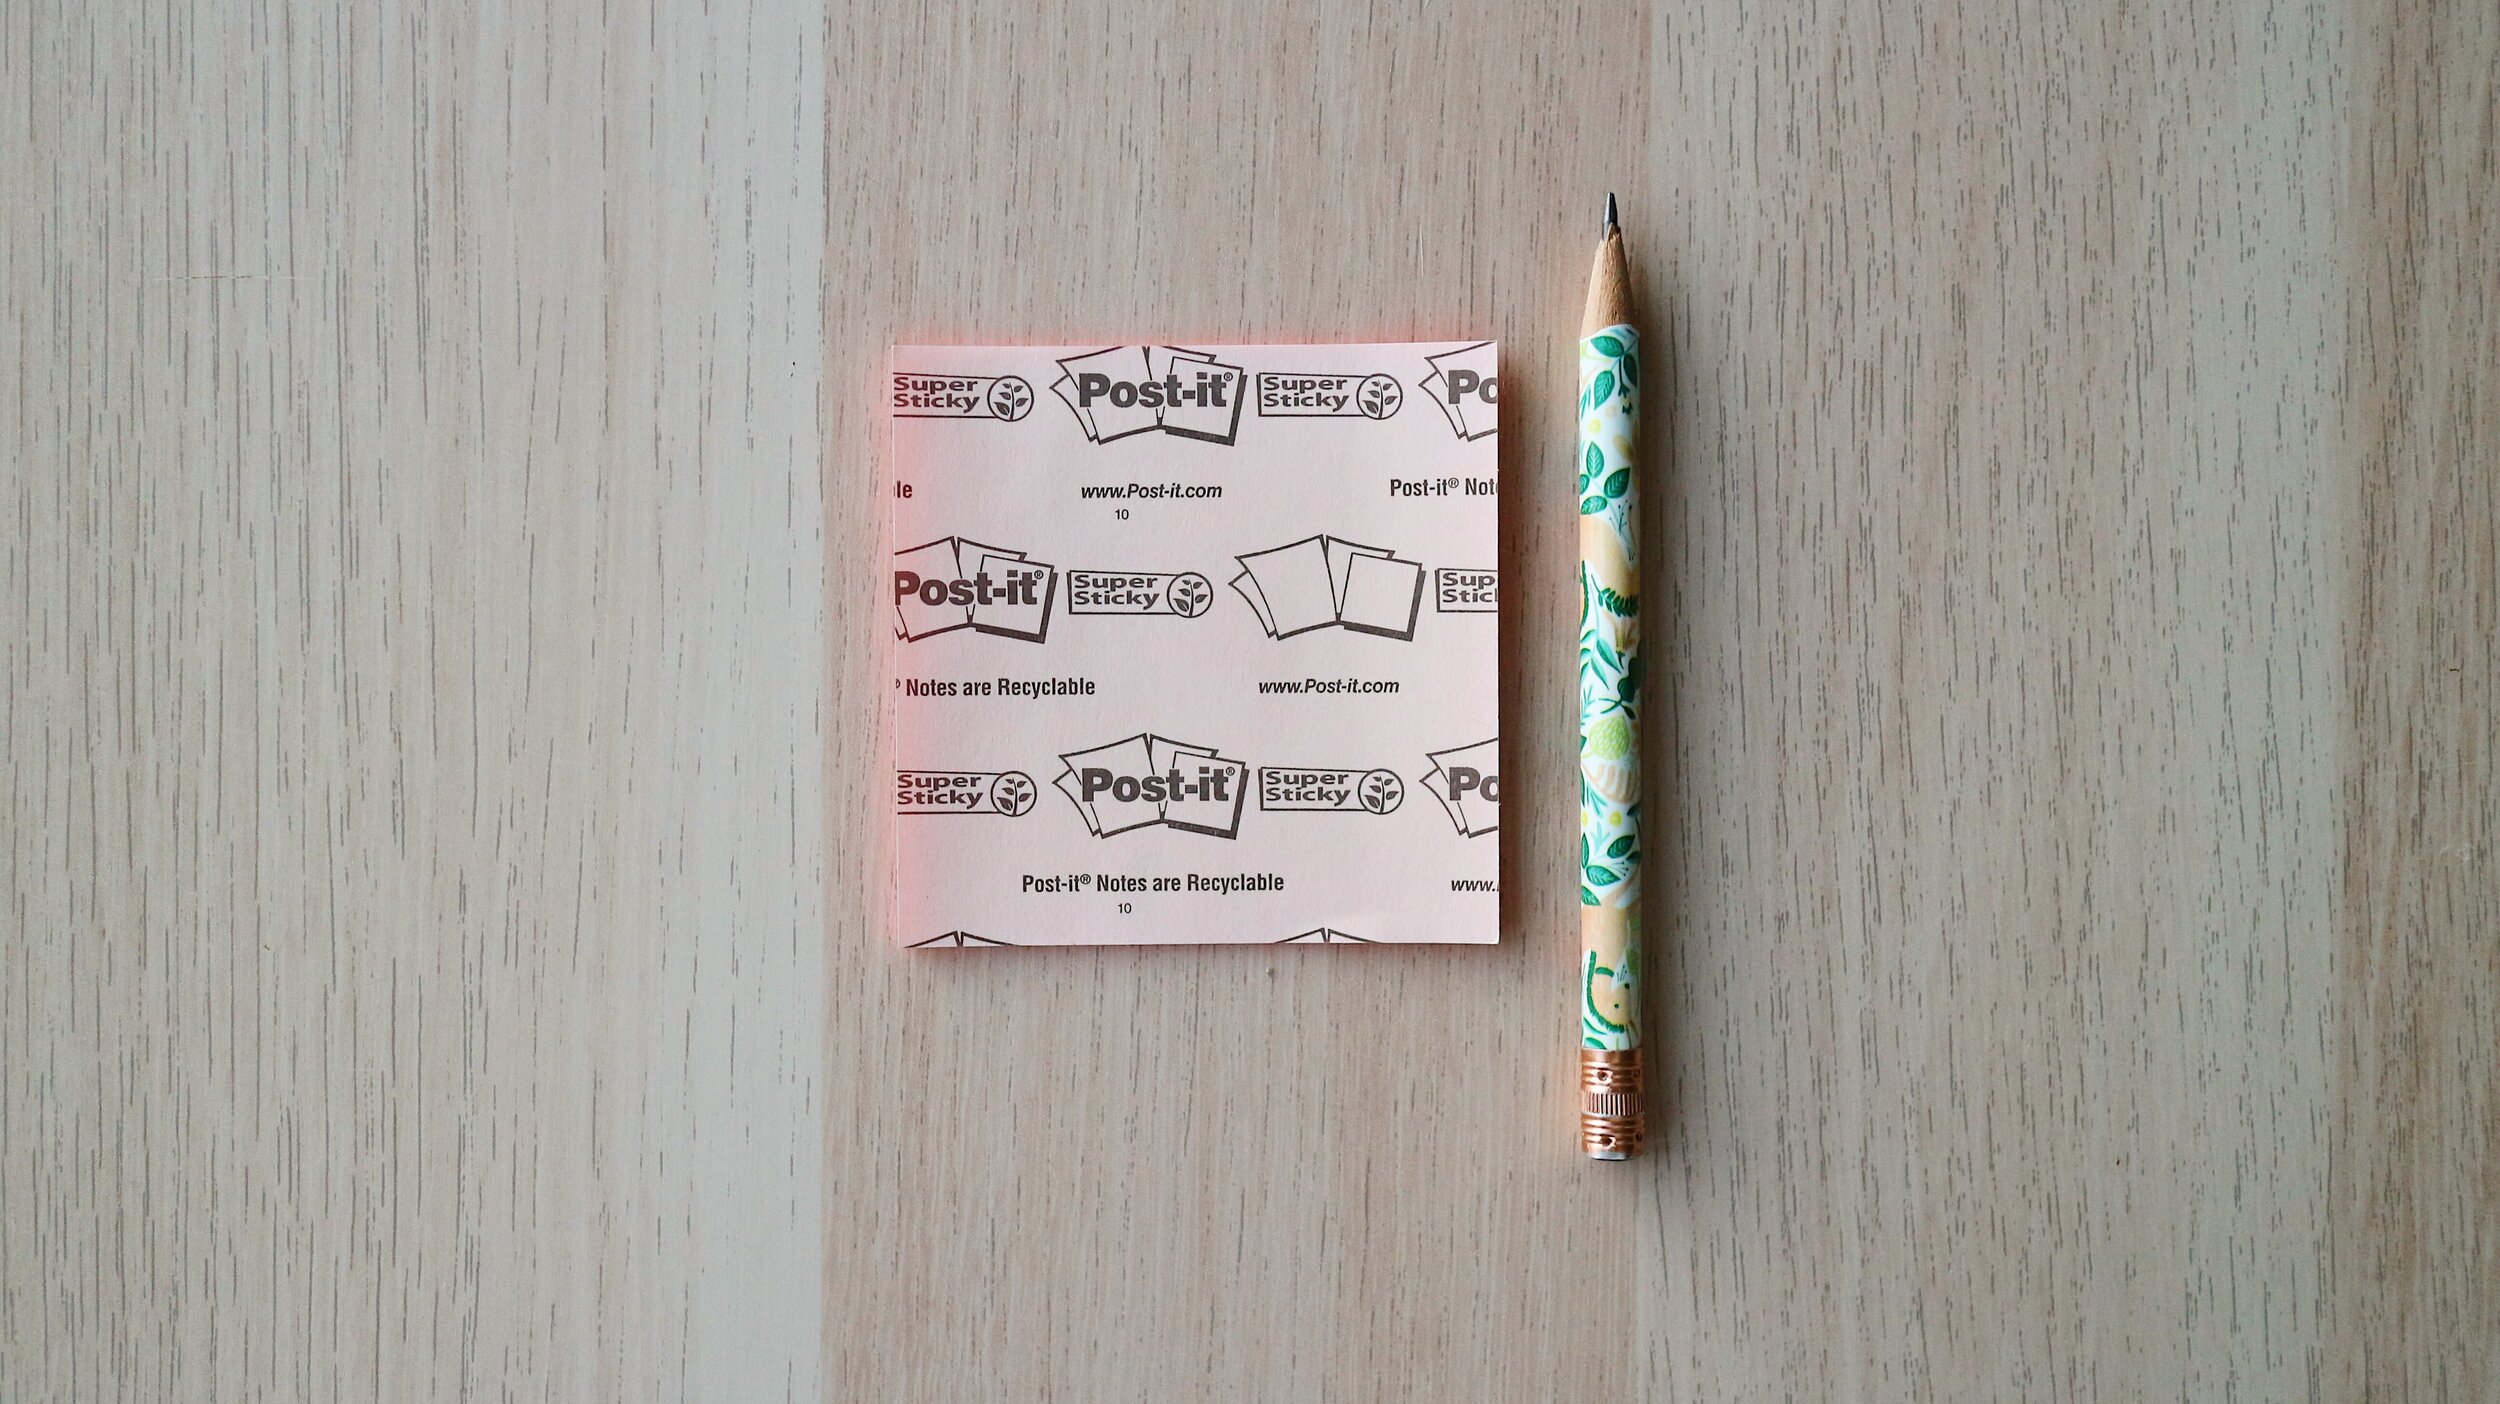
  • Sticky-Notes - A small notebook can be handy for jotting down knitting notes but sticky notes have a dual purpose which is why they are my notepaper of choice. Sticky notes that can be repositioned are perfect for marking your place in a pattern or keeping track of rows on a knitting chart.

  • Pencil - I prefer to keep pencils in my notions pouch as there is less chance of getting pen ink on a precious project accidentally.

  • T-Pins - These are used for pinning your project to the correct measurements when blocking. They can also be used with blocking wires to open out lace when blocking.

There are plenty more gadgets and accessories you can add to your notions kit, but these are the essentials you’ll need when building your knitting kit.

These tools I use all neatly fit into a small knitting notions pouch which is perfect for keeping these little bits all neatly organised. 

Being able to reach for this little bag and know all the tools I need are in one place is great. I love not having to hunt around for a tape measure or a pair of scissors since I put this little kit together for myself.


How to Wind a Ball of Yarn By Hand

Have you ever wondered how to wind a ball of yarn neatly by hand?

I often receive comments from people who notice my neatly wound little yarn cakes when I share my knitting on Instagram or YouTube. It’s something I enjoy at the start of the project as I find it helps me get to know the yarn before casting on.

In this three minute video tutorial I show you how to wind a centre pull ball from a skein of yarn, by hand, and without a ball winder.


Handmade Wardrobe | Brooklyn Tweed Truss Cardigan
Alex Collins wearing Brooklyn Tweed Truss cardigan by Melissa Wehrle
Truss Cardigan knitting project
Alex Collins wearing the Brooklyn Tweed Truss cardigan in The Fibre Co. Canopy Worsted

Alex Collins wearing the Brooklyn Tweed Truss cardigan in The Fibre Co. Canopy Worsted

Alex Collins wearing the Brooklyn Tweed Truss Cardigan

I really like the fit of the Truss cardigan by Melissa Wehrle for Brooklyn Tweed. I’m wearing mine with 6” of positive ease and turned back cuffs which makes it a really cosy cardigan for lounging.

I was pleased that I got gauge with The Fibre Co. Canopy worsted as the 50% Alpaca, 30% Merino, 20% Rayon from Bamboo blend gives the cardigan a really luxurious feel.

It has a similar look to the Truss cardigan knitted by Clare Manipon-Mountain which inspired me to cast on the pattern. She used Berroco Ultra Alpaca which might be a good alternative to consider as the yarn I used has been discontinued.

Modifications

I followed the pattern as written except for the sleeves. I joined the shoulders and then picked up stitches around the armholes so I could knit them from the top down. I used the same stitch counts given in the sleeve instructions just in reverse doing SSK and K2tog decreases instead of increases

Truss Cardigan

Pattern: Truss by Melissa Wehrle for Brooklyn Tweed

Yarn: The Fibre Co. Canopy Worsted in Lemur (discontinued)

Needles: HiyaHiya Interchangables. A - 4.5mm, B - 4mm, C - 3.5mm

Buttons: TGB3825 buttons from Textile Garden

Project Bag: Alex Collins Sweater Sack

As seen on my knitting and sewing YouTube channel - Episode 13


Where do you want to go next?


Handmade Wardrobe | Treysta Colour Work Sweater
Treysta colour work sweater by Jennifer Steingass for Laine Magazine - Project Notes.png
Alex Collins wearing Treysta colour work sweater knitting pattern by Jennifer Steingass for Laine Magazine
Alex Collins wearing Treysta by Jennifer Steingass for Laine Magazine

Alex Collins wearing Treysta by Jennifer Steingass for Laine Magazine

Knitting the colour work sweater pattern, Treysta by Jennifer Steingass for Laine Magazine, was my first time working with Léttlopi Icelandic wool by Ístex.

It’s an extremely cosy, robust, wool that feels like it will keep me warm and dry whatever the weather. I’m not extremely sensitive to woolly, rustic wools and don’t find the Ístex Léttlopi uncomfortable to knit or wear with a t-shirt underneath.

I knit the Treysta pattern using Ístex Léttlopi in Bottle Green Heather (MC), Ash Heather (CC1), Celery Green Heather (CC2) and Black Heather (CC3) from Meadow Yarn. My colour choices were inspired by the colour palette Kehley used here.

Treysta Sweater Pattern Modifications

As the Treysta is a slim fitting sweater I decided to knit the pattern without the waist or hip shaping. I just knit straight until the body measured 17.5” from the shoulder. I also decided not to do the colour work on the hem so I finished the body by knitting just 2.5” of 2x2 ribbing and Jenny’s Surprising Stretchy Bind Off.

I also omitted the colour work on the cuffs so all the focus was on the colour work yoke. After knitting the decreases and knitting 2 rounds even I went straight into the 2x2 ribbing. As with the hem, I used Jenny’s Surprising Stretchy Bind Off to finish.

Choosing the Right Knitting Needles

I initially started knitting Treysta using set of circular needles with a fairly sharp tip which was easily splitting the yarn and made the experience quite unpleasant. I felt like I was fighting with the yarn until I decided to switch to a set of Addi needles with less pointy tips. It was a game changer and the Ístex Léttlopi became much easier to work with. I would definitely recommend using needles with a slightly round tip that will not split the yarn so easily.

Treysta

Pattern: Treysta by Jennifer Steingass for Laine Magazine (3)

Yarn: Ístex Léttlopi

Needles: 4mm (US 6) Addi Circulars

Project Bag: Alex Collins Sweater Sack

As seen on my knitting and sewing YouTube channel - Episode 10, 9, and 2

Alex Collins wearing Treysta colour work sweater knitting pattern by Jennifer Steingass for Laine Magazine